Drawing on the Block - Maíz

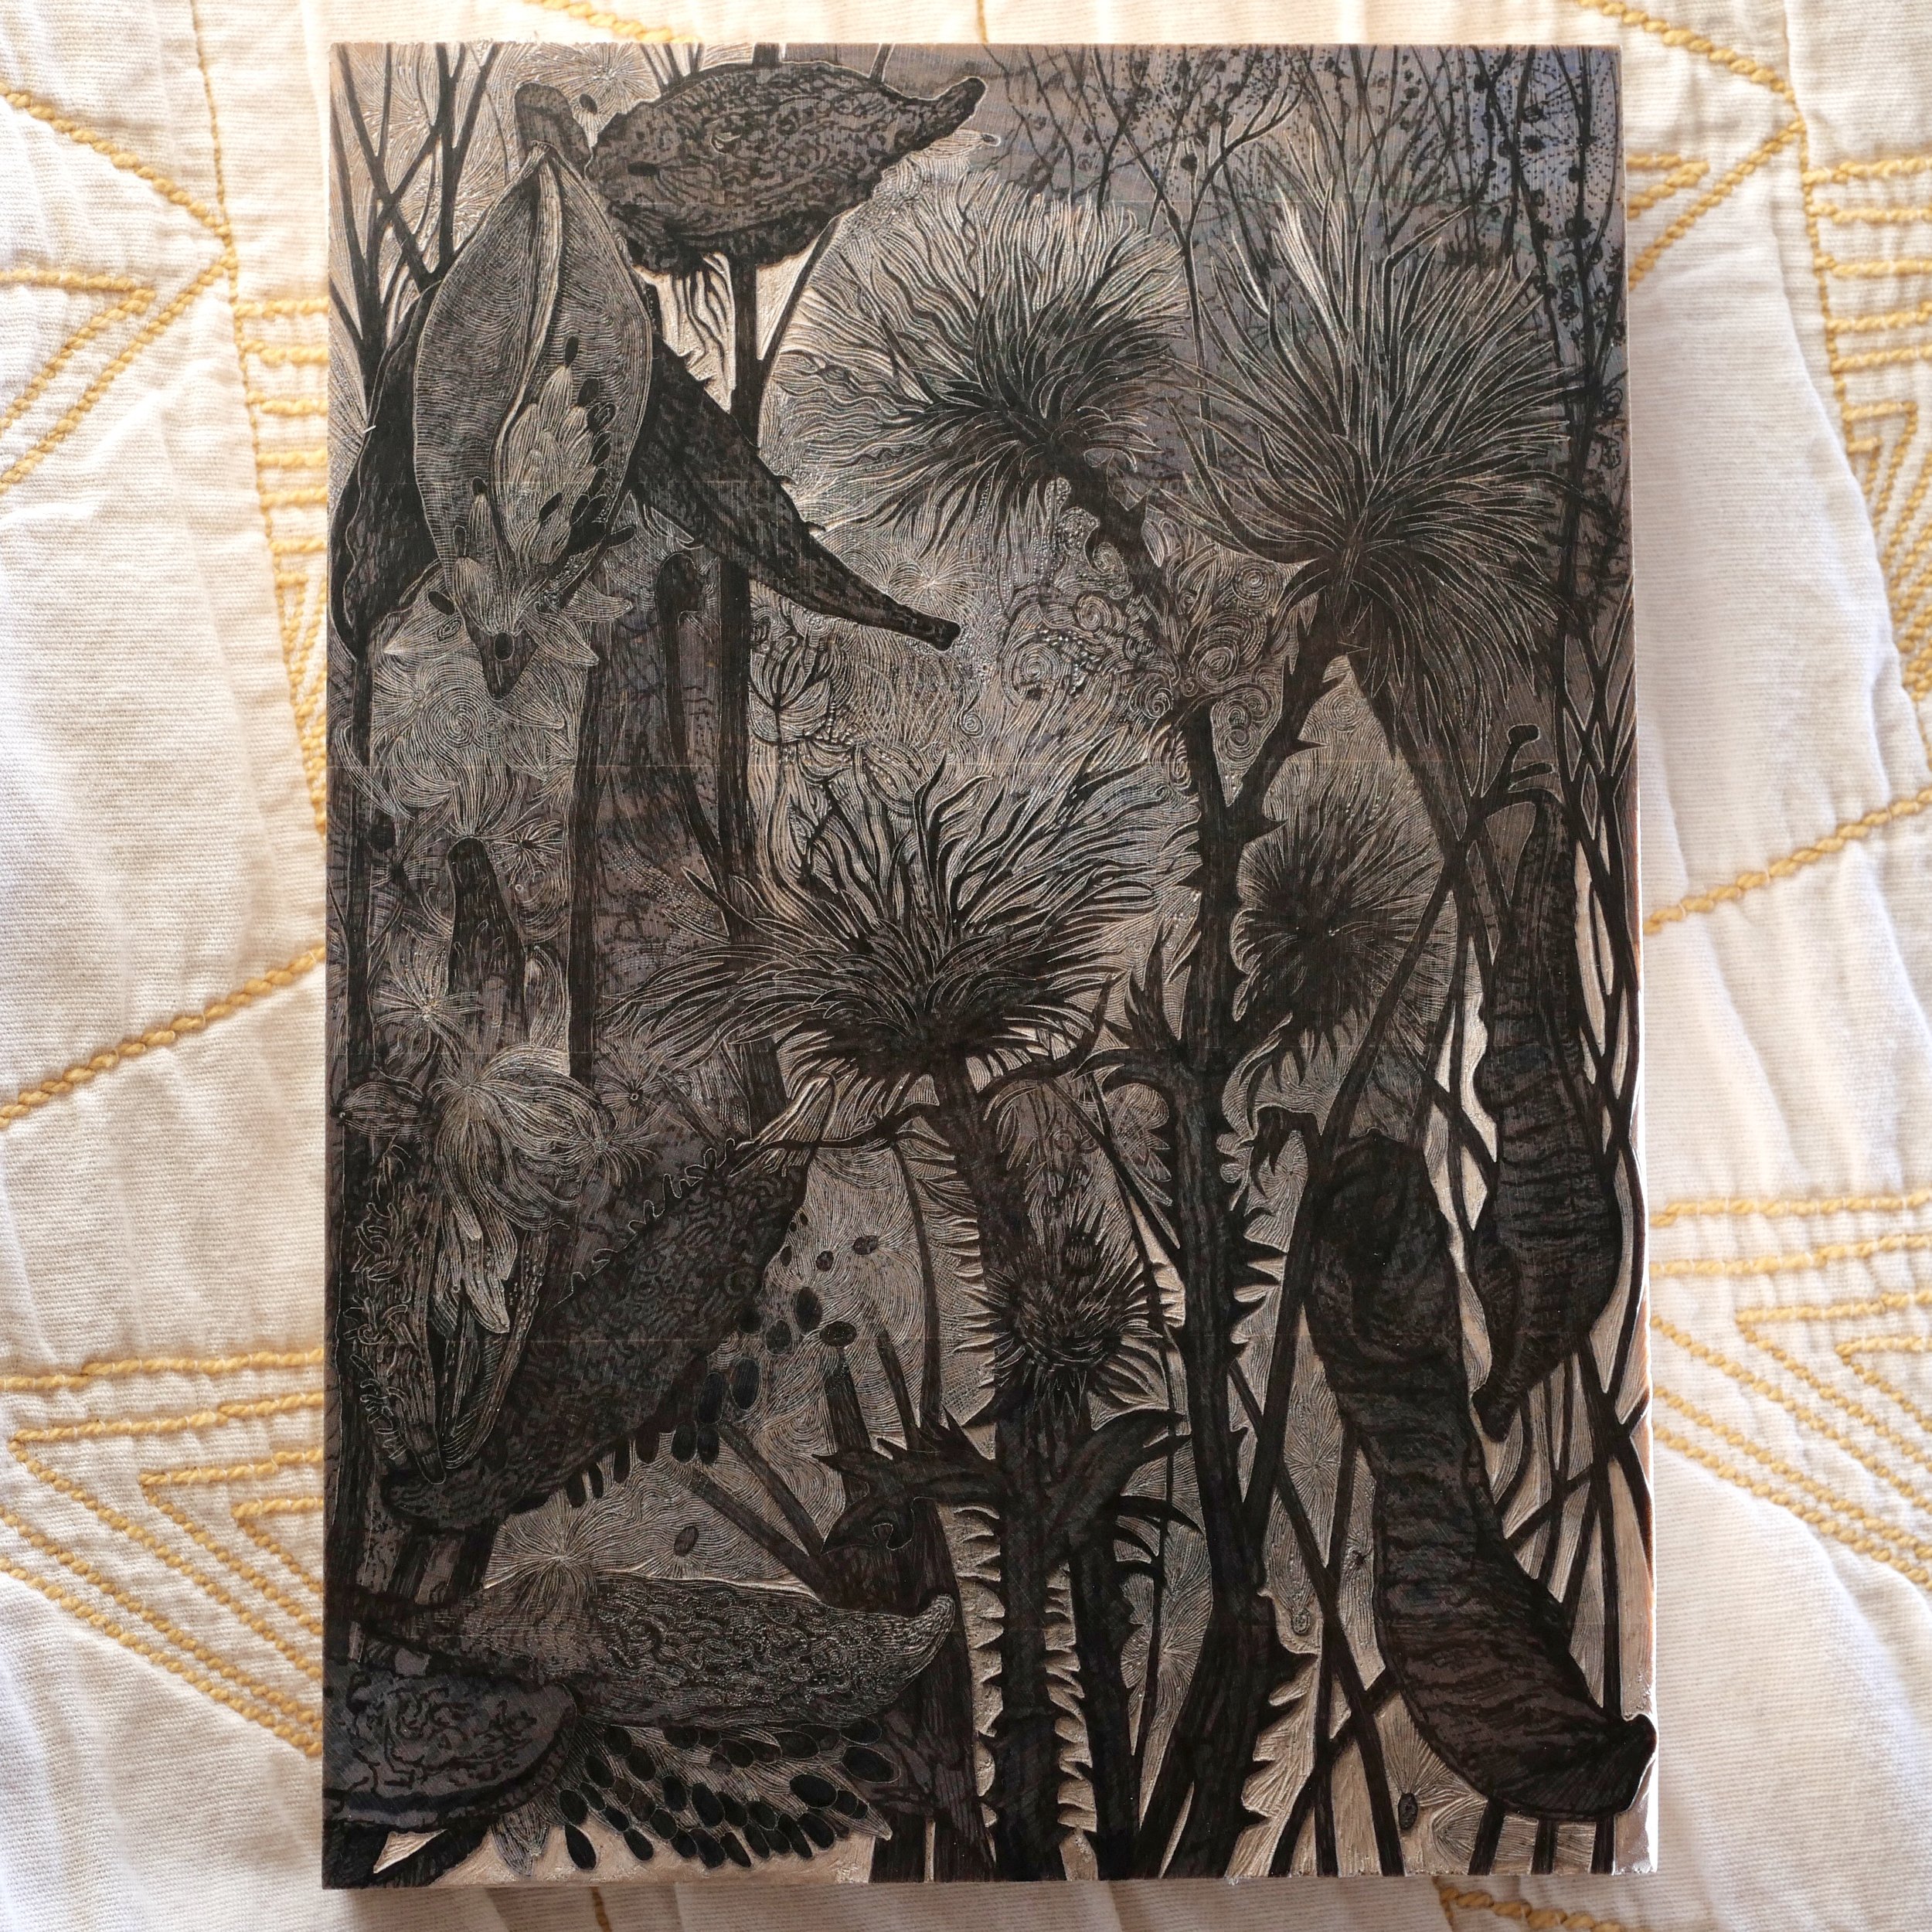
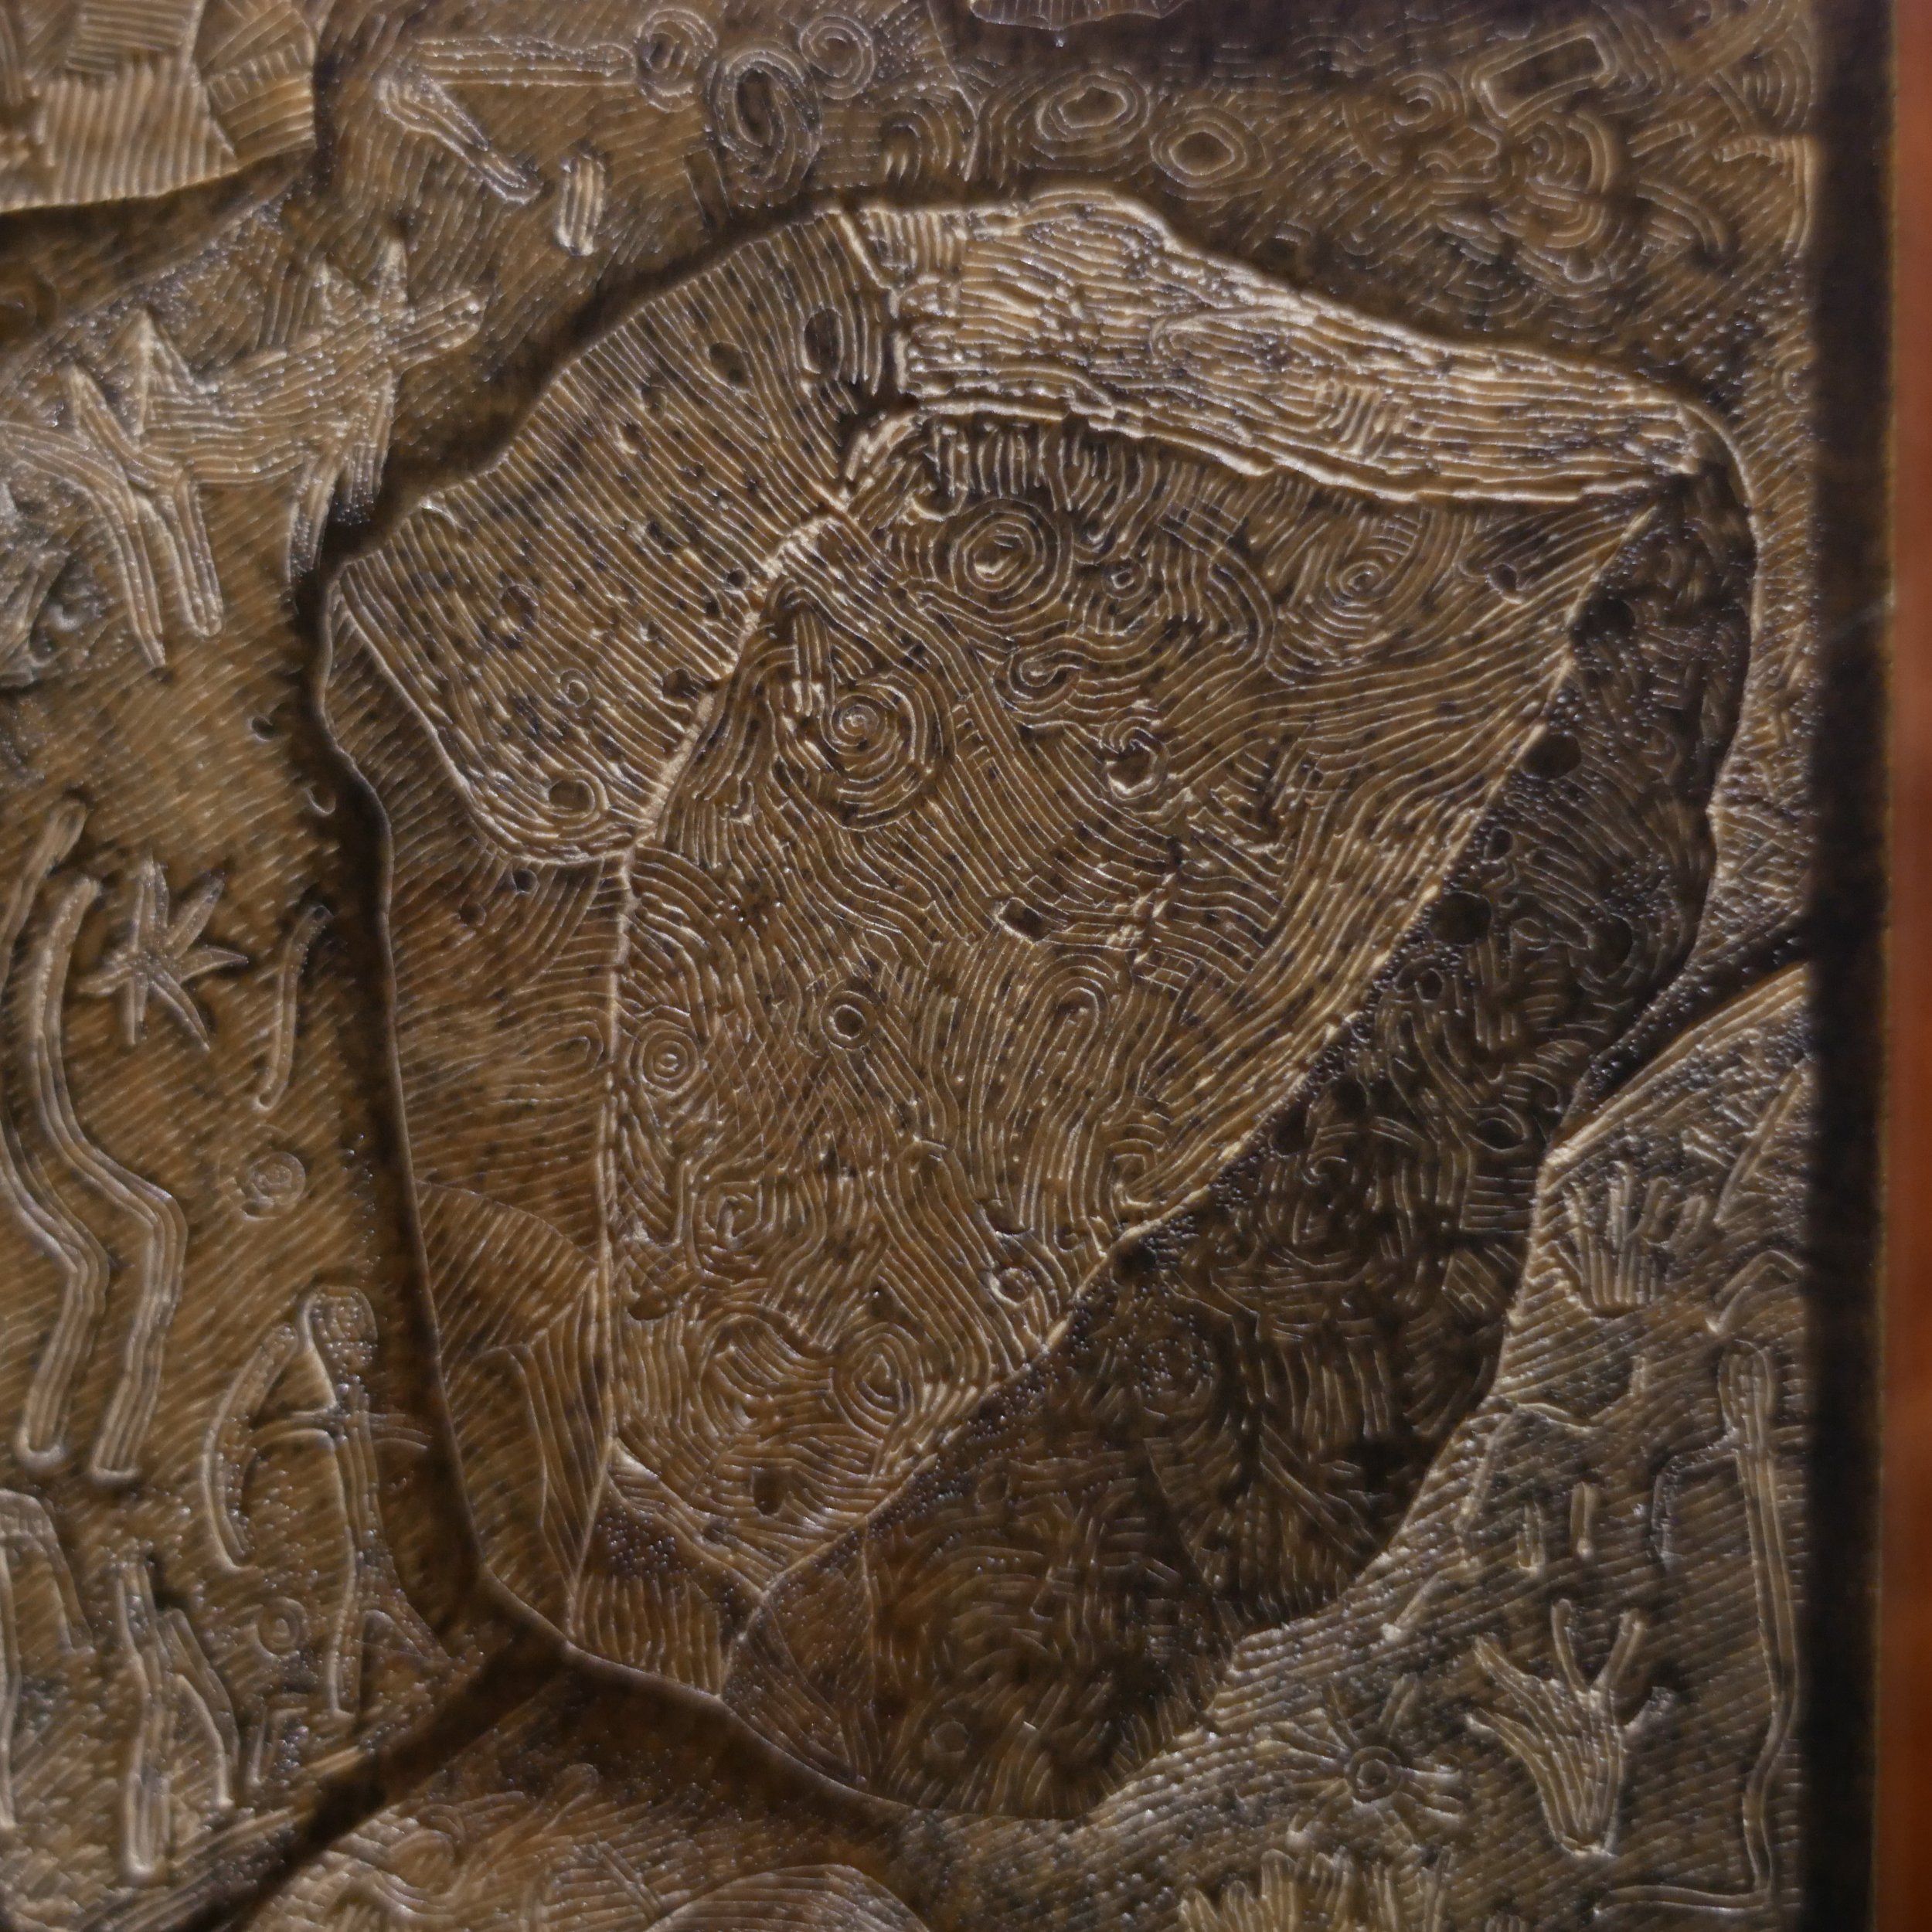
Instead of working on my design and tonal study on paper, I am developing the image directly on the toned end-grain maple block, which is 6” wide and 8 3/8” high. My engraving work will be less detailed that this drawing, as there are way too many kernels of corn to portray finely. I most likely will work on a practice block to work out a “corny” method for engraving the kernels. The husks I look forward to engraving, bold and bright and with this image, I will use a stipple technique to portray the volcanic rock metate (a tool used to grind the kernels.)

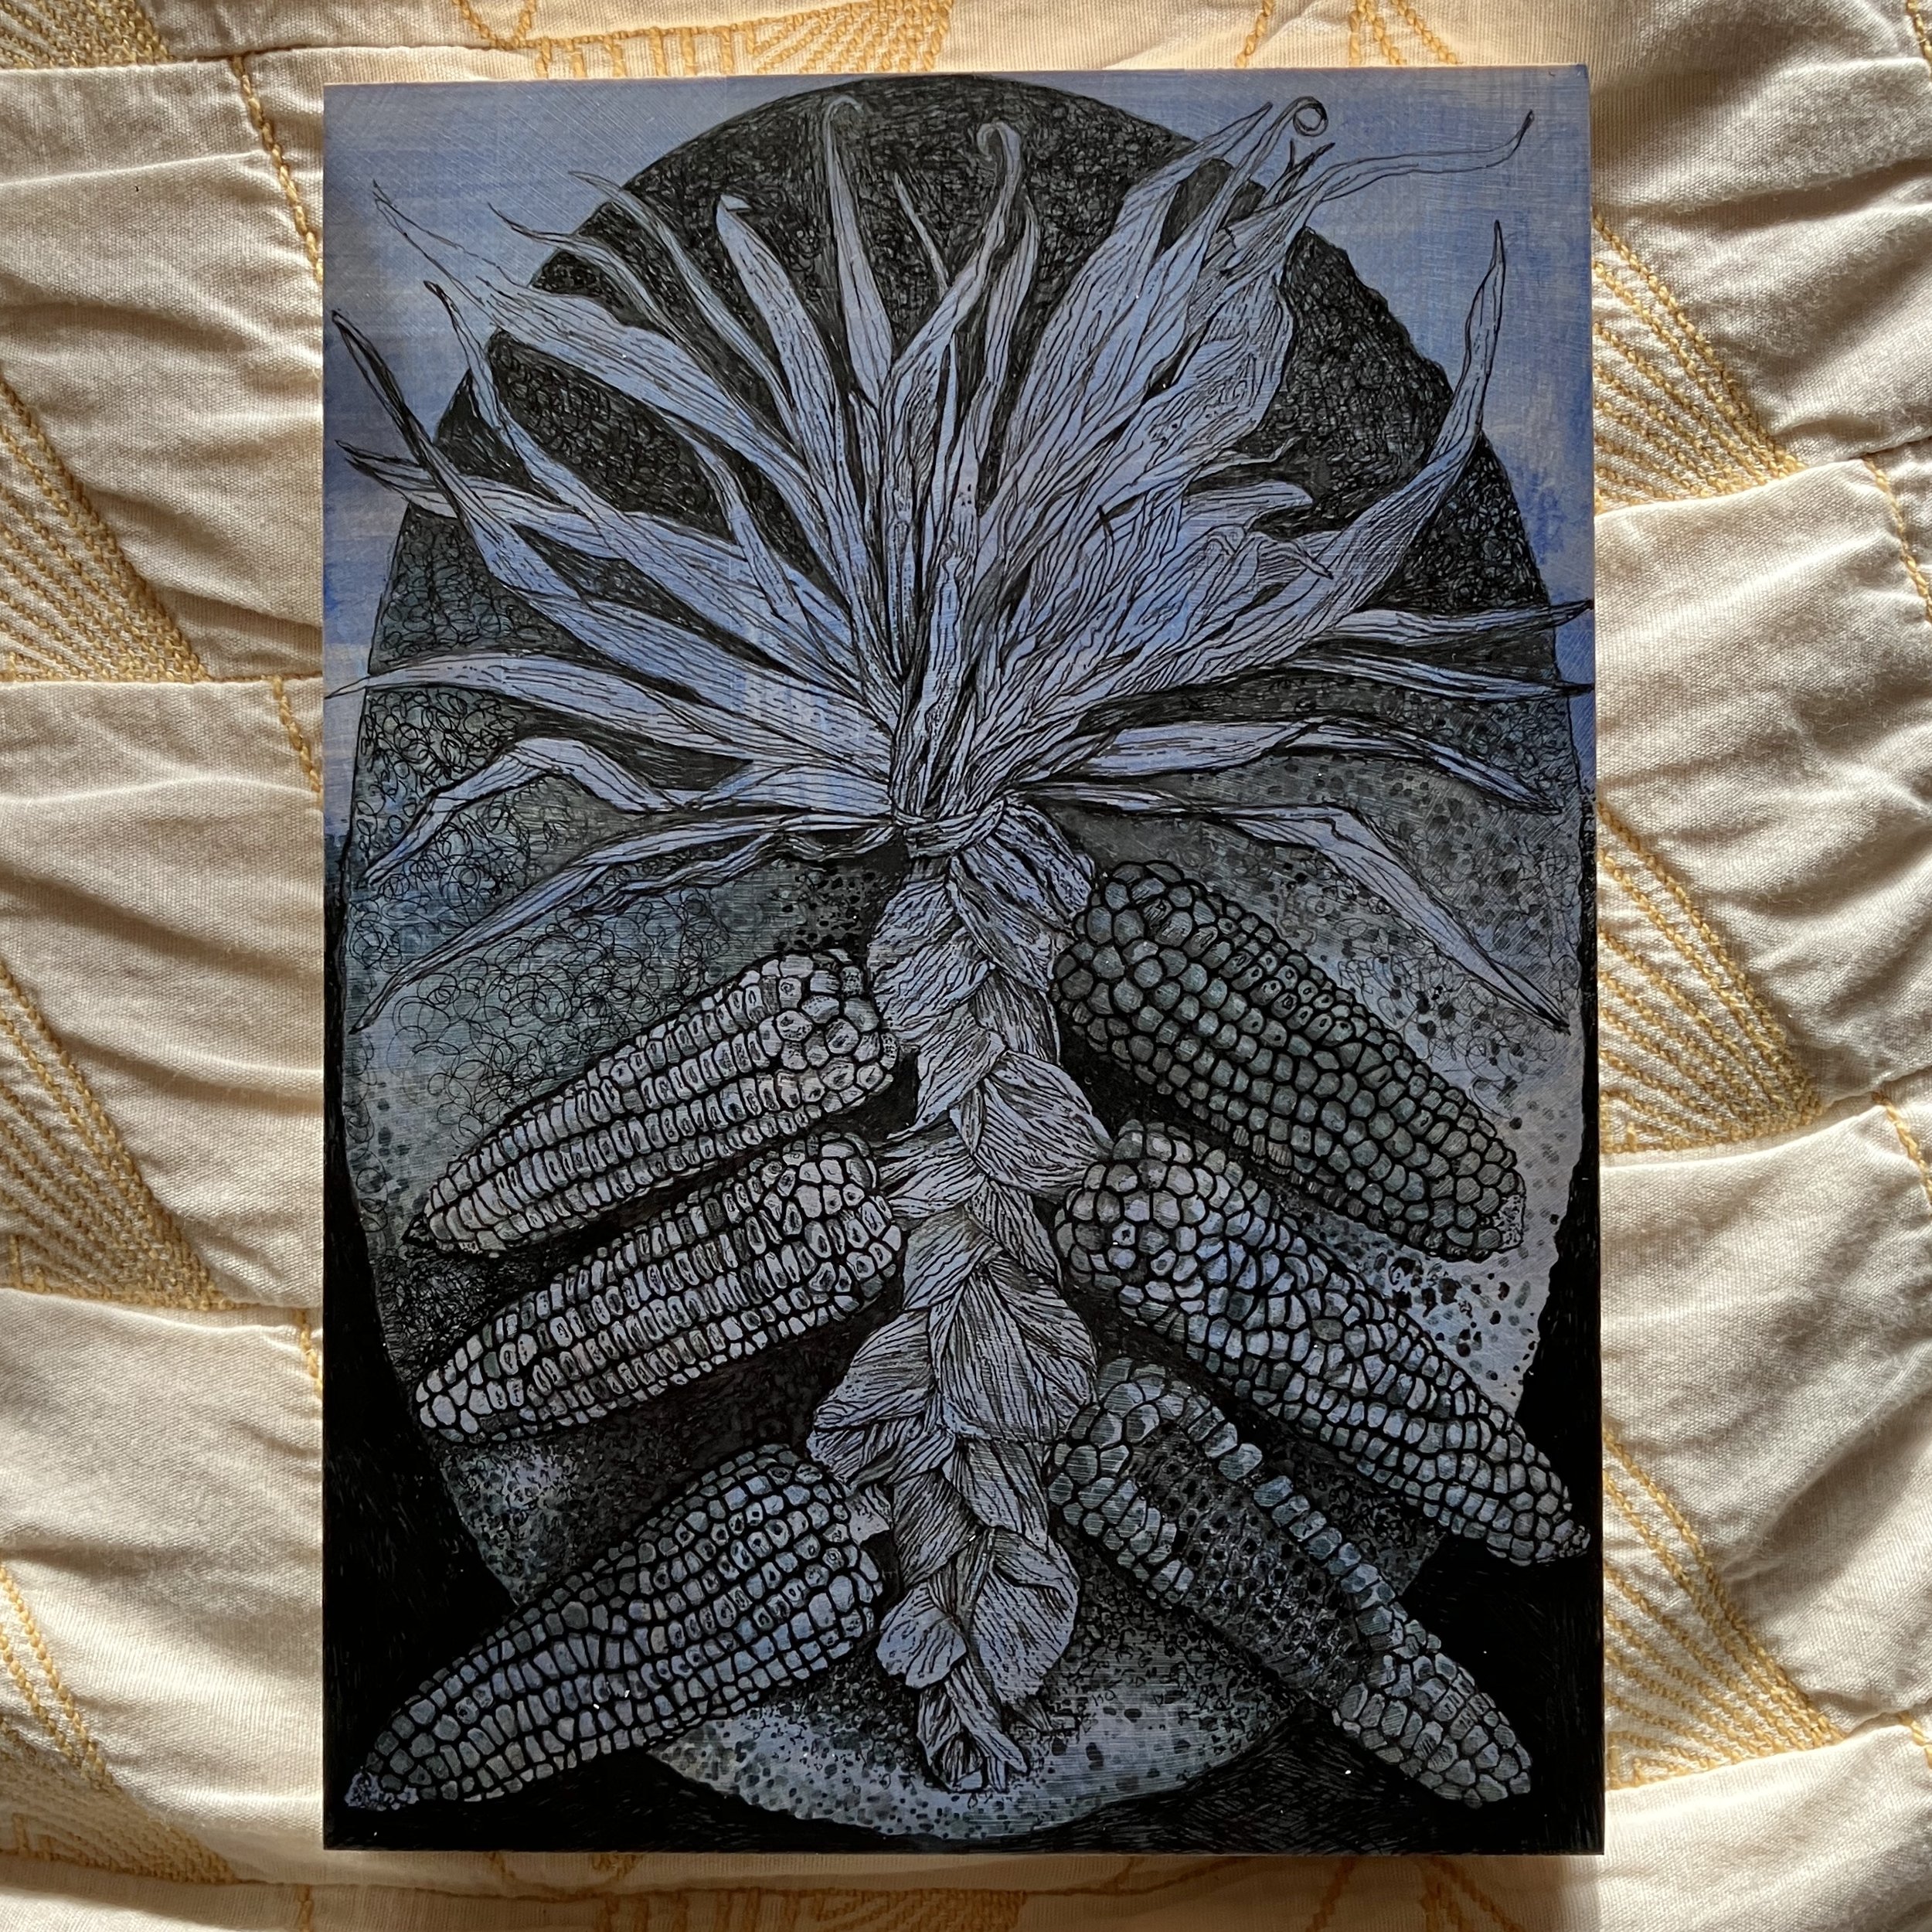
the oval metate will appear dark against white at the top and light against black at the bottom. This image was inspired by my 2023 visit to Oaxaca, Mexico with family and friends.

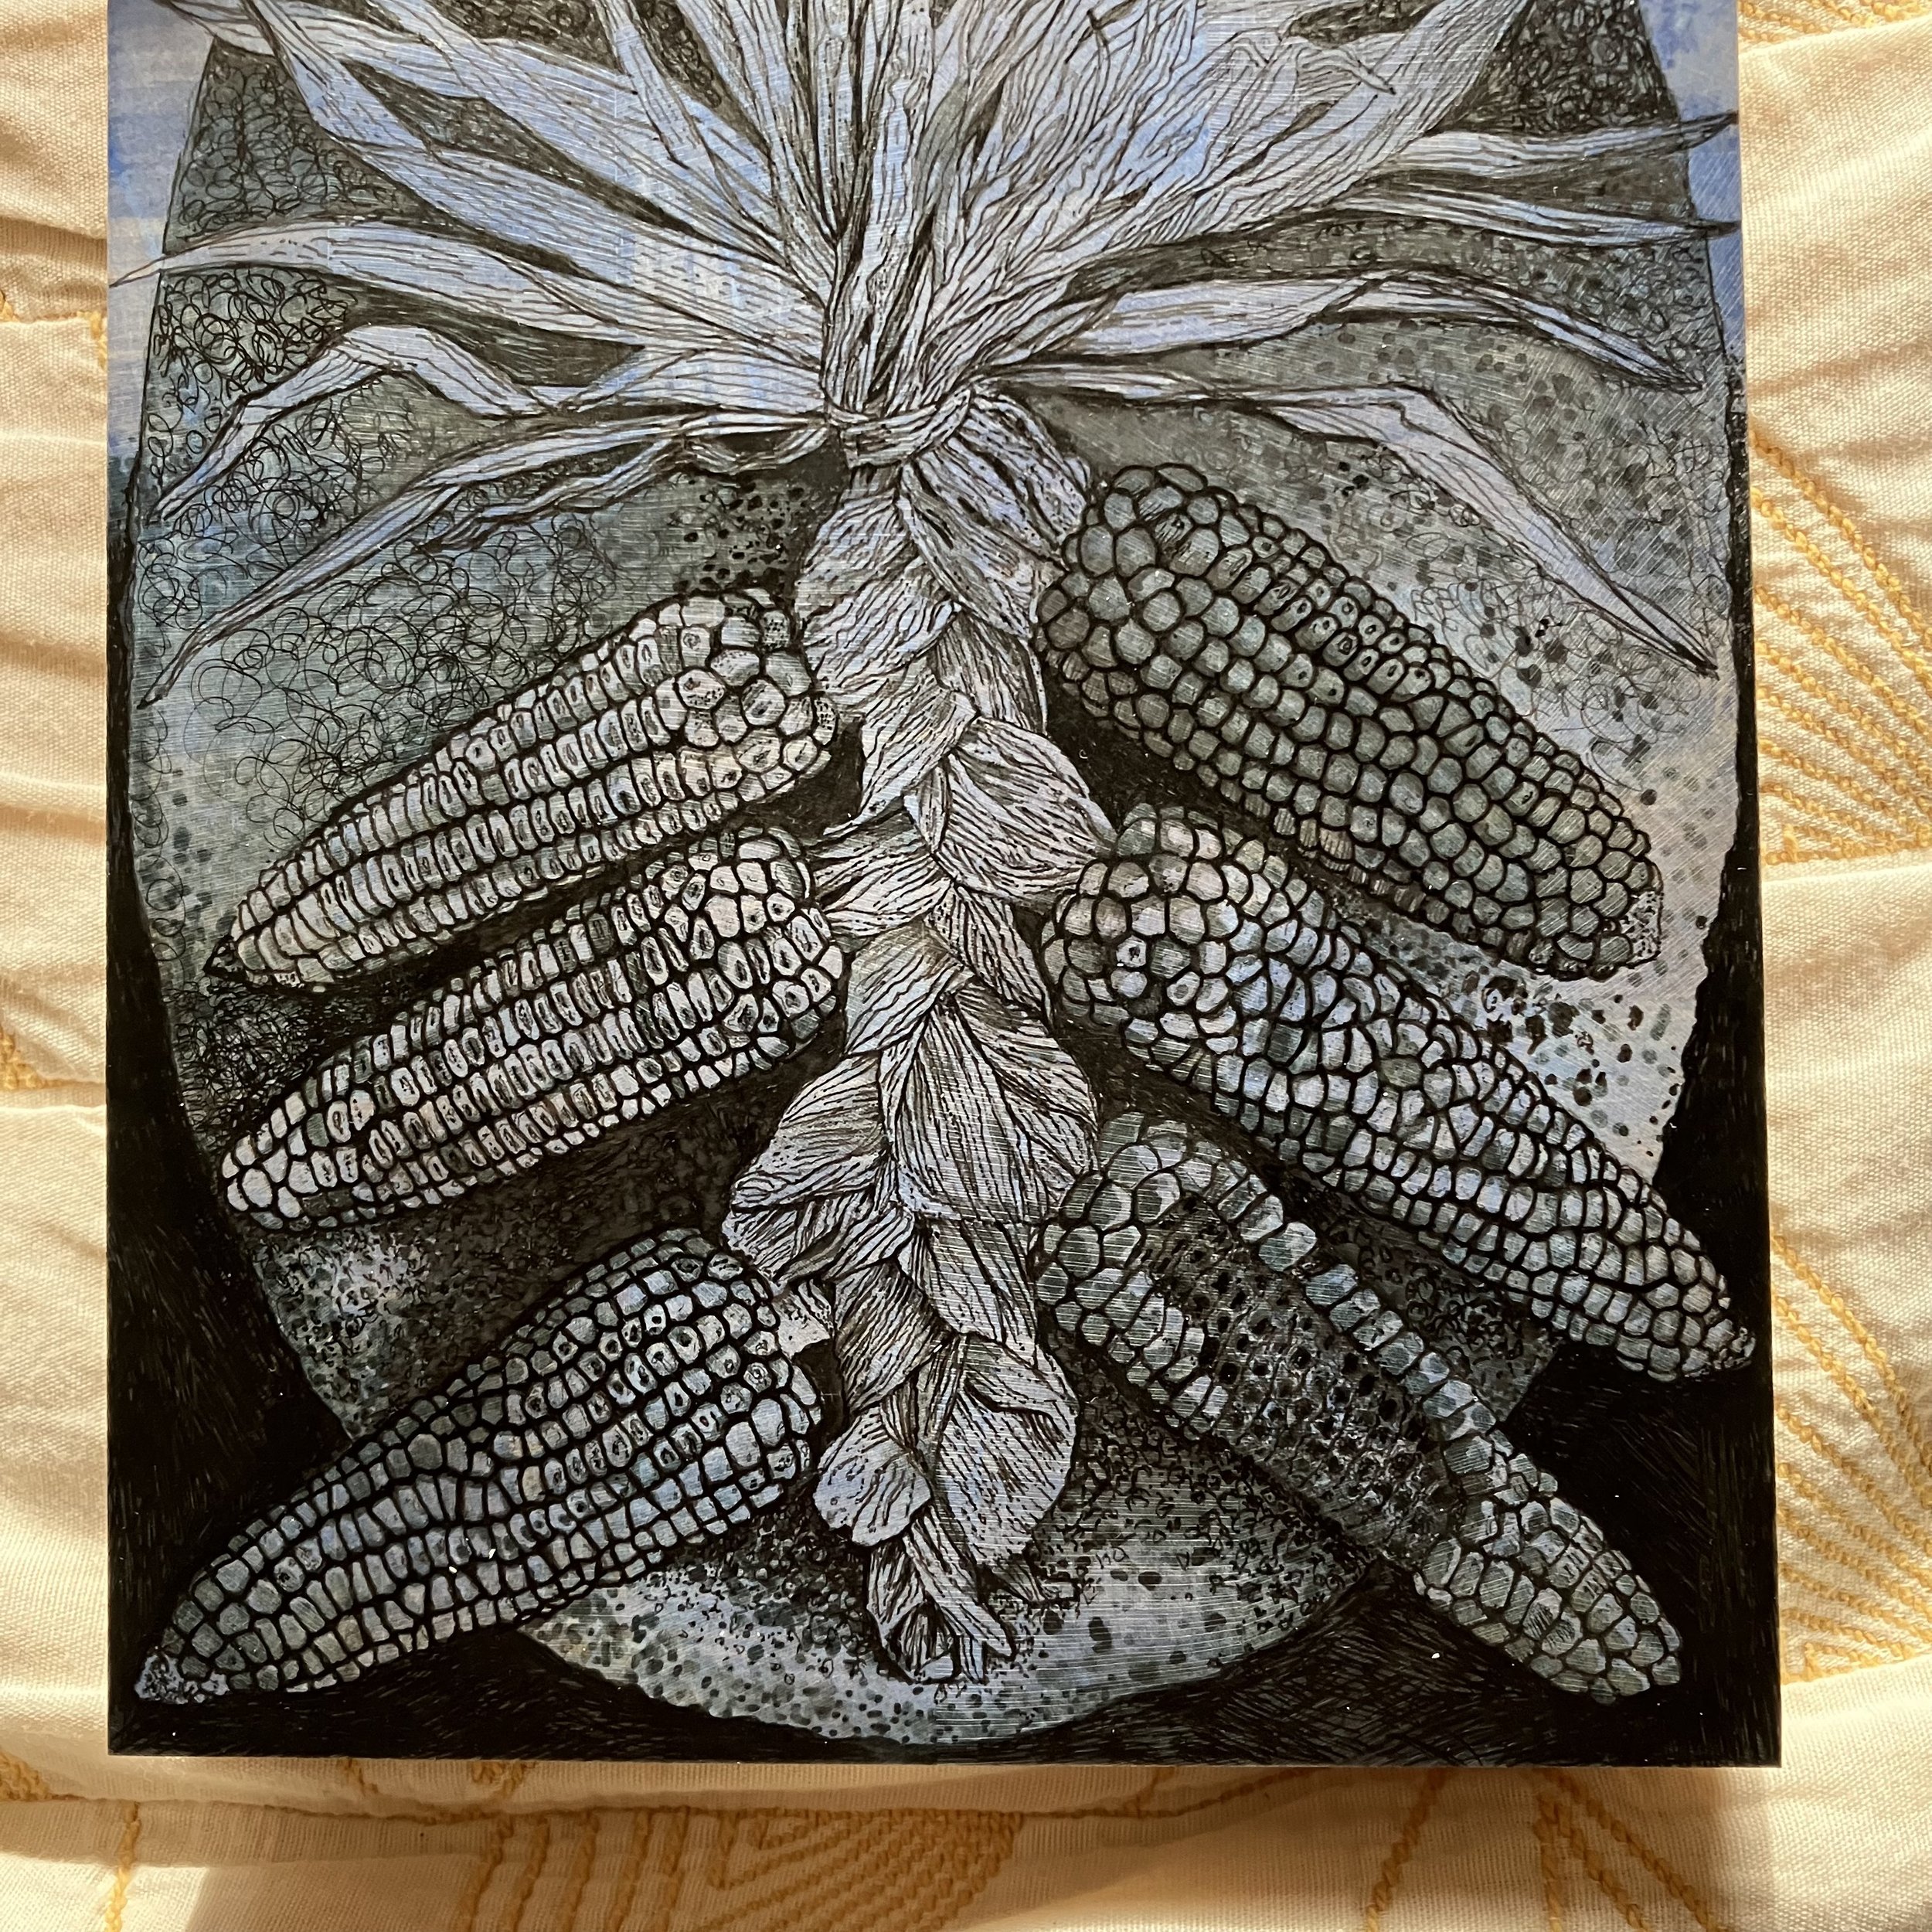
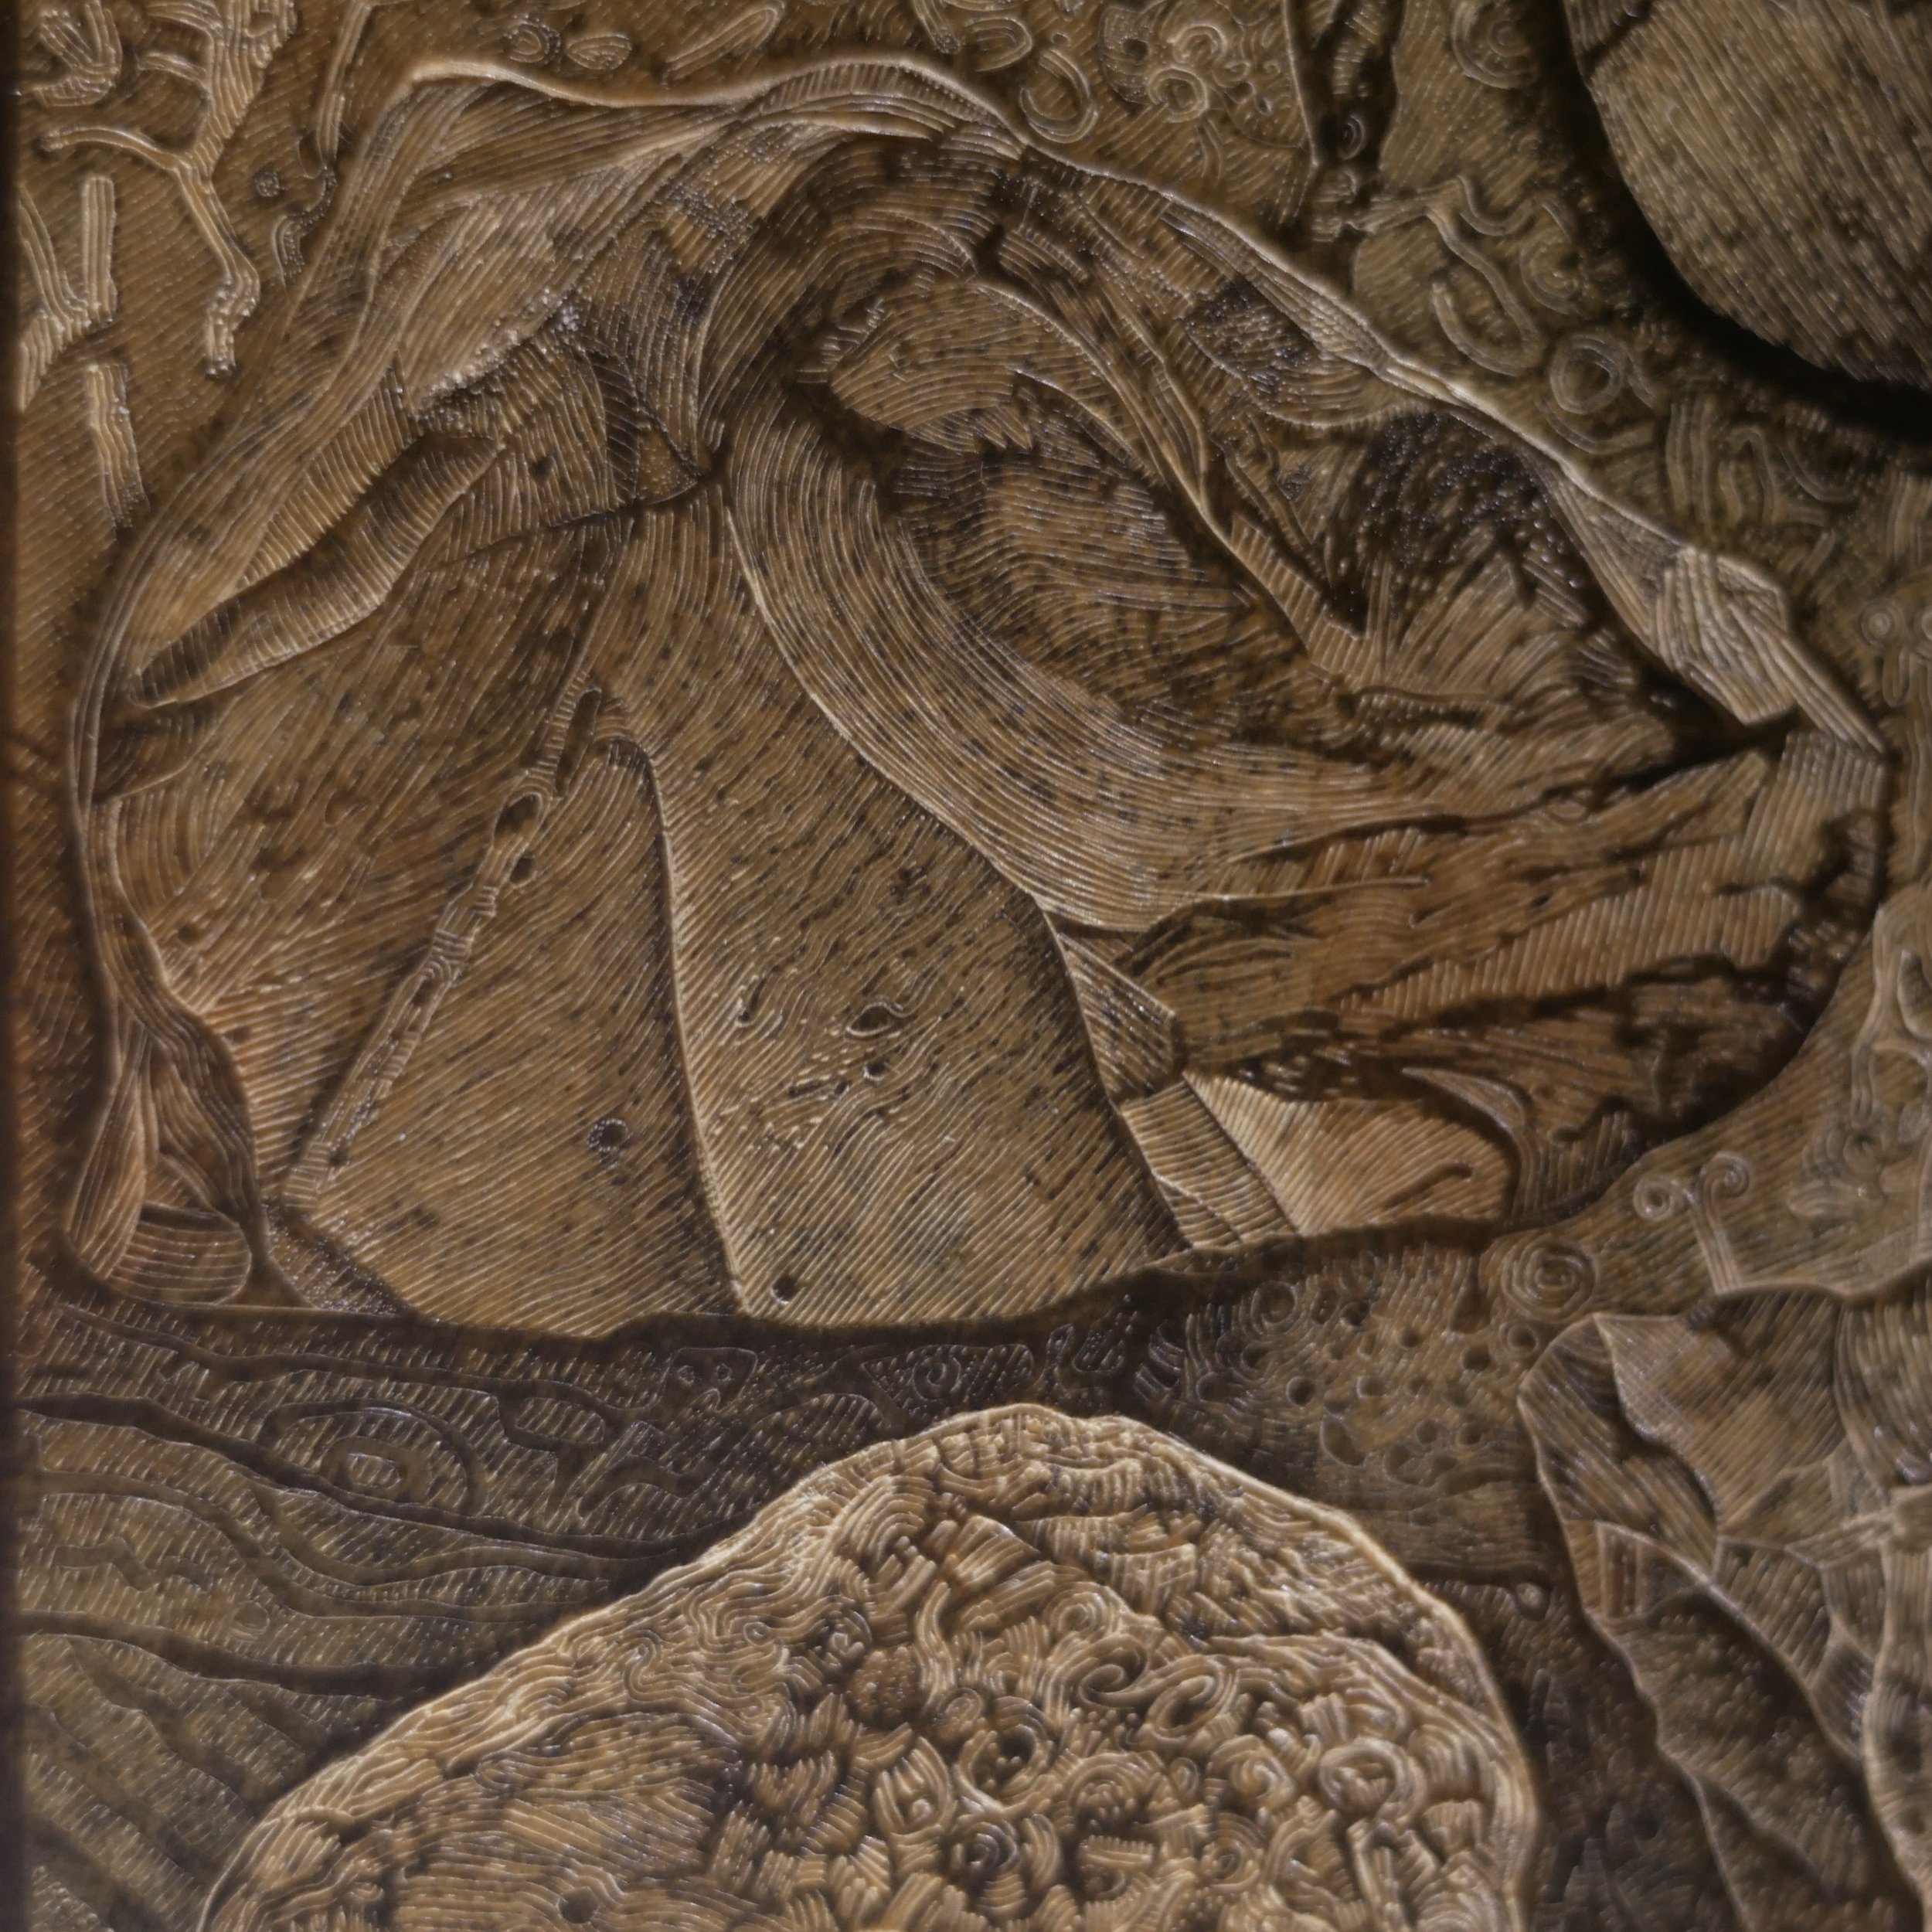
Plenty of wood engraving challenges here, the corn cob with the missing kernels is something I will ponder, while I complete another wood engraving that I am working on.

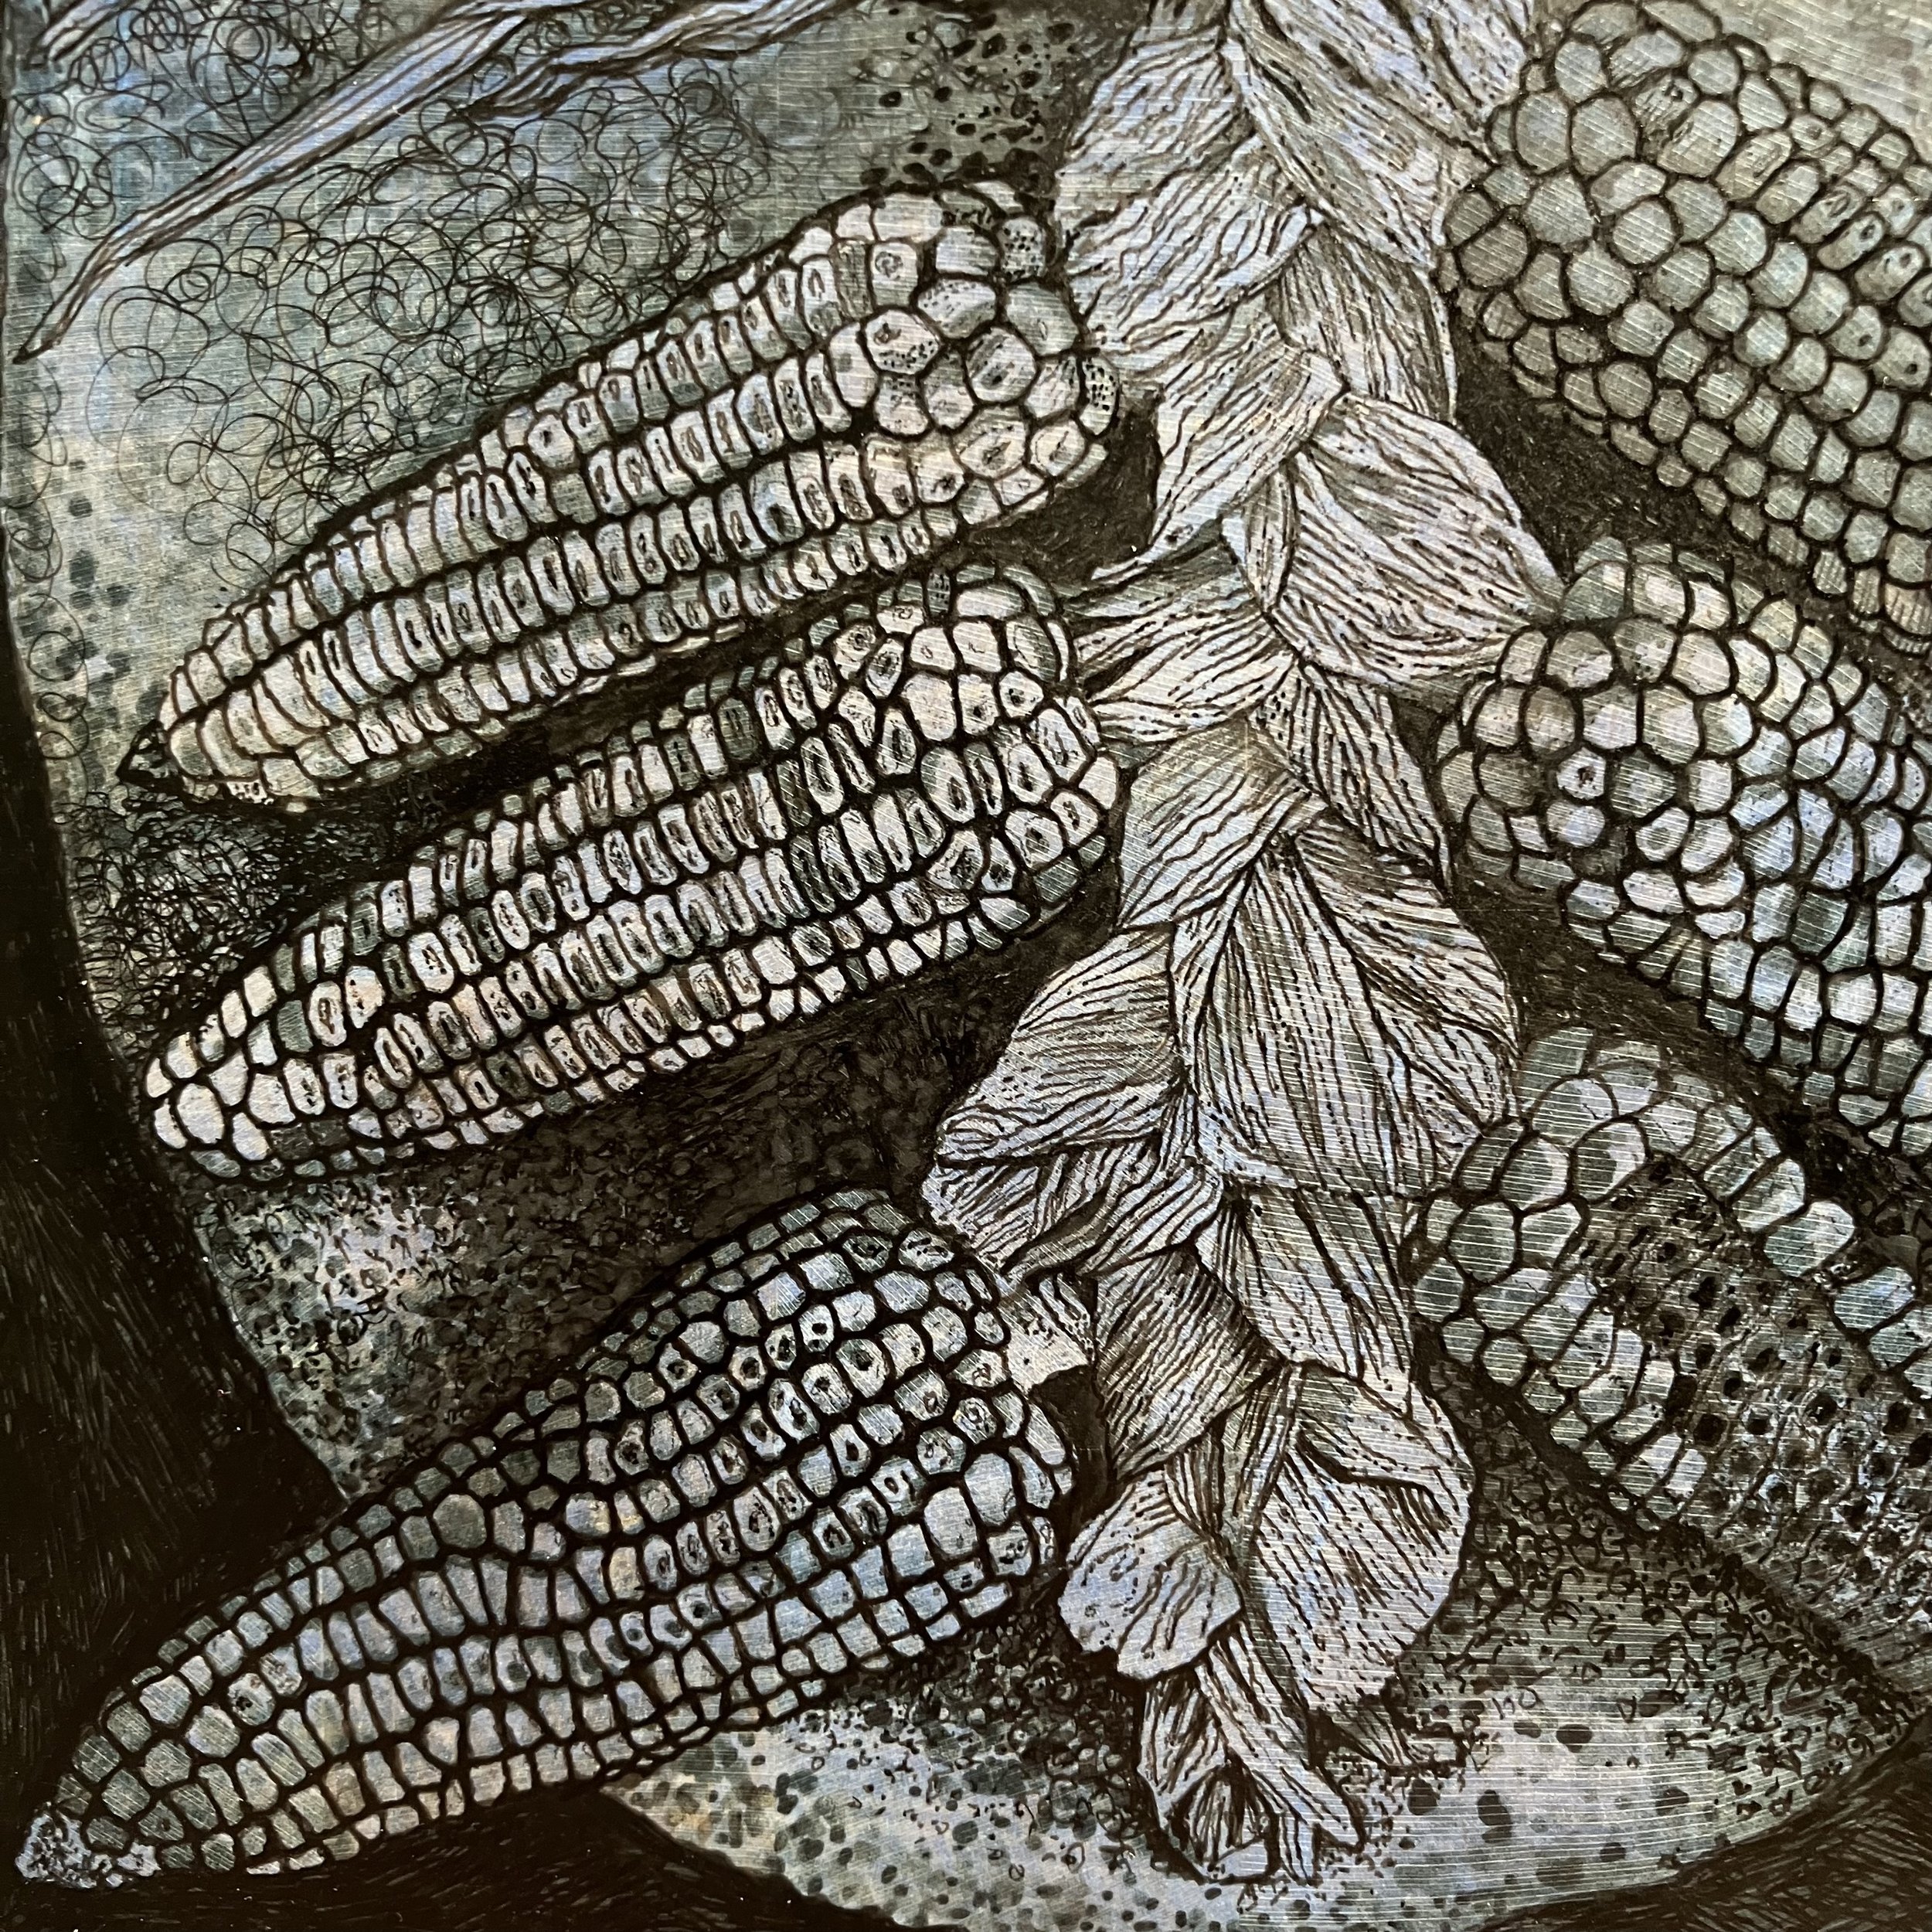
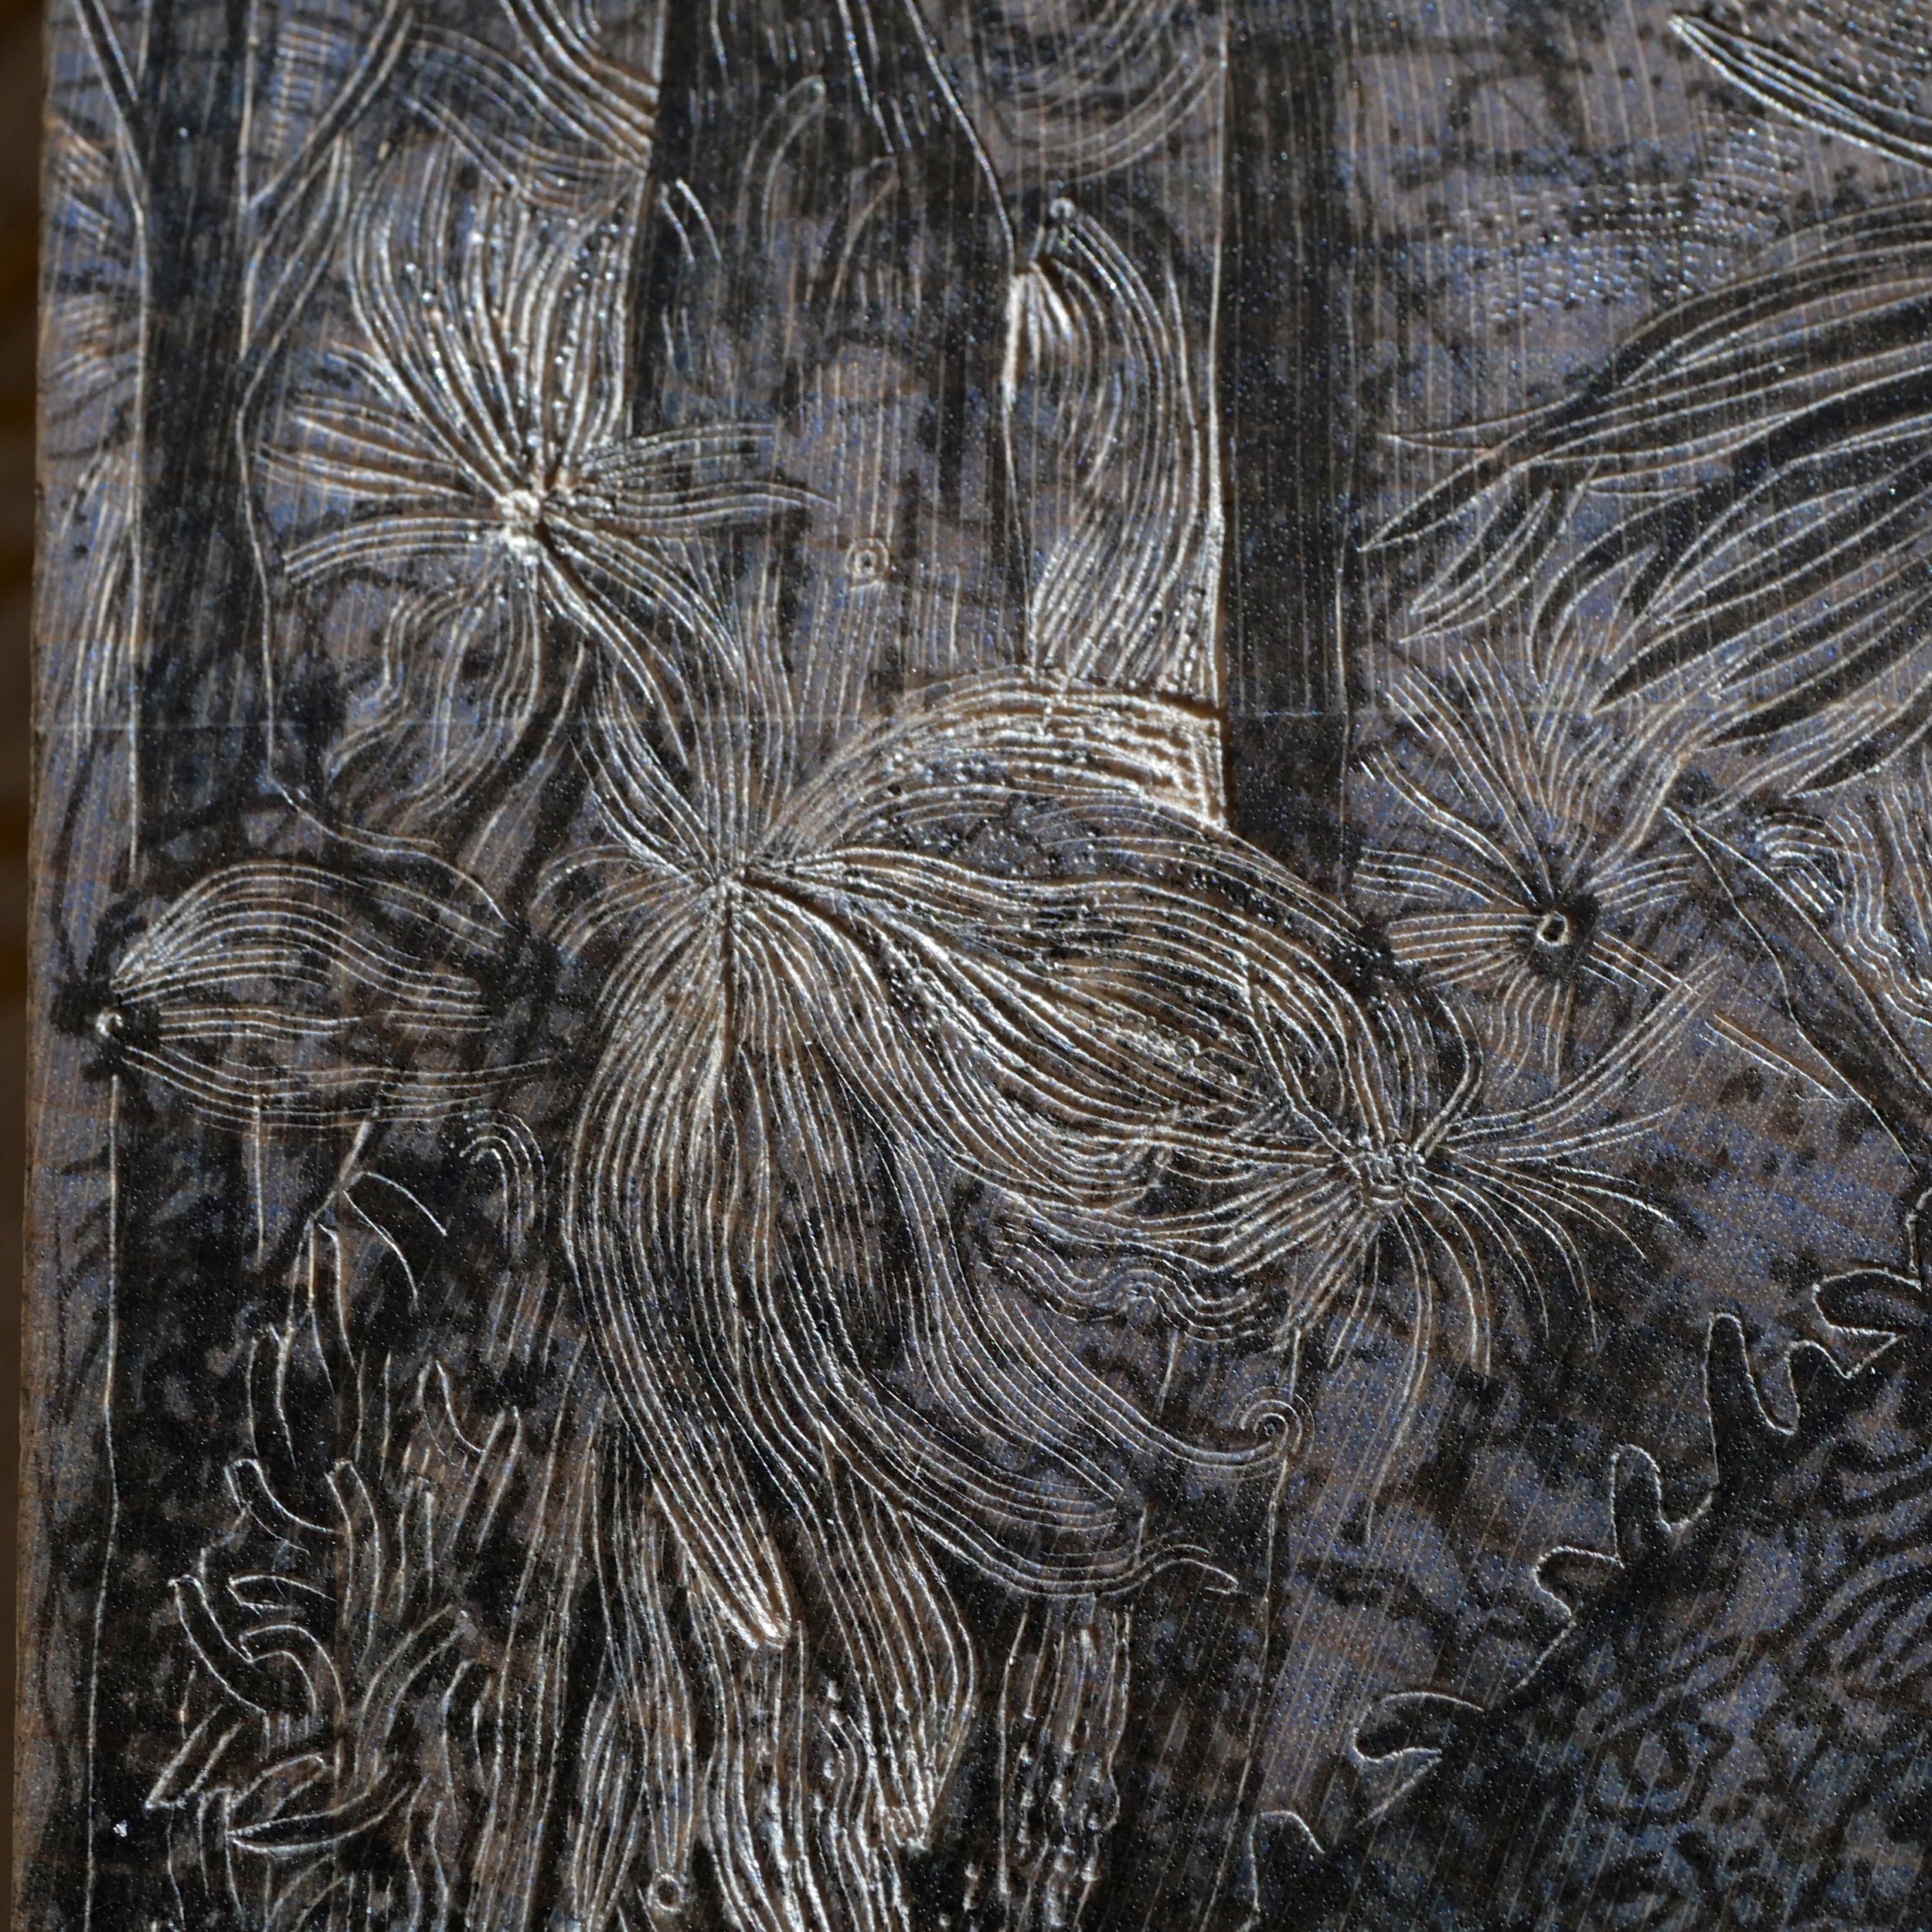
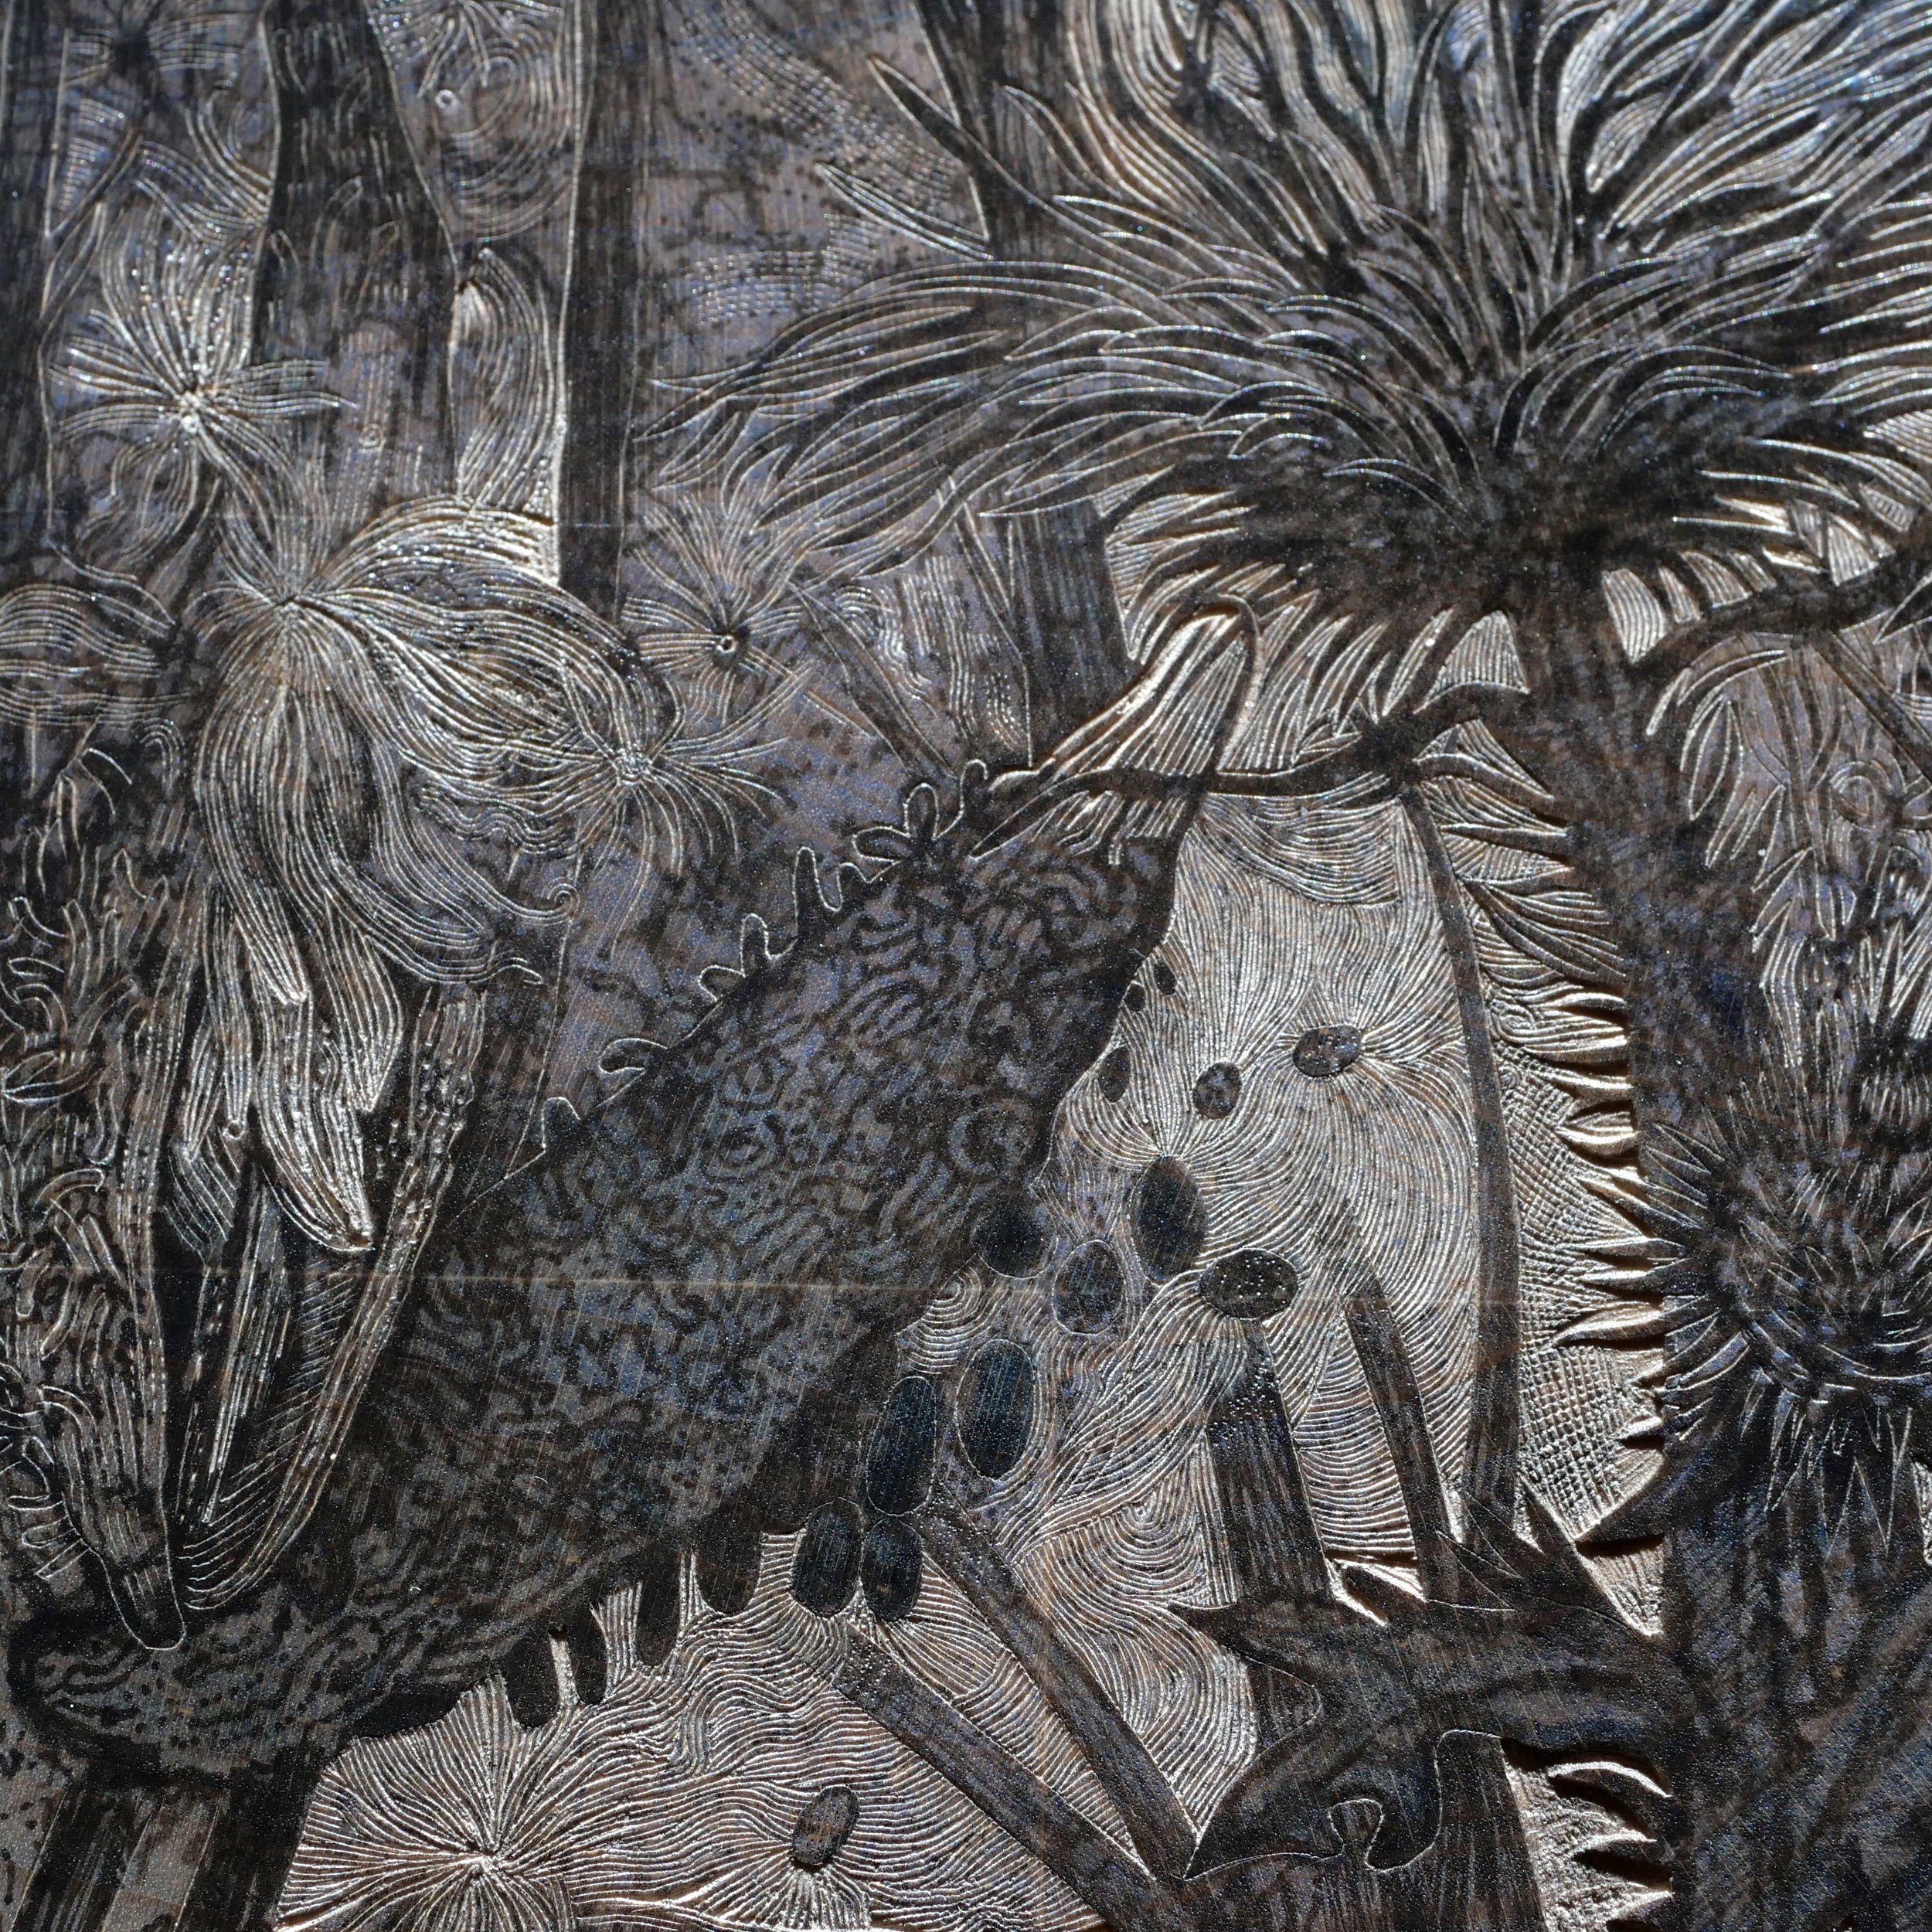
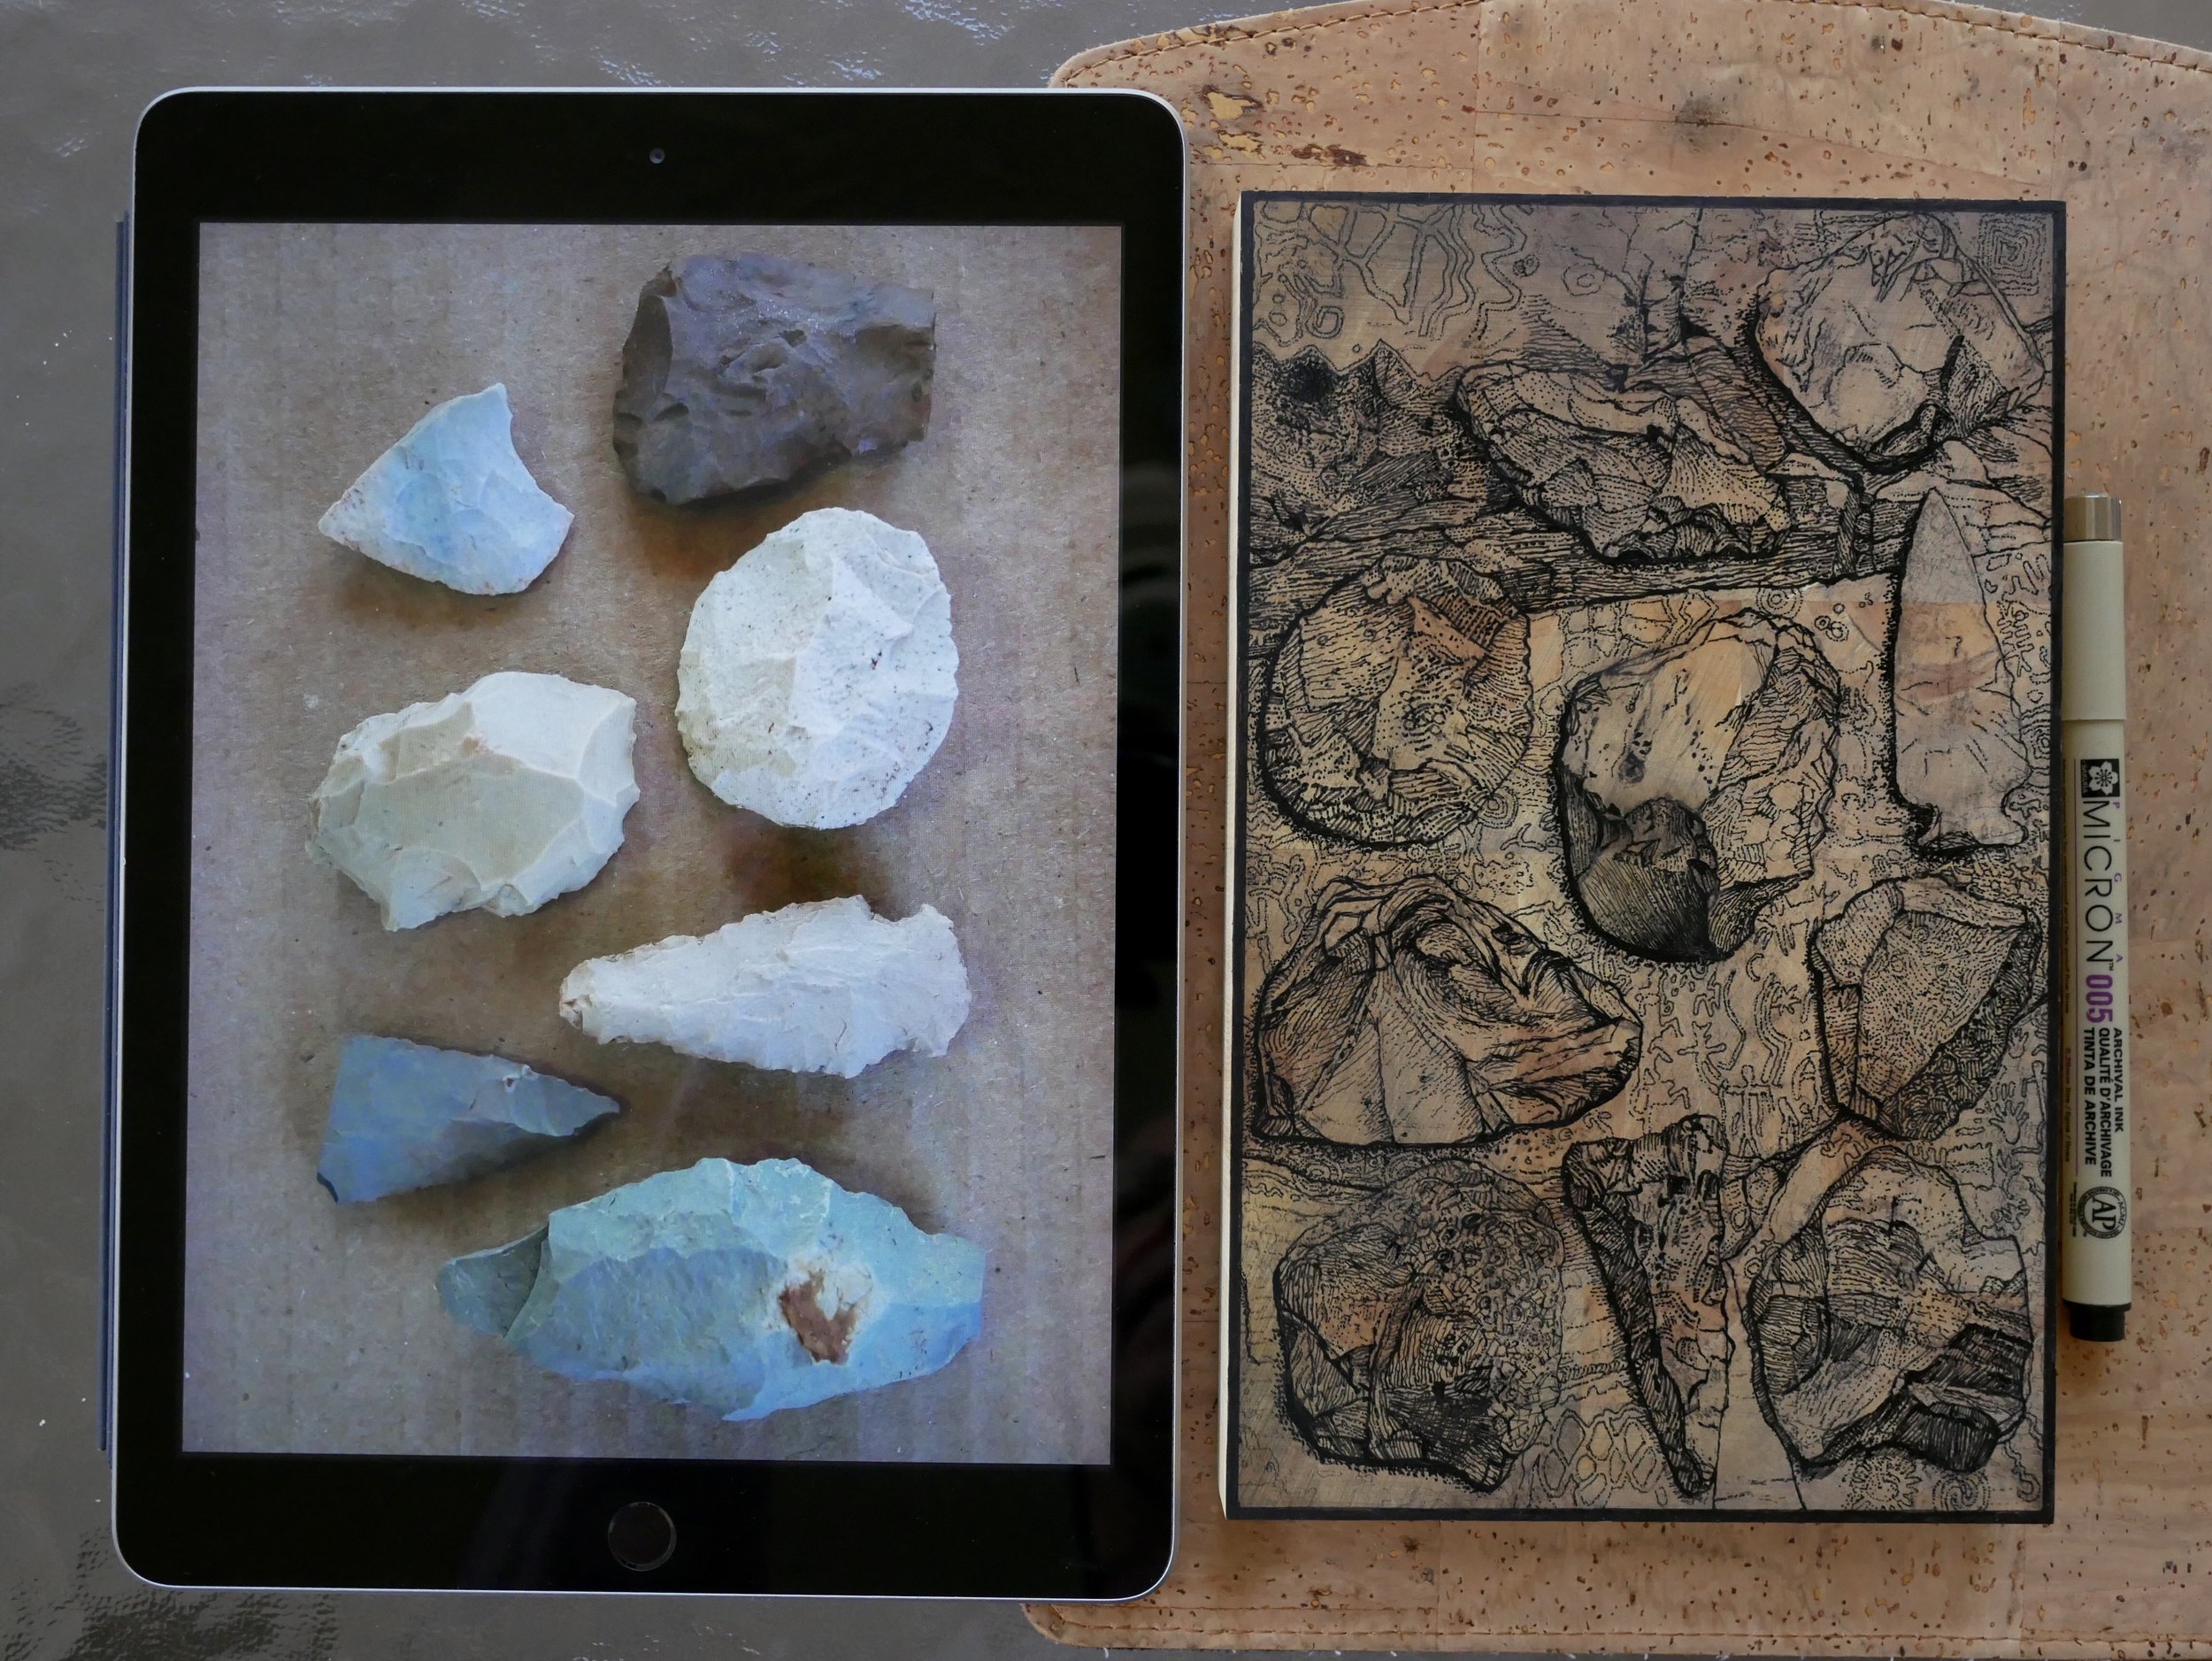
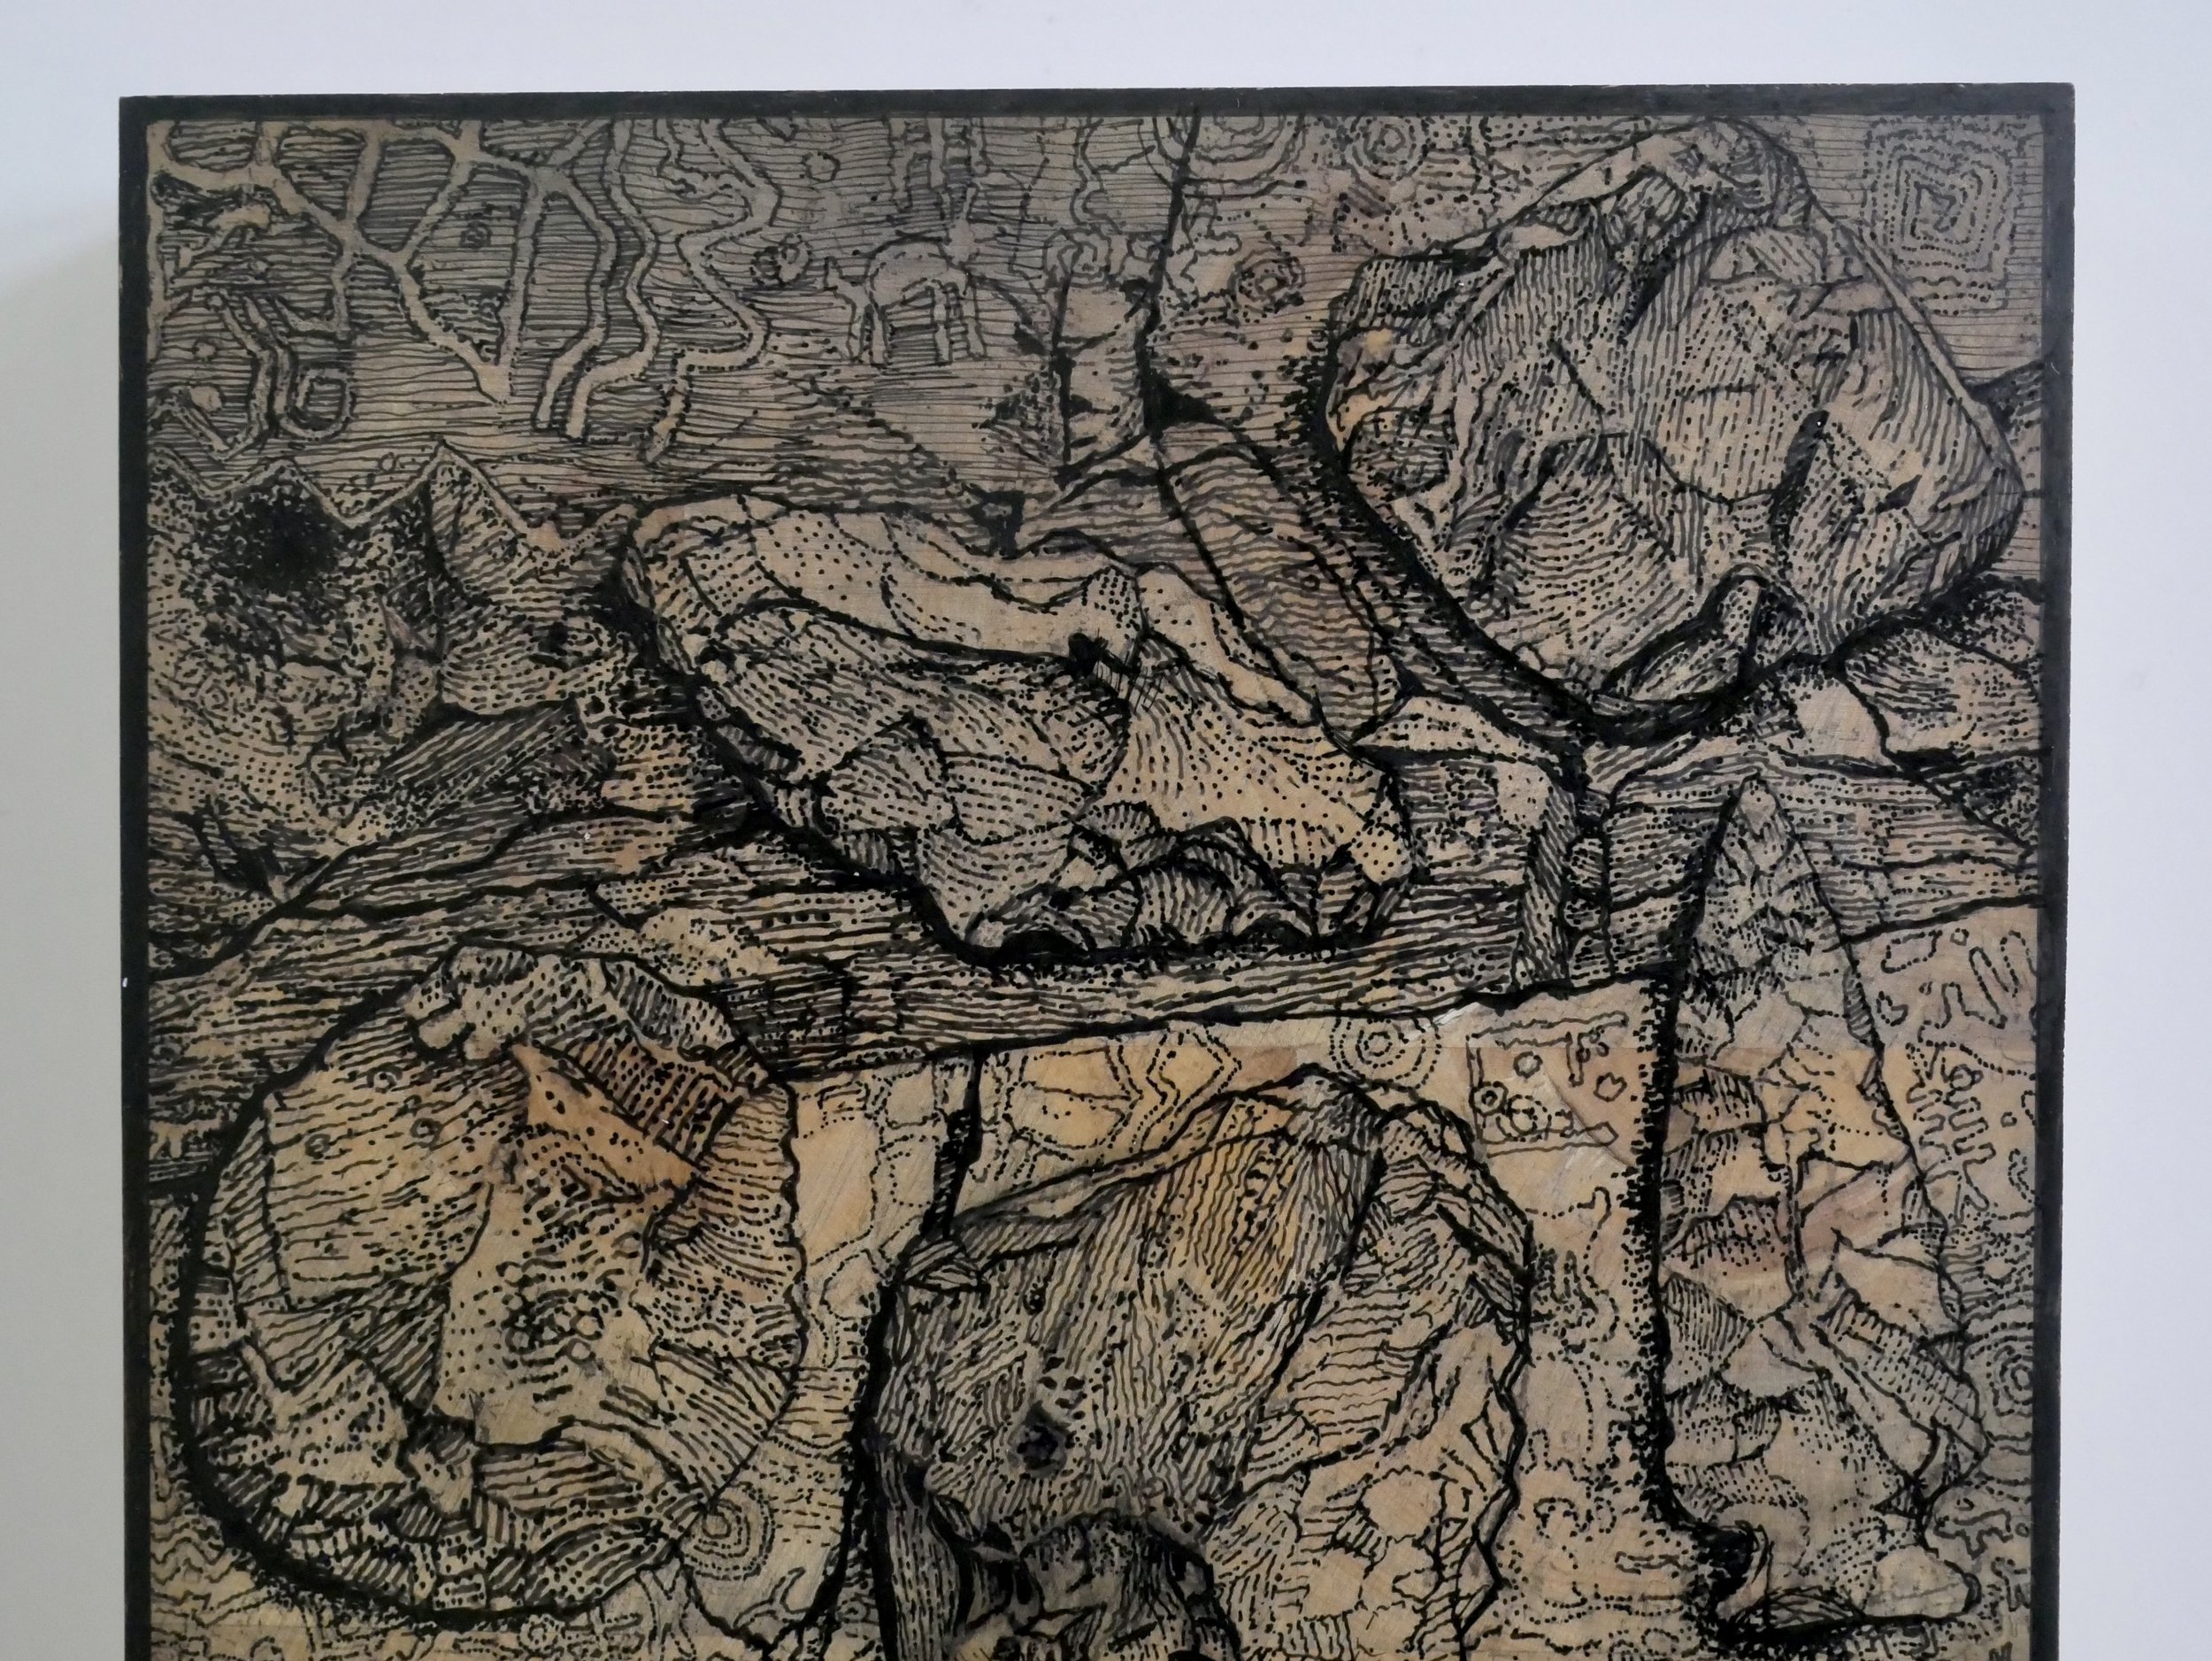
The engraved lines I cut will be much different than these drawn lines, as what I cut away will appear white on the print. There is only black & white in the final print made from the block. What is seen as grey tones are created by engraving tints (parallel engraved lines) or stippling (spots “picked” away with a nicking upward of the very tip of the burin).

Fluffy Detail Work

I’m having fun engraving milkweed and thistle fluff. I’m pushing the detail work more than ever, and will see if the time I am spending with the fine burin work will be worth the effort.

A 5”x7” end-grain maple block made by Jim Reynolds.

A detail photo using my macro lens. Though the areas look light and bright in the photos, much of this will appear as middle greys on the print.

I will use a few different multi-line tools to create lines that I will re-enter with a burin and change the path and thickness of the mark.

Swirls, whorls & fireworks in the negative space between the plants.

"Storied Stone" in Progress

I was happy to recently receive an email that my wood engraving “Storied Stone” was selected for inclusion in the Society of Wood Engravers (SWE) 86th Annual Exhibition, which will first be on display February 6-25, 2024, at the Bankside Gallery in London. Here are some in-progress photos of the making of the wood engraving.

An early step of my drawing the design directly on the block with a Pigma Micron marker.

Textures and details were culled by many photos I took of flint knapped and knapping rocks I took in Patagonia, Arizona at Jeanne’s sister Chris’ ranch.

my ipad made it easy to view many photos and to zoom in for details that I could utilize as I developed the drawing.

The rocks and petroglyph designs continue to develop.

I had plenty of petroglyph photos too, to use as reference.

Much of the engraving work was done during the first lockdown of Covid-19.

I continued to use reference photos, taking textures from various rocks and petroglyphs as I didn’t want to copy any specific photo. I often looked how a rock was illuminated in a photo and create a similar sculptural lighting in the engraving.

Here a few detail photos taken with my macro lense.

A view of the block with a raking light, ready to print.

Printing the block was another matter that I really struggled with, I could not print the image consistently. It took me two more years to finally edition it, utilizing what I learned from Graham Williams at the Florin press this spring 2023.

A-round Again

I recently completed an edition, it taking me a few days to come up with a title, which is “Nestle”.

I started working on the image by drawing directly on the block, using reference photos I had taken of nests found around our Lumen Lake home.

I ended up using this winter photo as a primary resource for the nest details.

I originally thought of using this feather image, a drypoint intaglio print for a Christmas card Jeanne and I made (circa 1980s).

I decided to use a feather as my “model” when I continue to develop the drawing on the boxwood lobed round.

Here the drawing about complete on the ink-toned block surface.

The feather was engraved first, and then the silhouetted nest edges second.

Next, weaving the nest with engraved lines.

I first printed an edition on my Albion press, utilizing makeready and printing on dampened paper.

After printing the edition, I continued printing, this time on dry paper, for a collaborative effort with wood engraving friends.