Making Marble Drying Racks

I viewed a few marble drying racks during my recent travels in England, and decided to finally make some for my ArtStart studio.

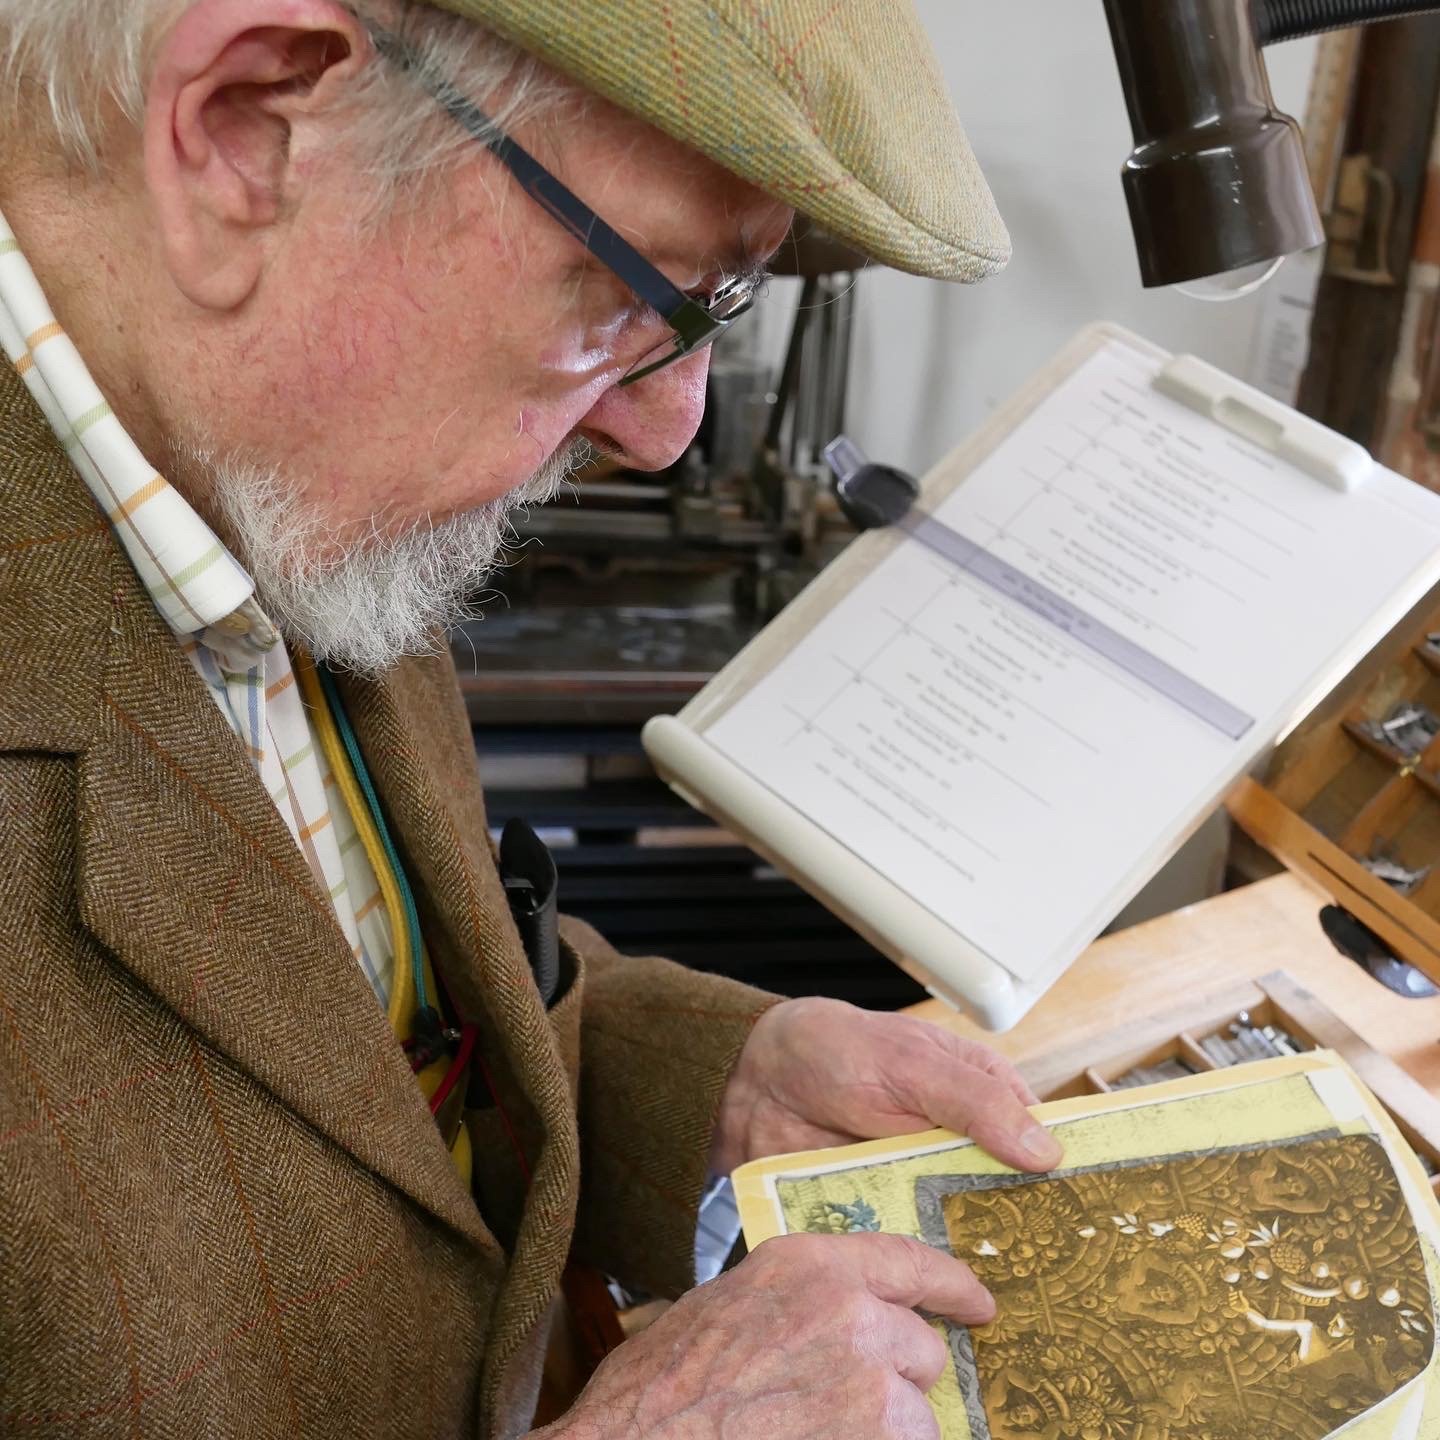
Andy English in his studio in Ely, and a marble drying rack overhead holding some art.

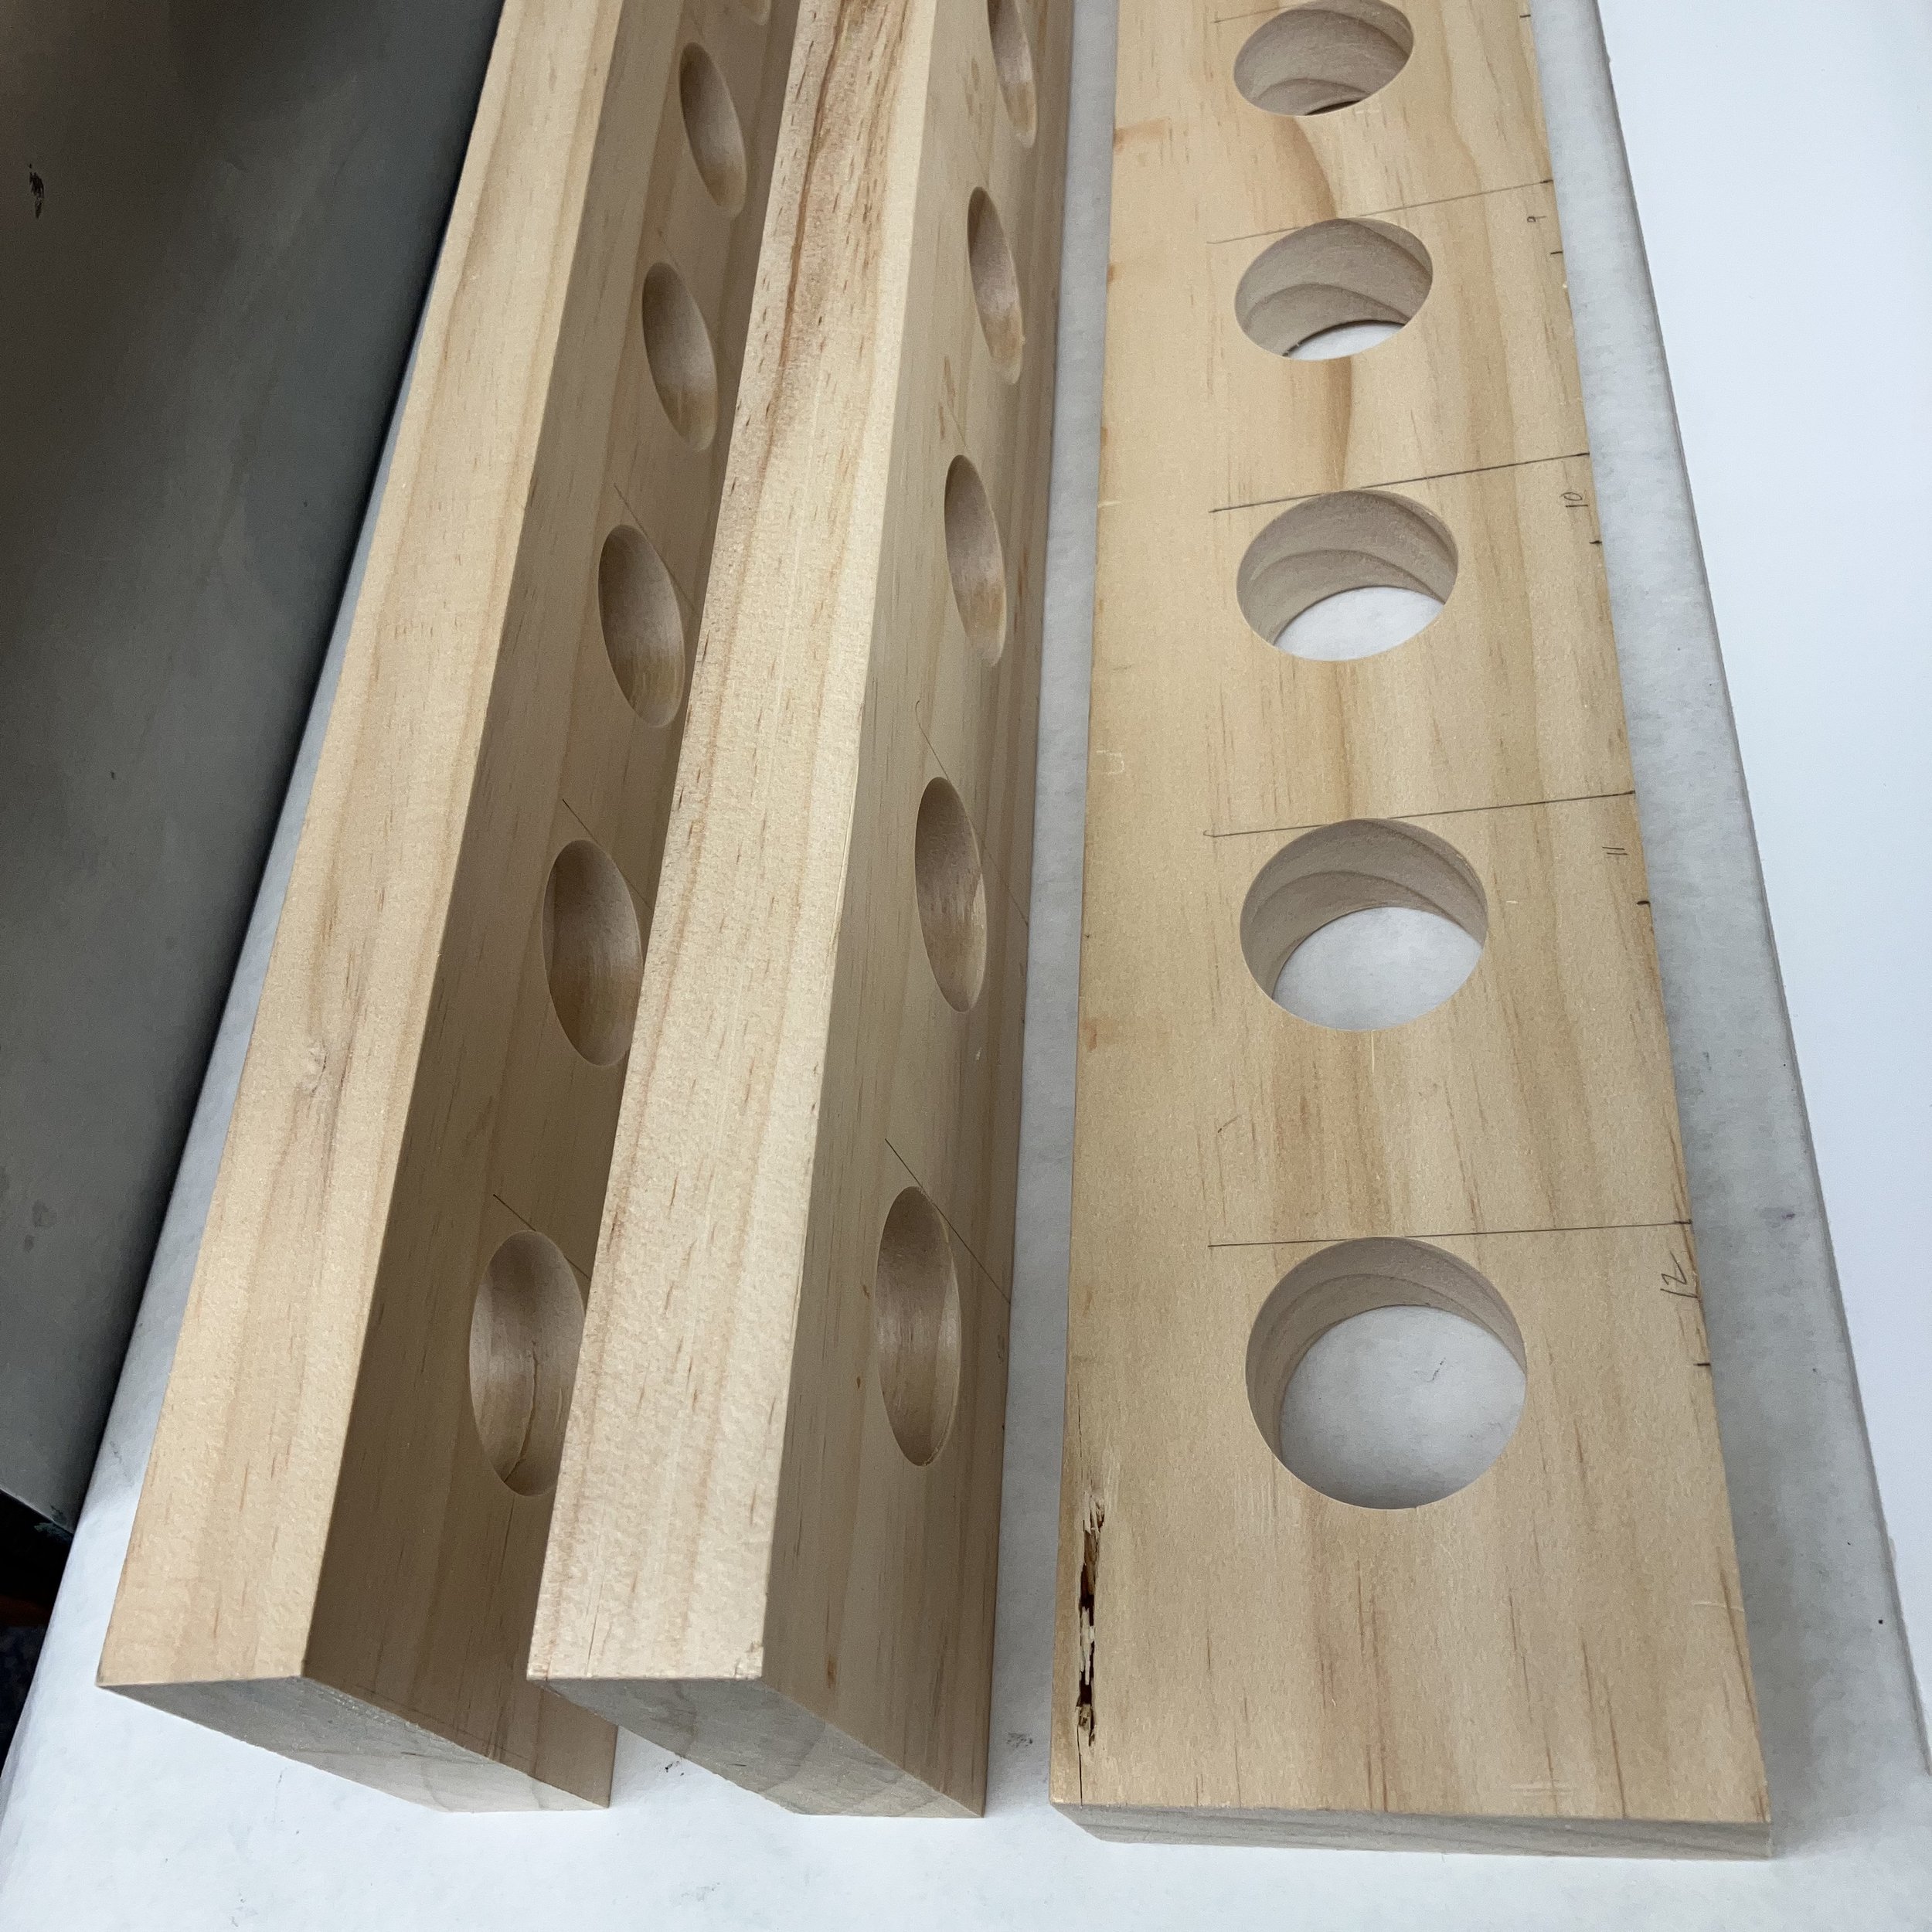
First step making large holes using my small drill press.

With the final shape of the openings drawn with a pencil I used a jigsaw to “rough” out most of the wood.

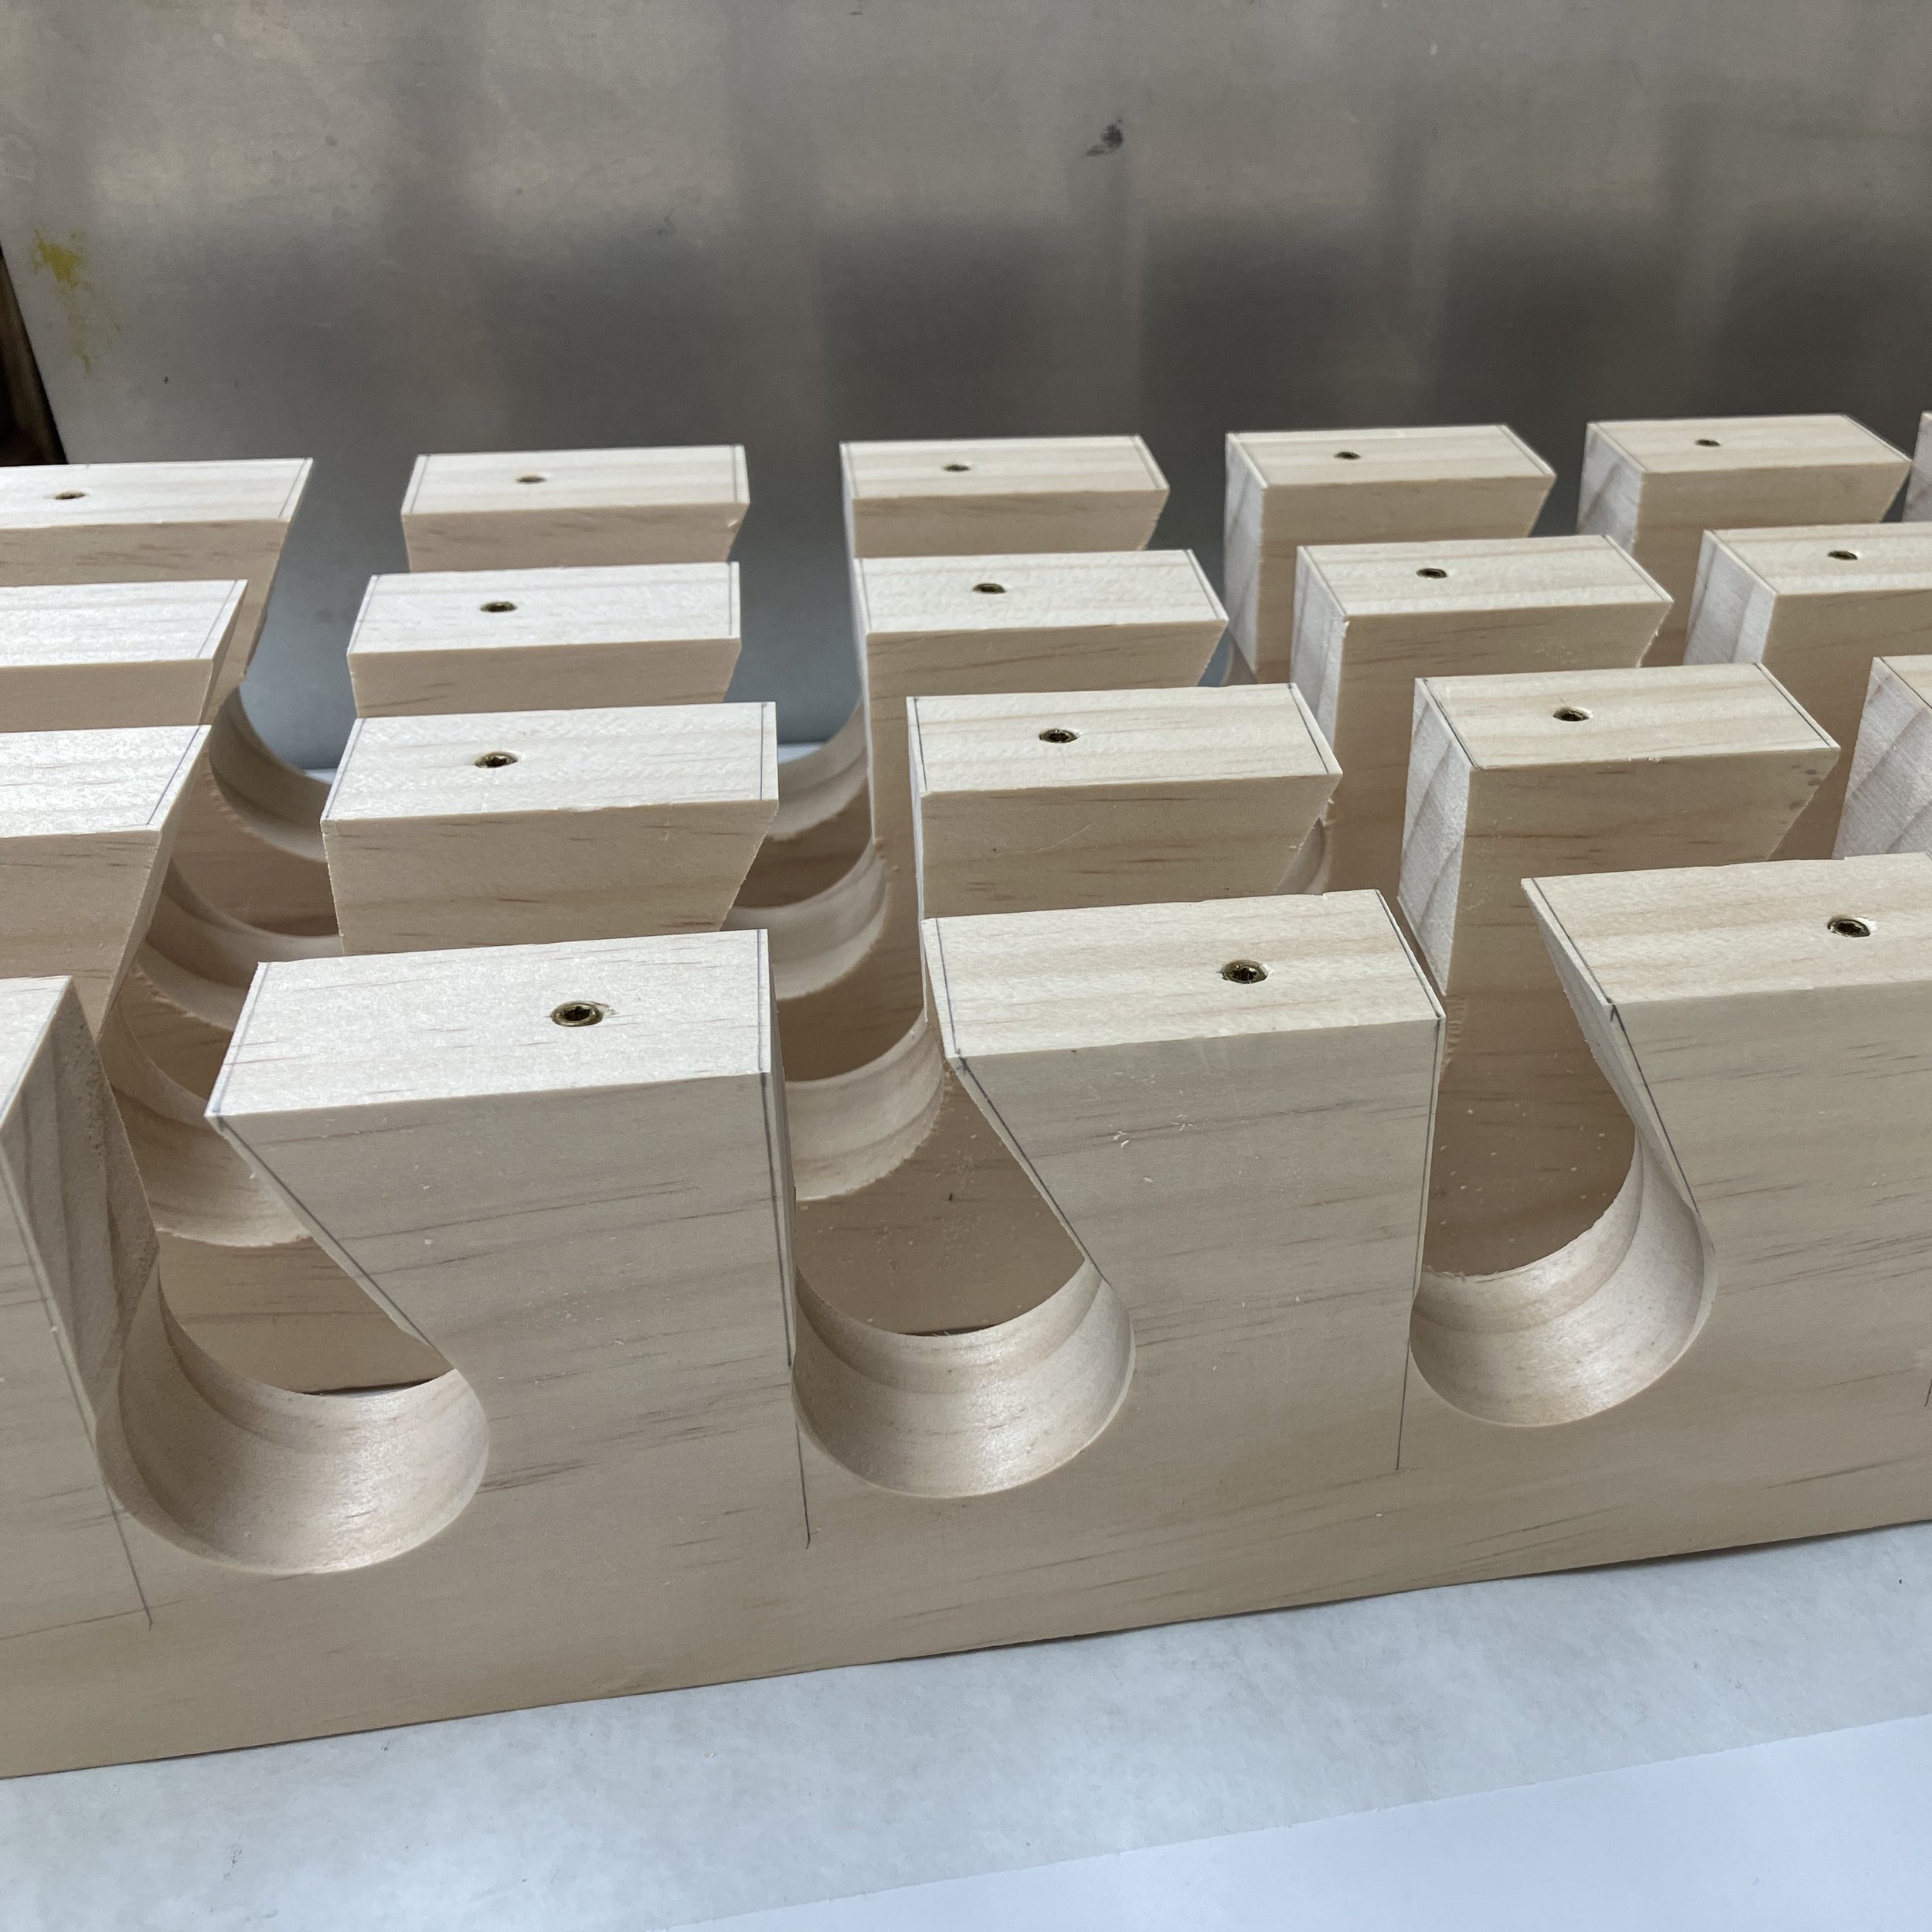
Here is my laminate router and template setup that produces the finished 12 shapes cut out of each board.

Before the template is clamped on, the hole is aligned as well as the bottom.

After the routing, getting a smoother and consistent opening compared to only using a jigsaw.

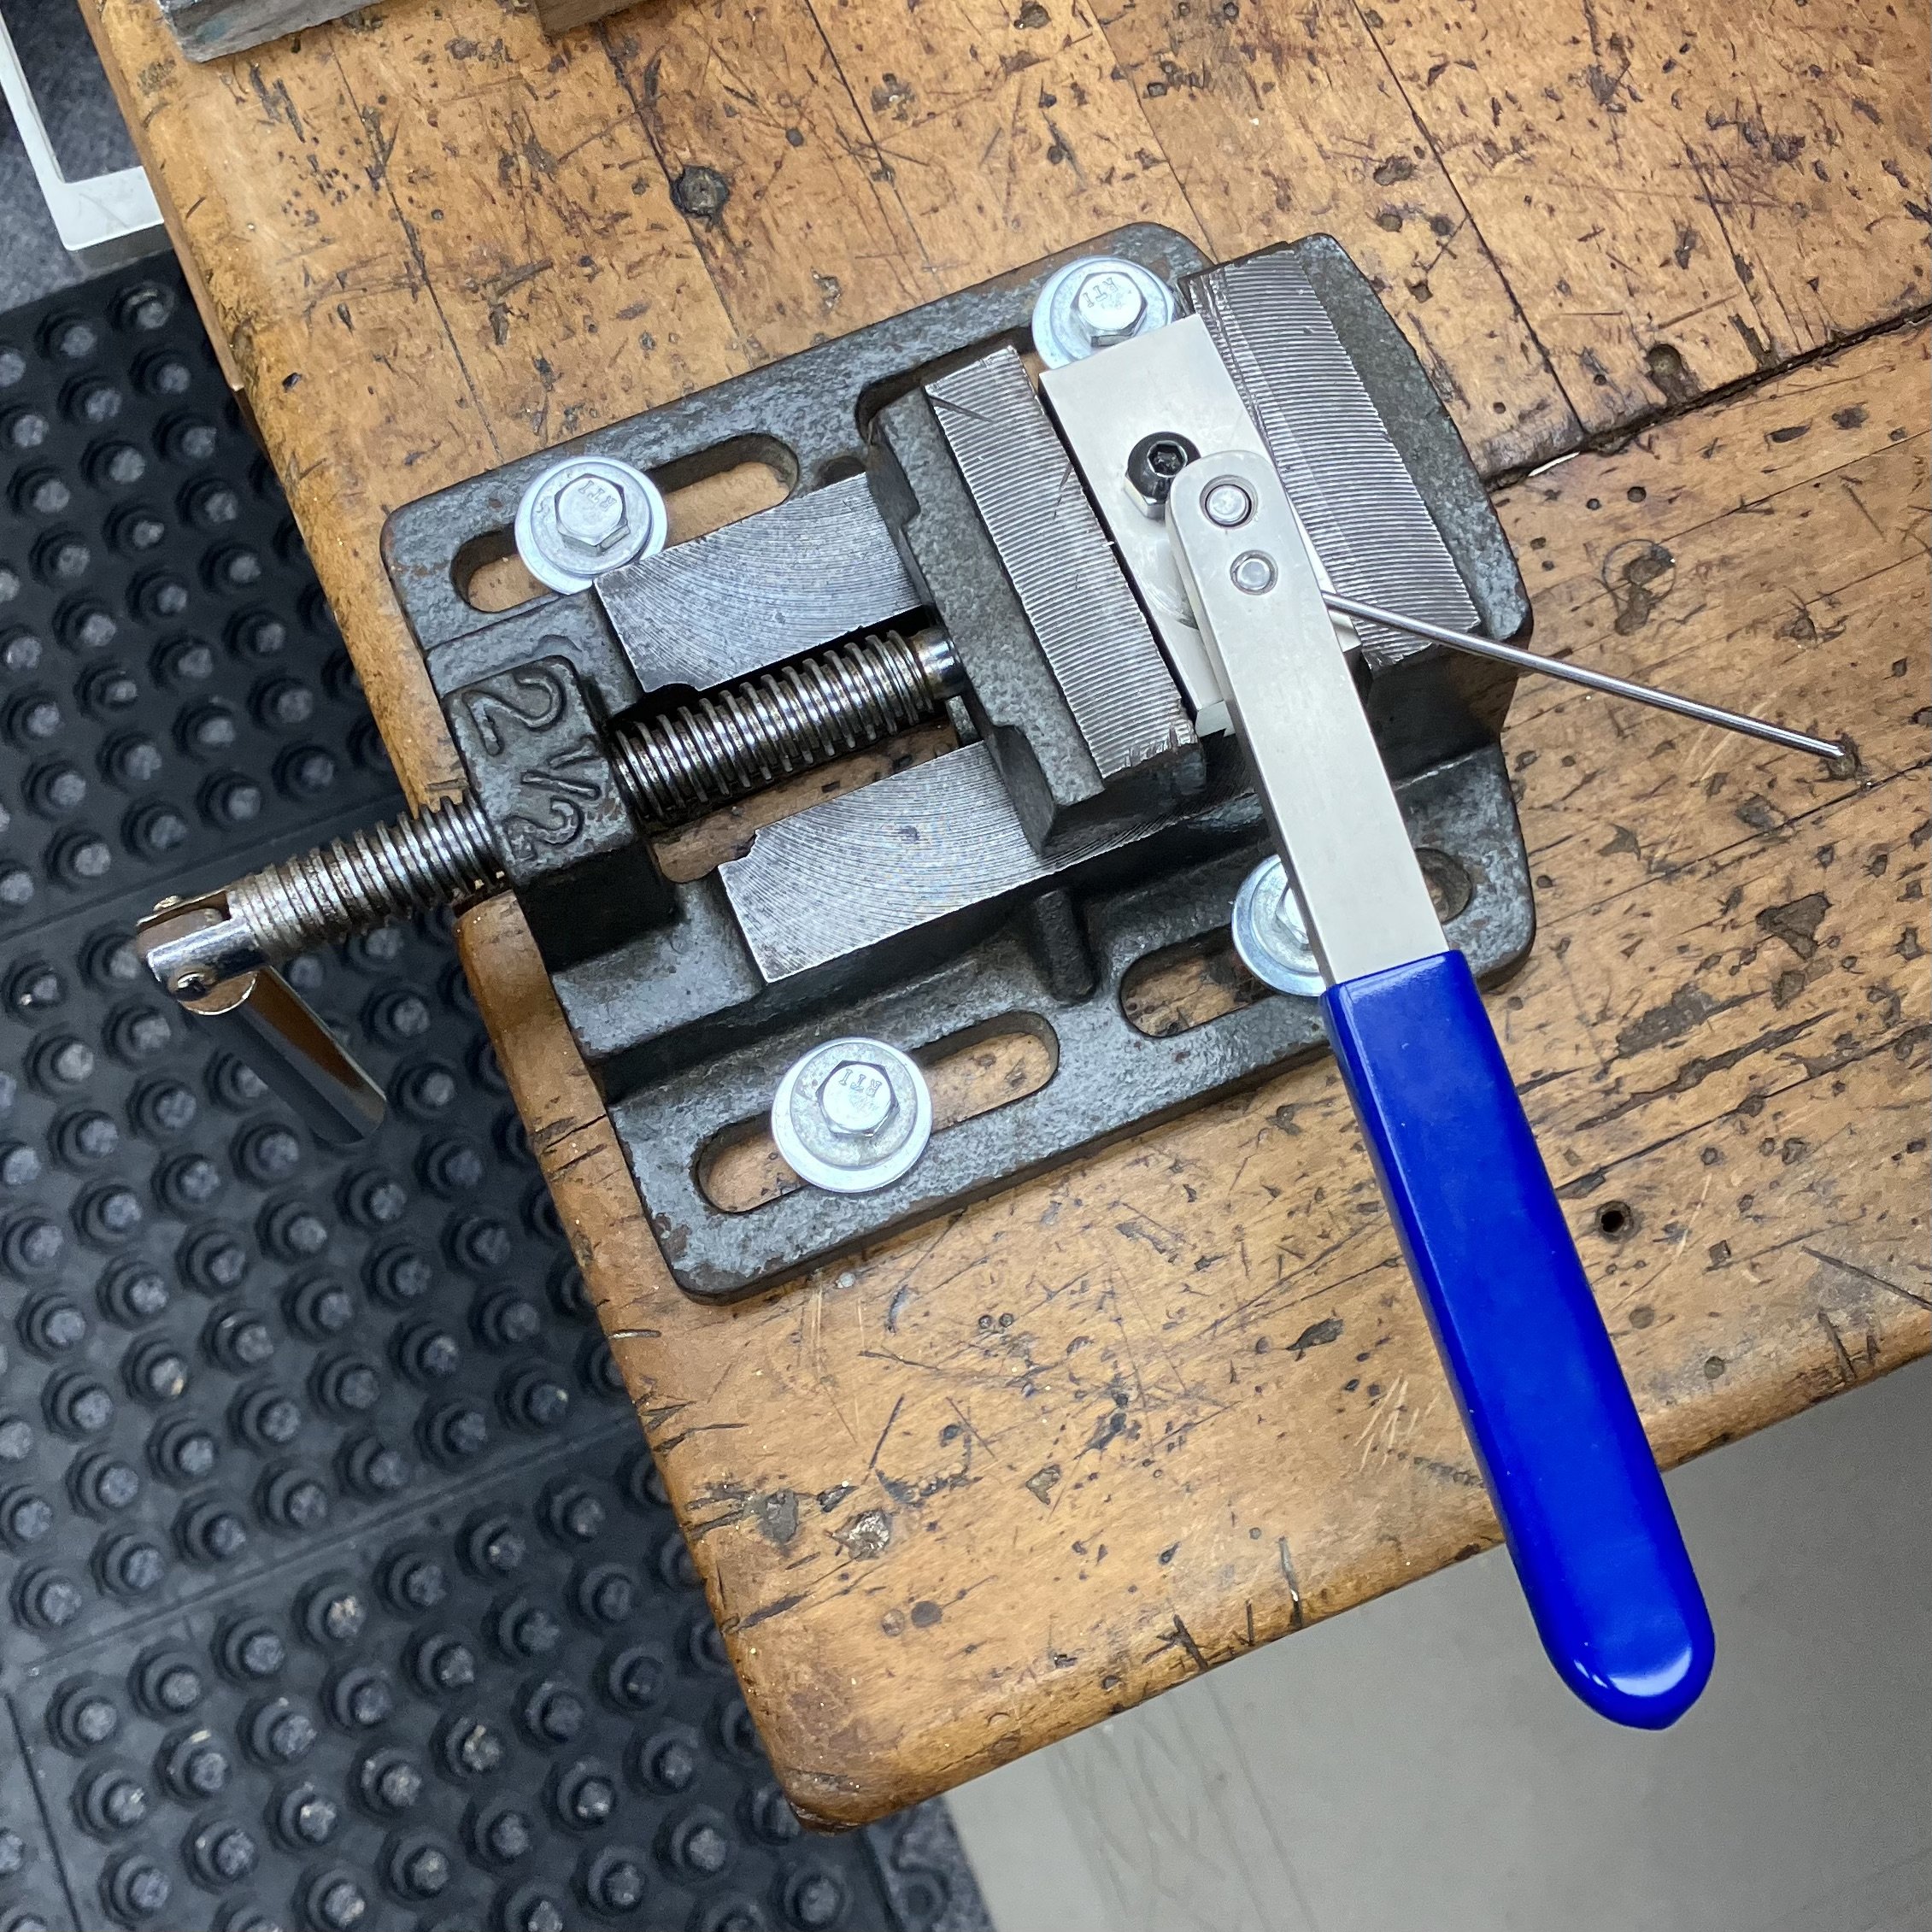
A hobbyist wire bender mounted in a small vise was used to make the bent stainless steel rods that keep the marbles in place.

It took a while to get the bent rod shapes consistent. First step bending the two ends, second step the right angle bend.

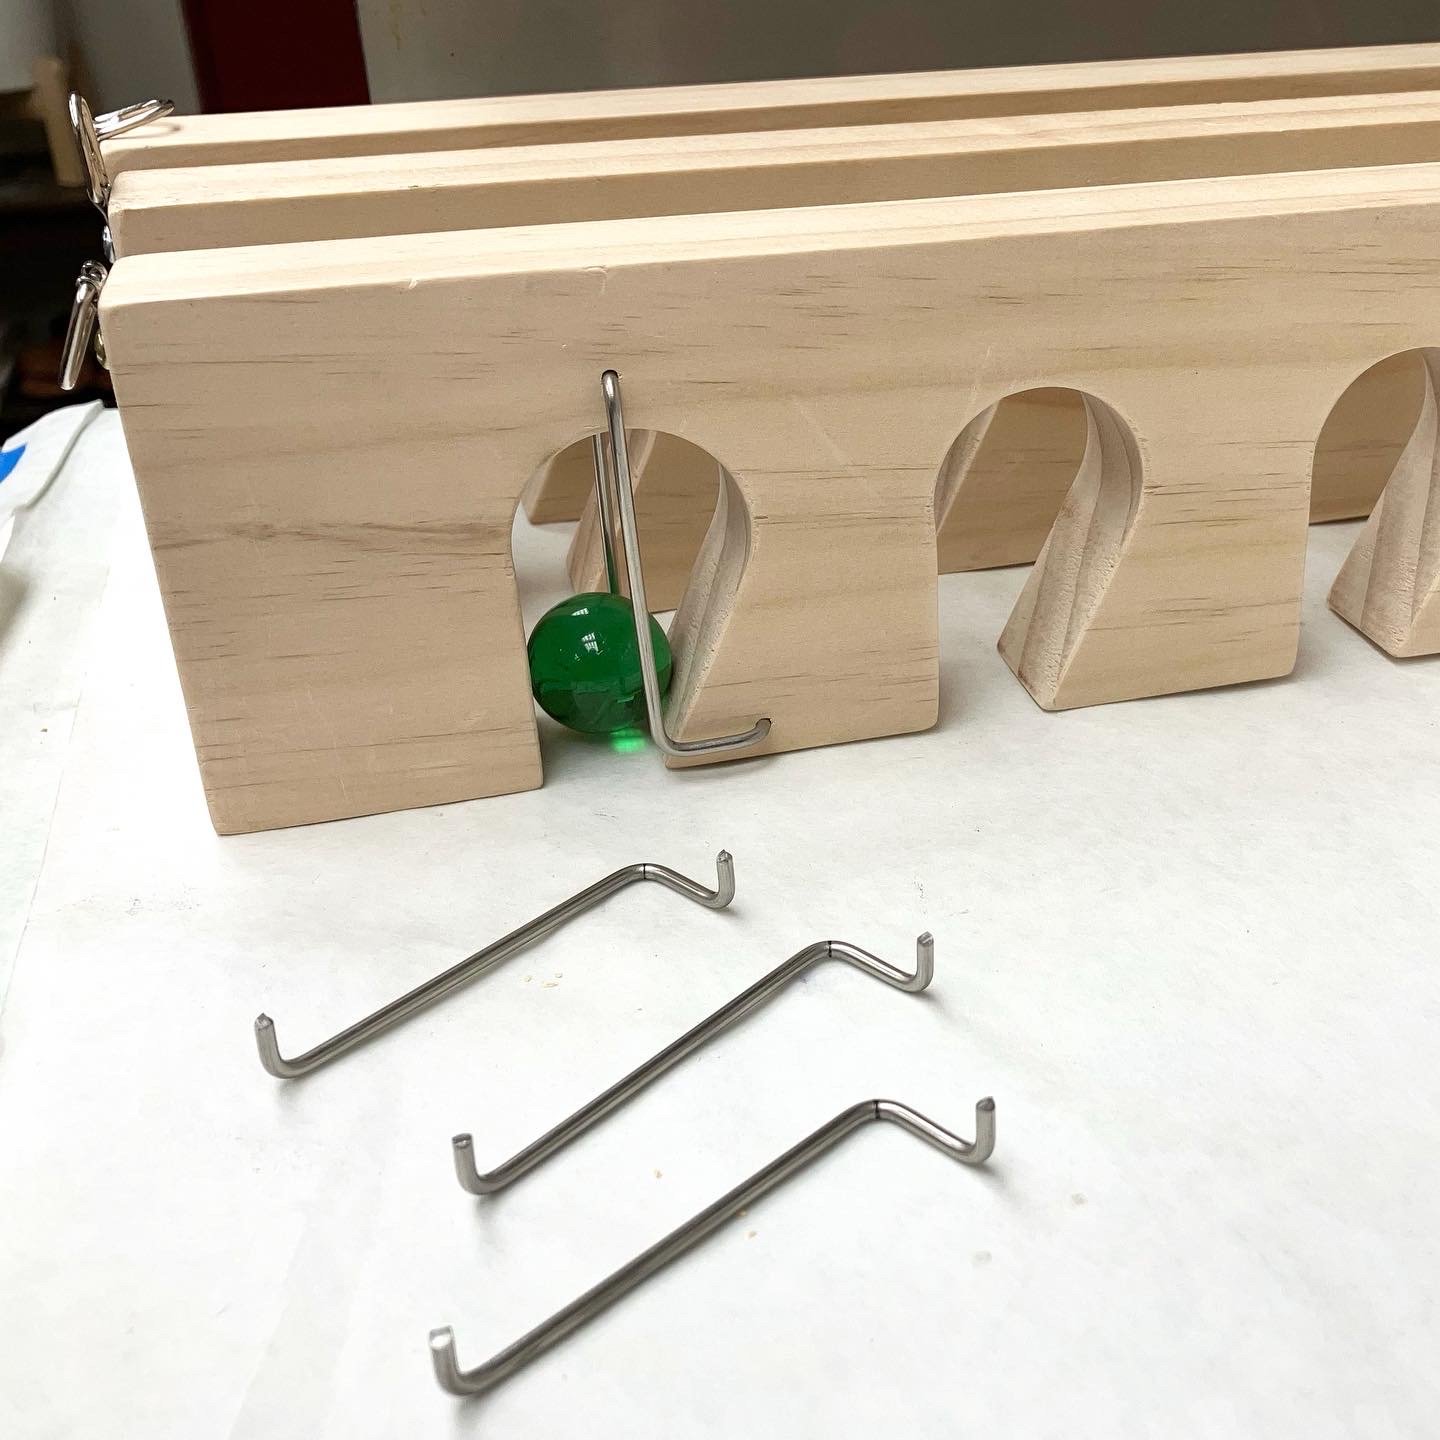
Next up precise hole drilling for holding the bent rods & assembly of the 4 marble racks. (I used the routing template to mark the holes.)

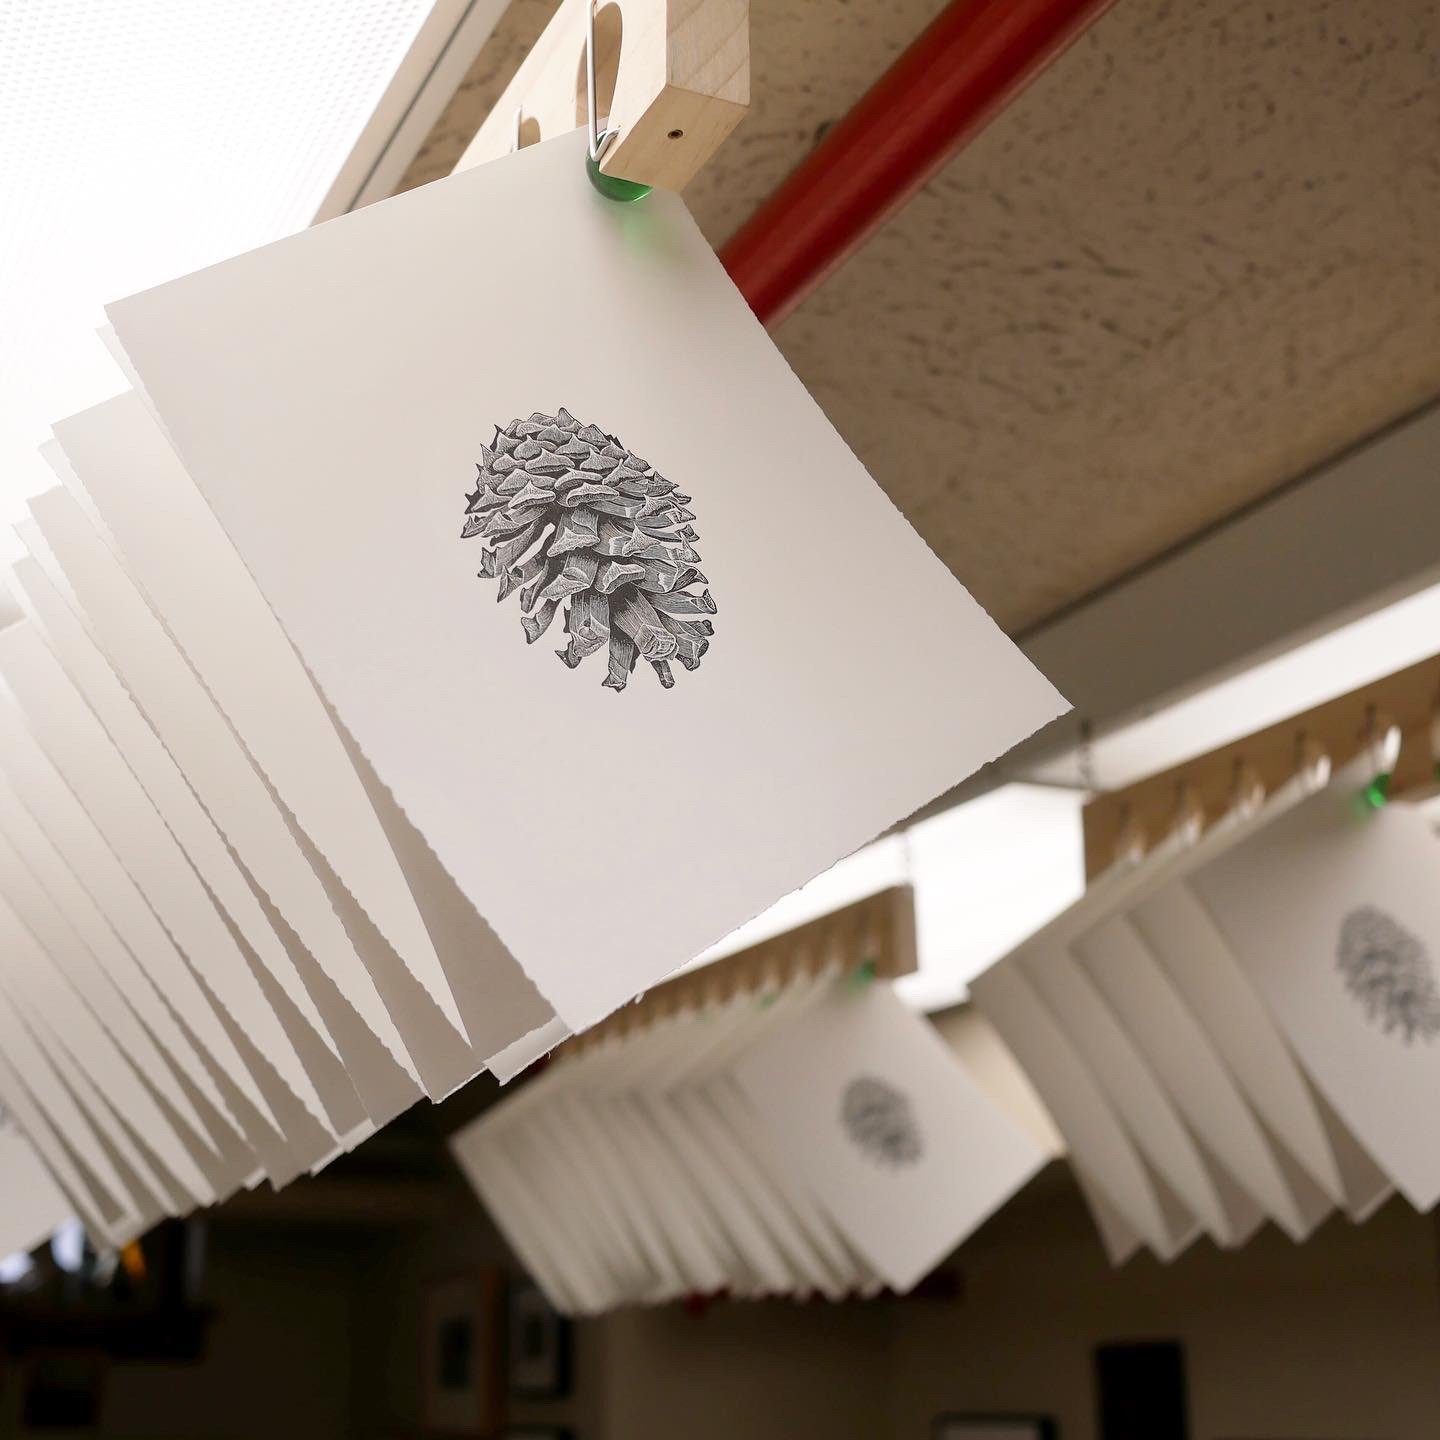
The new marble racks in use, hanging just inked prints back to back I can now dry 96 prints (and not use up all my tabletop space.)

And finally editioning my wood engraving of a pine cone.

Monica Poole Blocks

When I was in Oxford at the end of March, I spent the afternoon with Society of Wood Engravers (SWE) member extraordinaire Nigel Hamway. With him I had the wonderful opportunity to study some of Monica Poole’s engraved blocks, some familiar images and others that were new to me.

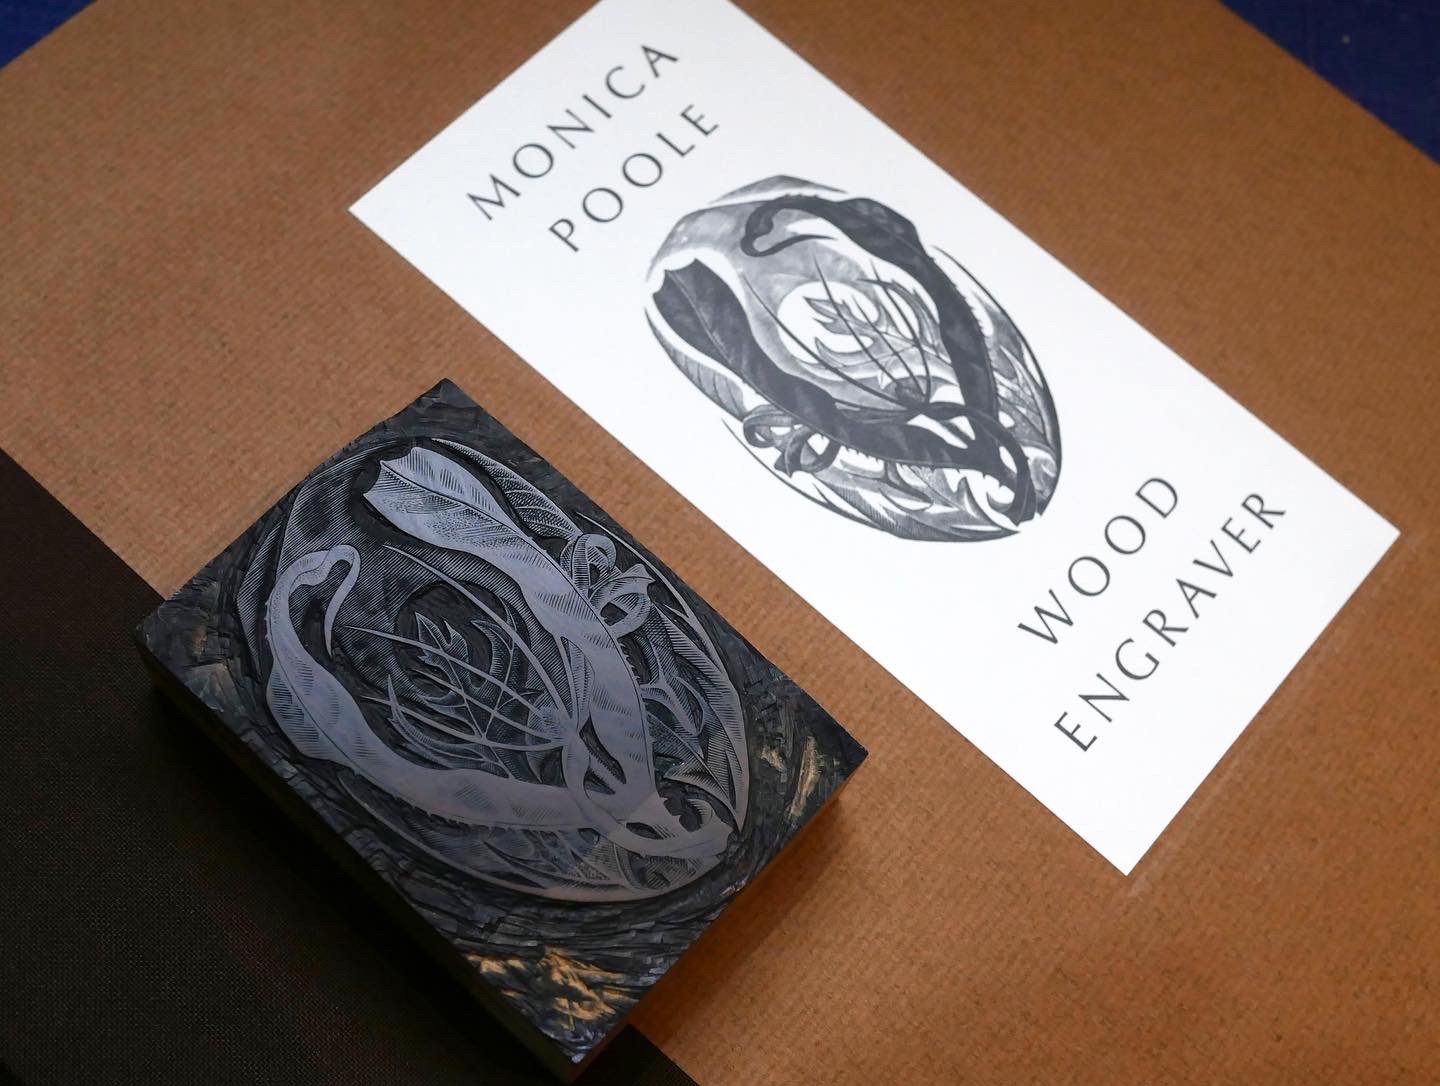
The block used to print the image on the cover of “Monica Poole Wood Engraver” printed by Graham Williams at The Florin Press.

Lovely shell imagery and skilled wood engraving. I was not familiar with this image, but did see it a few days later at the Western Art Print Room at the Ashmolean Museum.

Another gem, I love the boldness of the design.

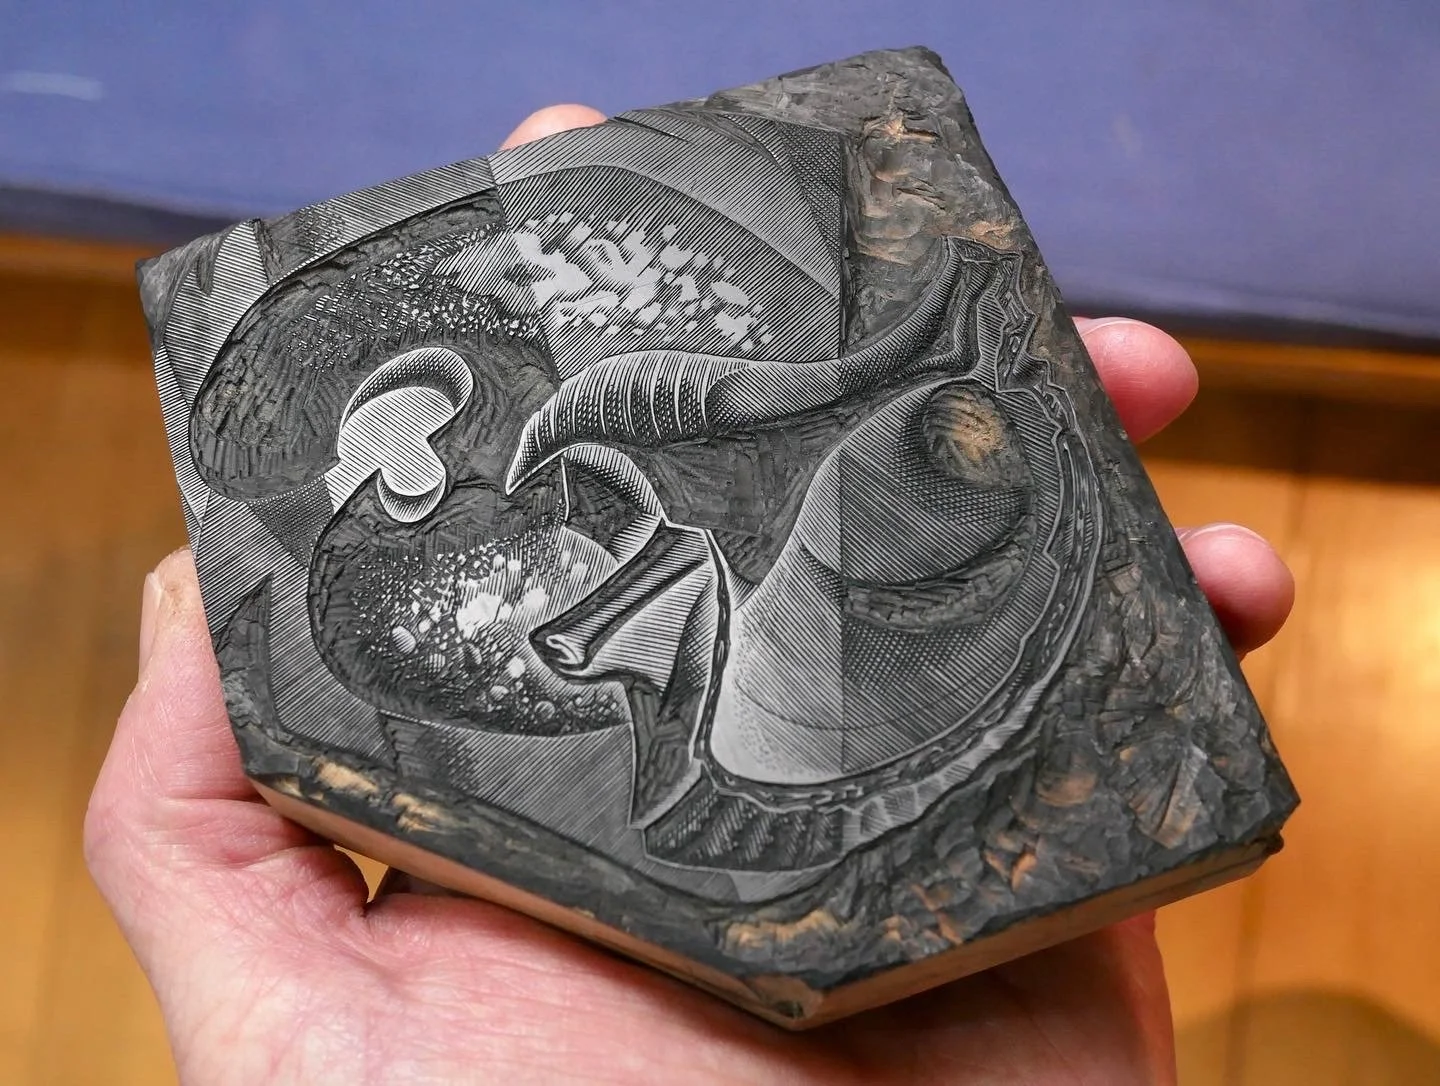
I studied (and photographed) most of the blocks viewing them reflecting the light off of the sheen of the block’s surface. The image seen this way often looks like a negative.

A favorite, “Dry September”.

Wow!

What do you think this is an image of? Monica engraved the textures of rock, flint and bone.

Graham Williams University

I was very fortunate to study with Graham Williams at his Florin Press at the end my wood engraving focused tour of England (March 24 - April 14, 2023). I learned how to modify ink, improved inking of my block (using a brayer and a roller), printing with dampened paper, and so much more. My schooling culminated in my printing a 1st state edition of my wood engraving Storied Stone (which I will continue to engrave to print a final edition).

Graham showing me a makeready he cut for an Edwina Ellis wood engraving he printed.

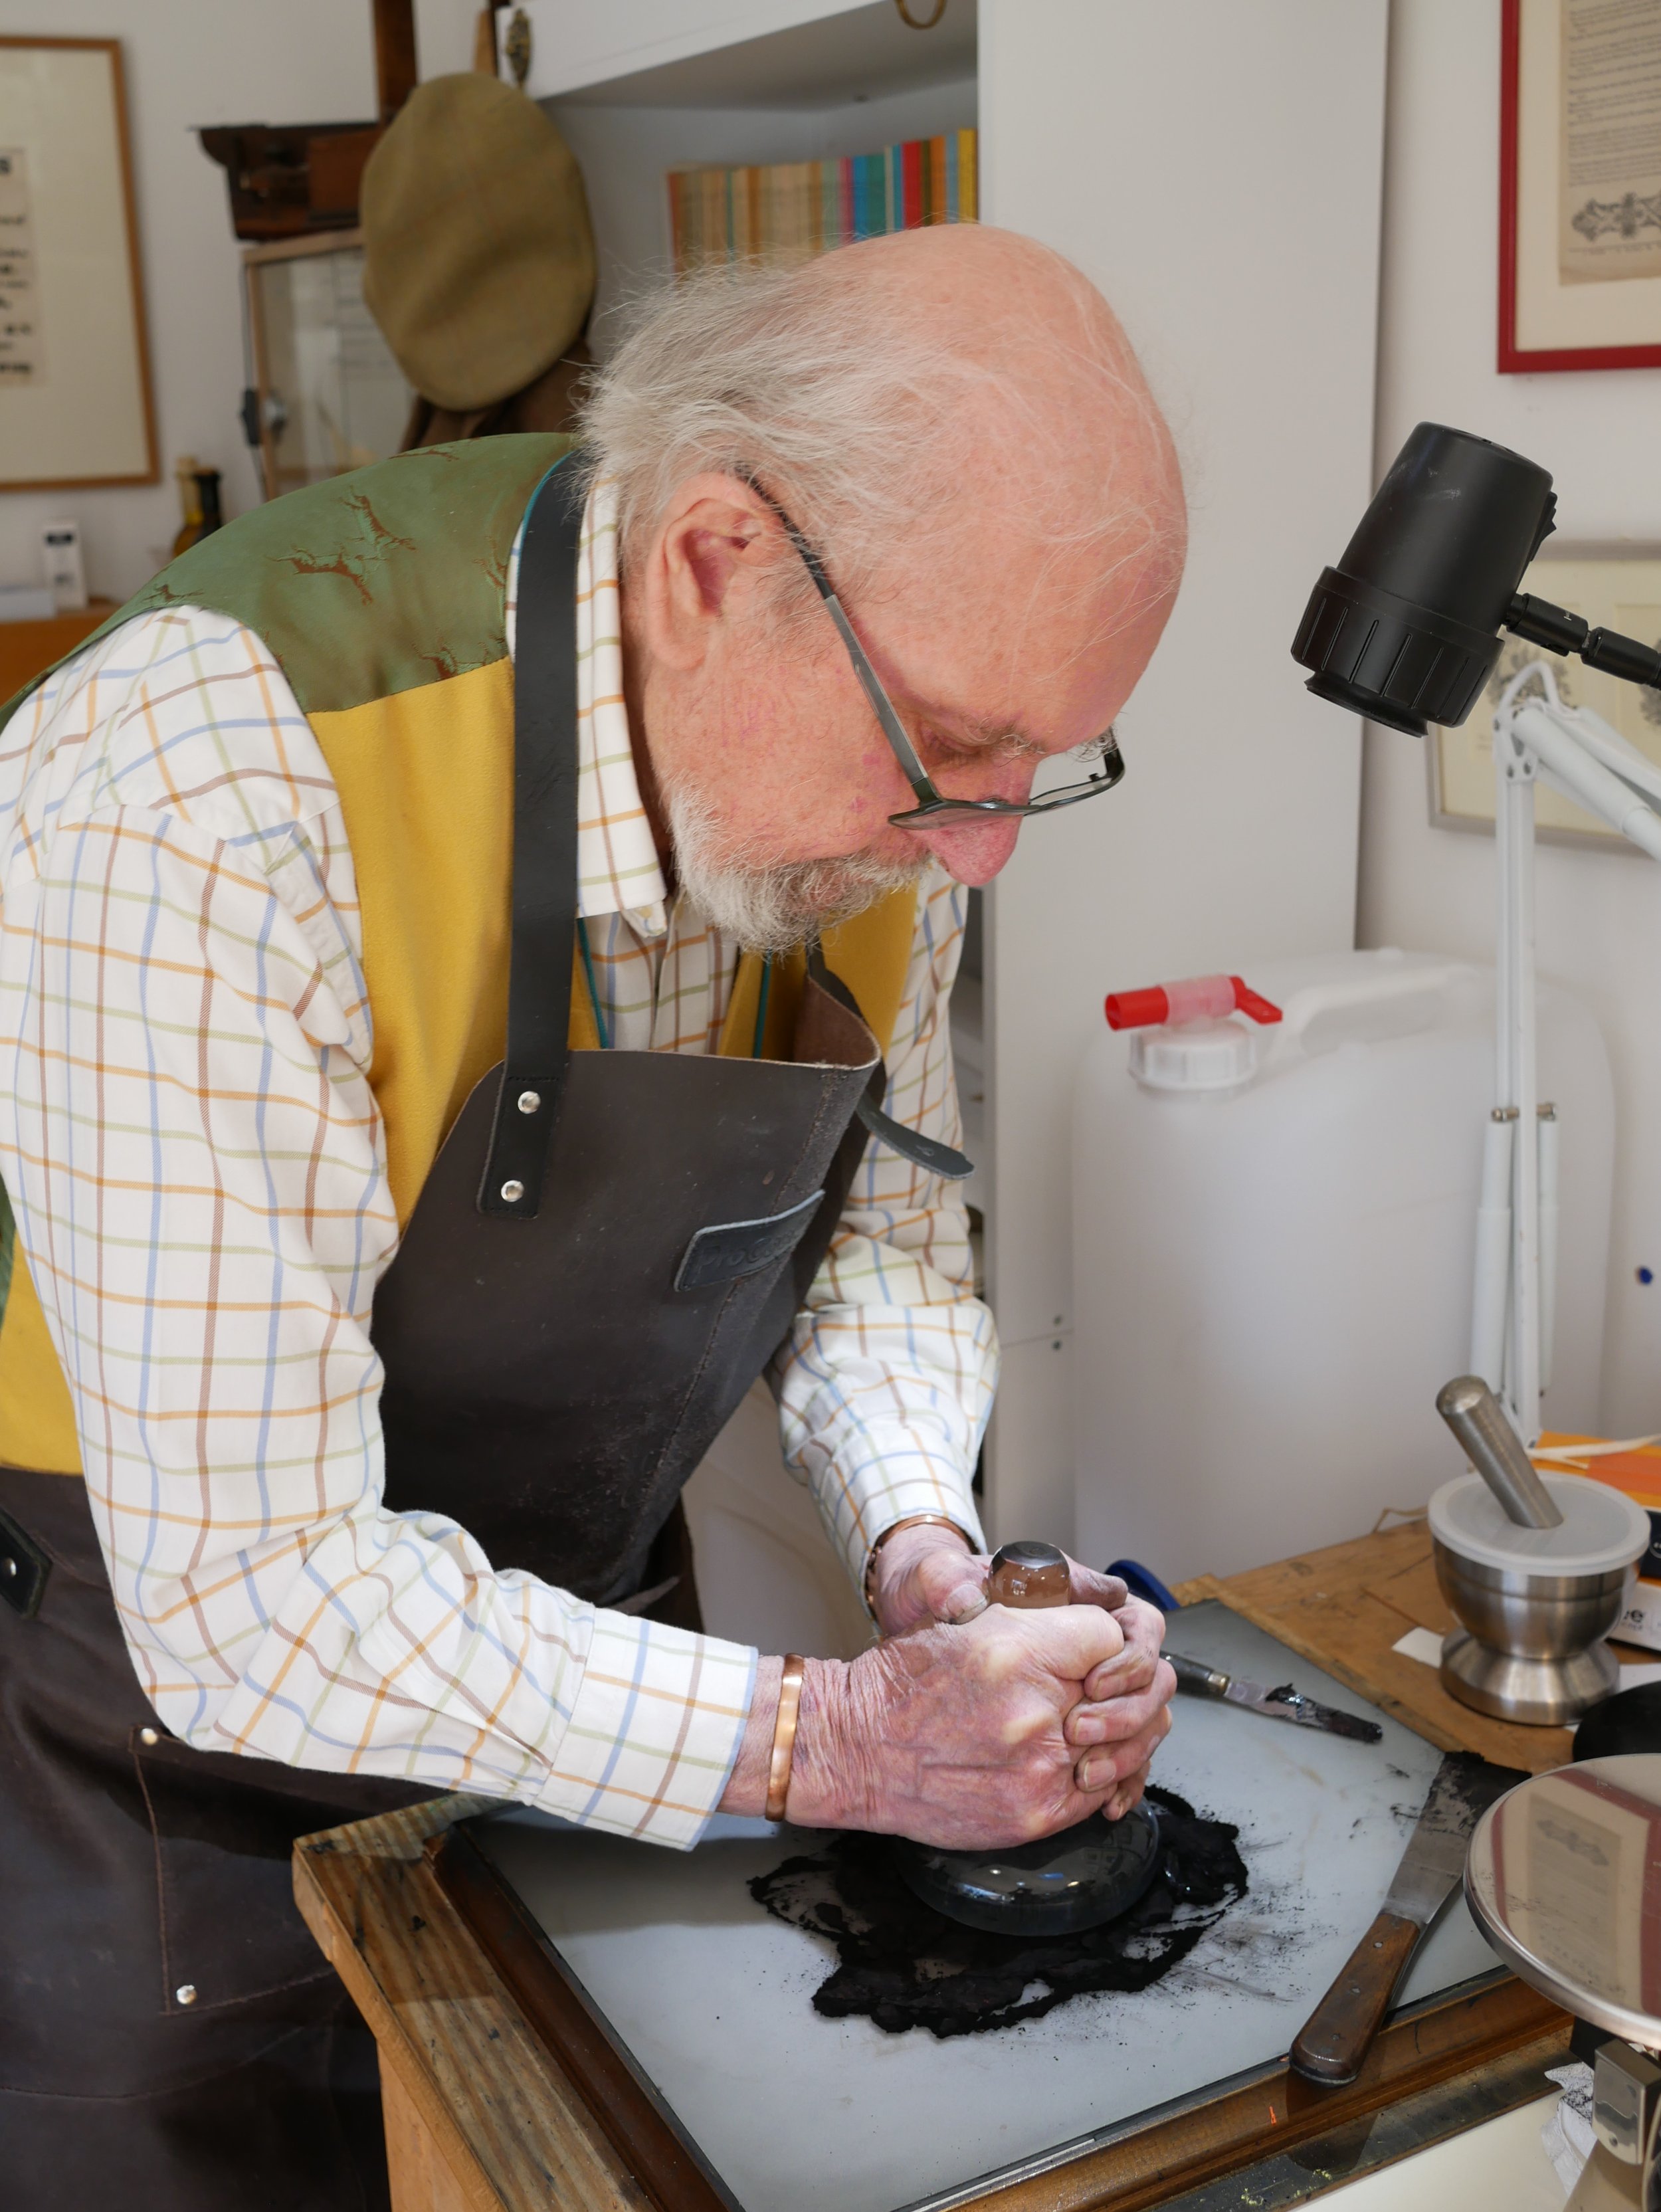
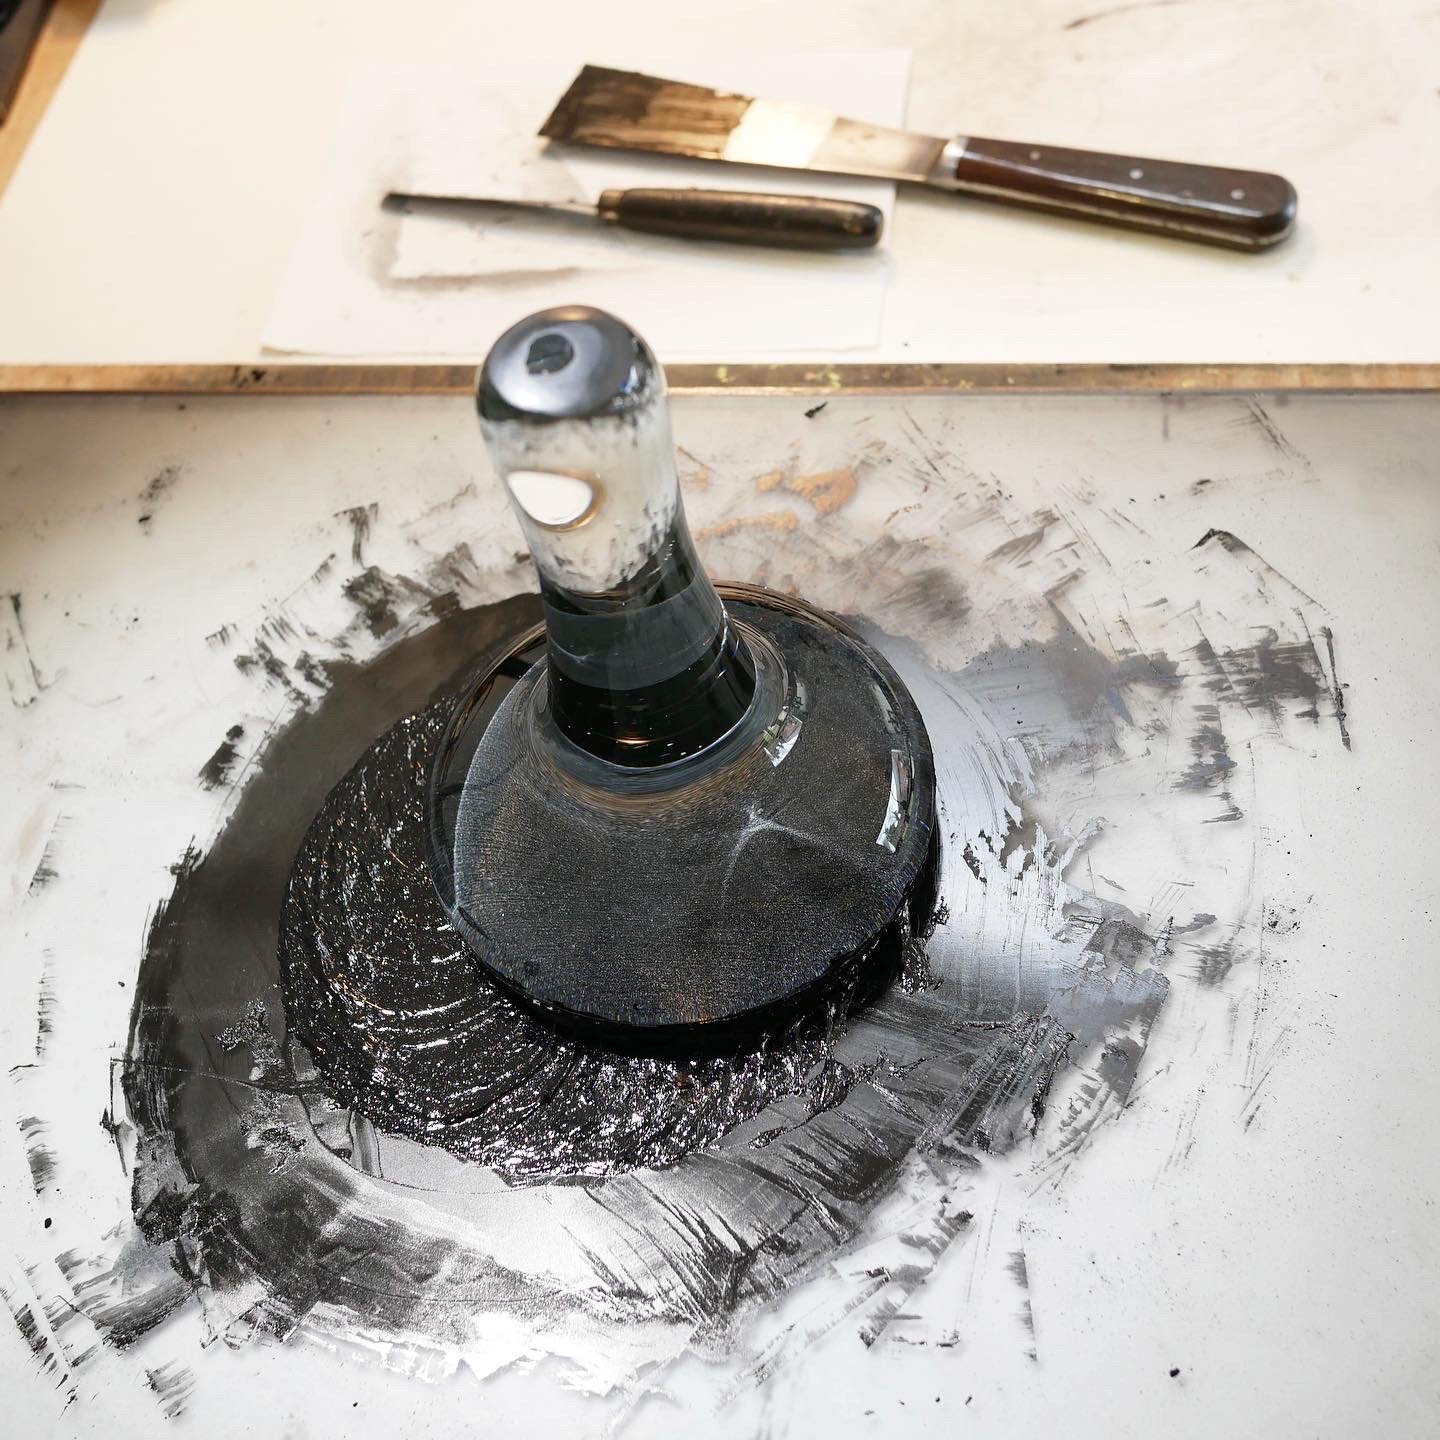
Graham showing me how to modify ink by adding pigment (and a little turpentine soap).

My ink modifying, in process.

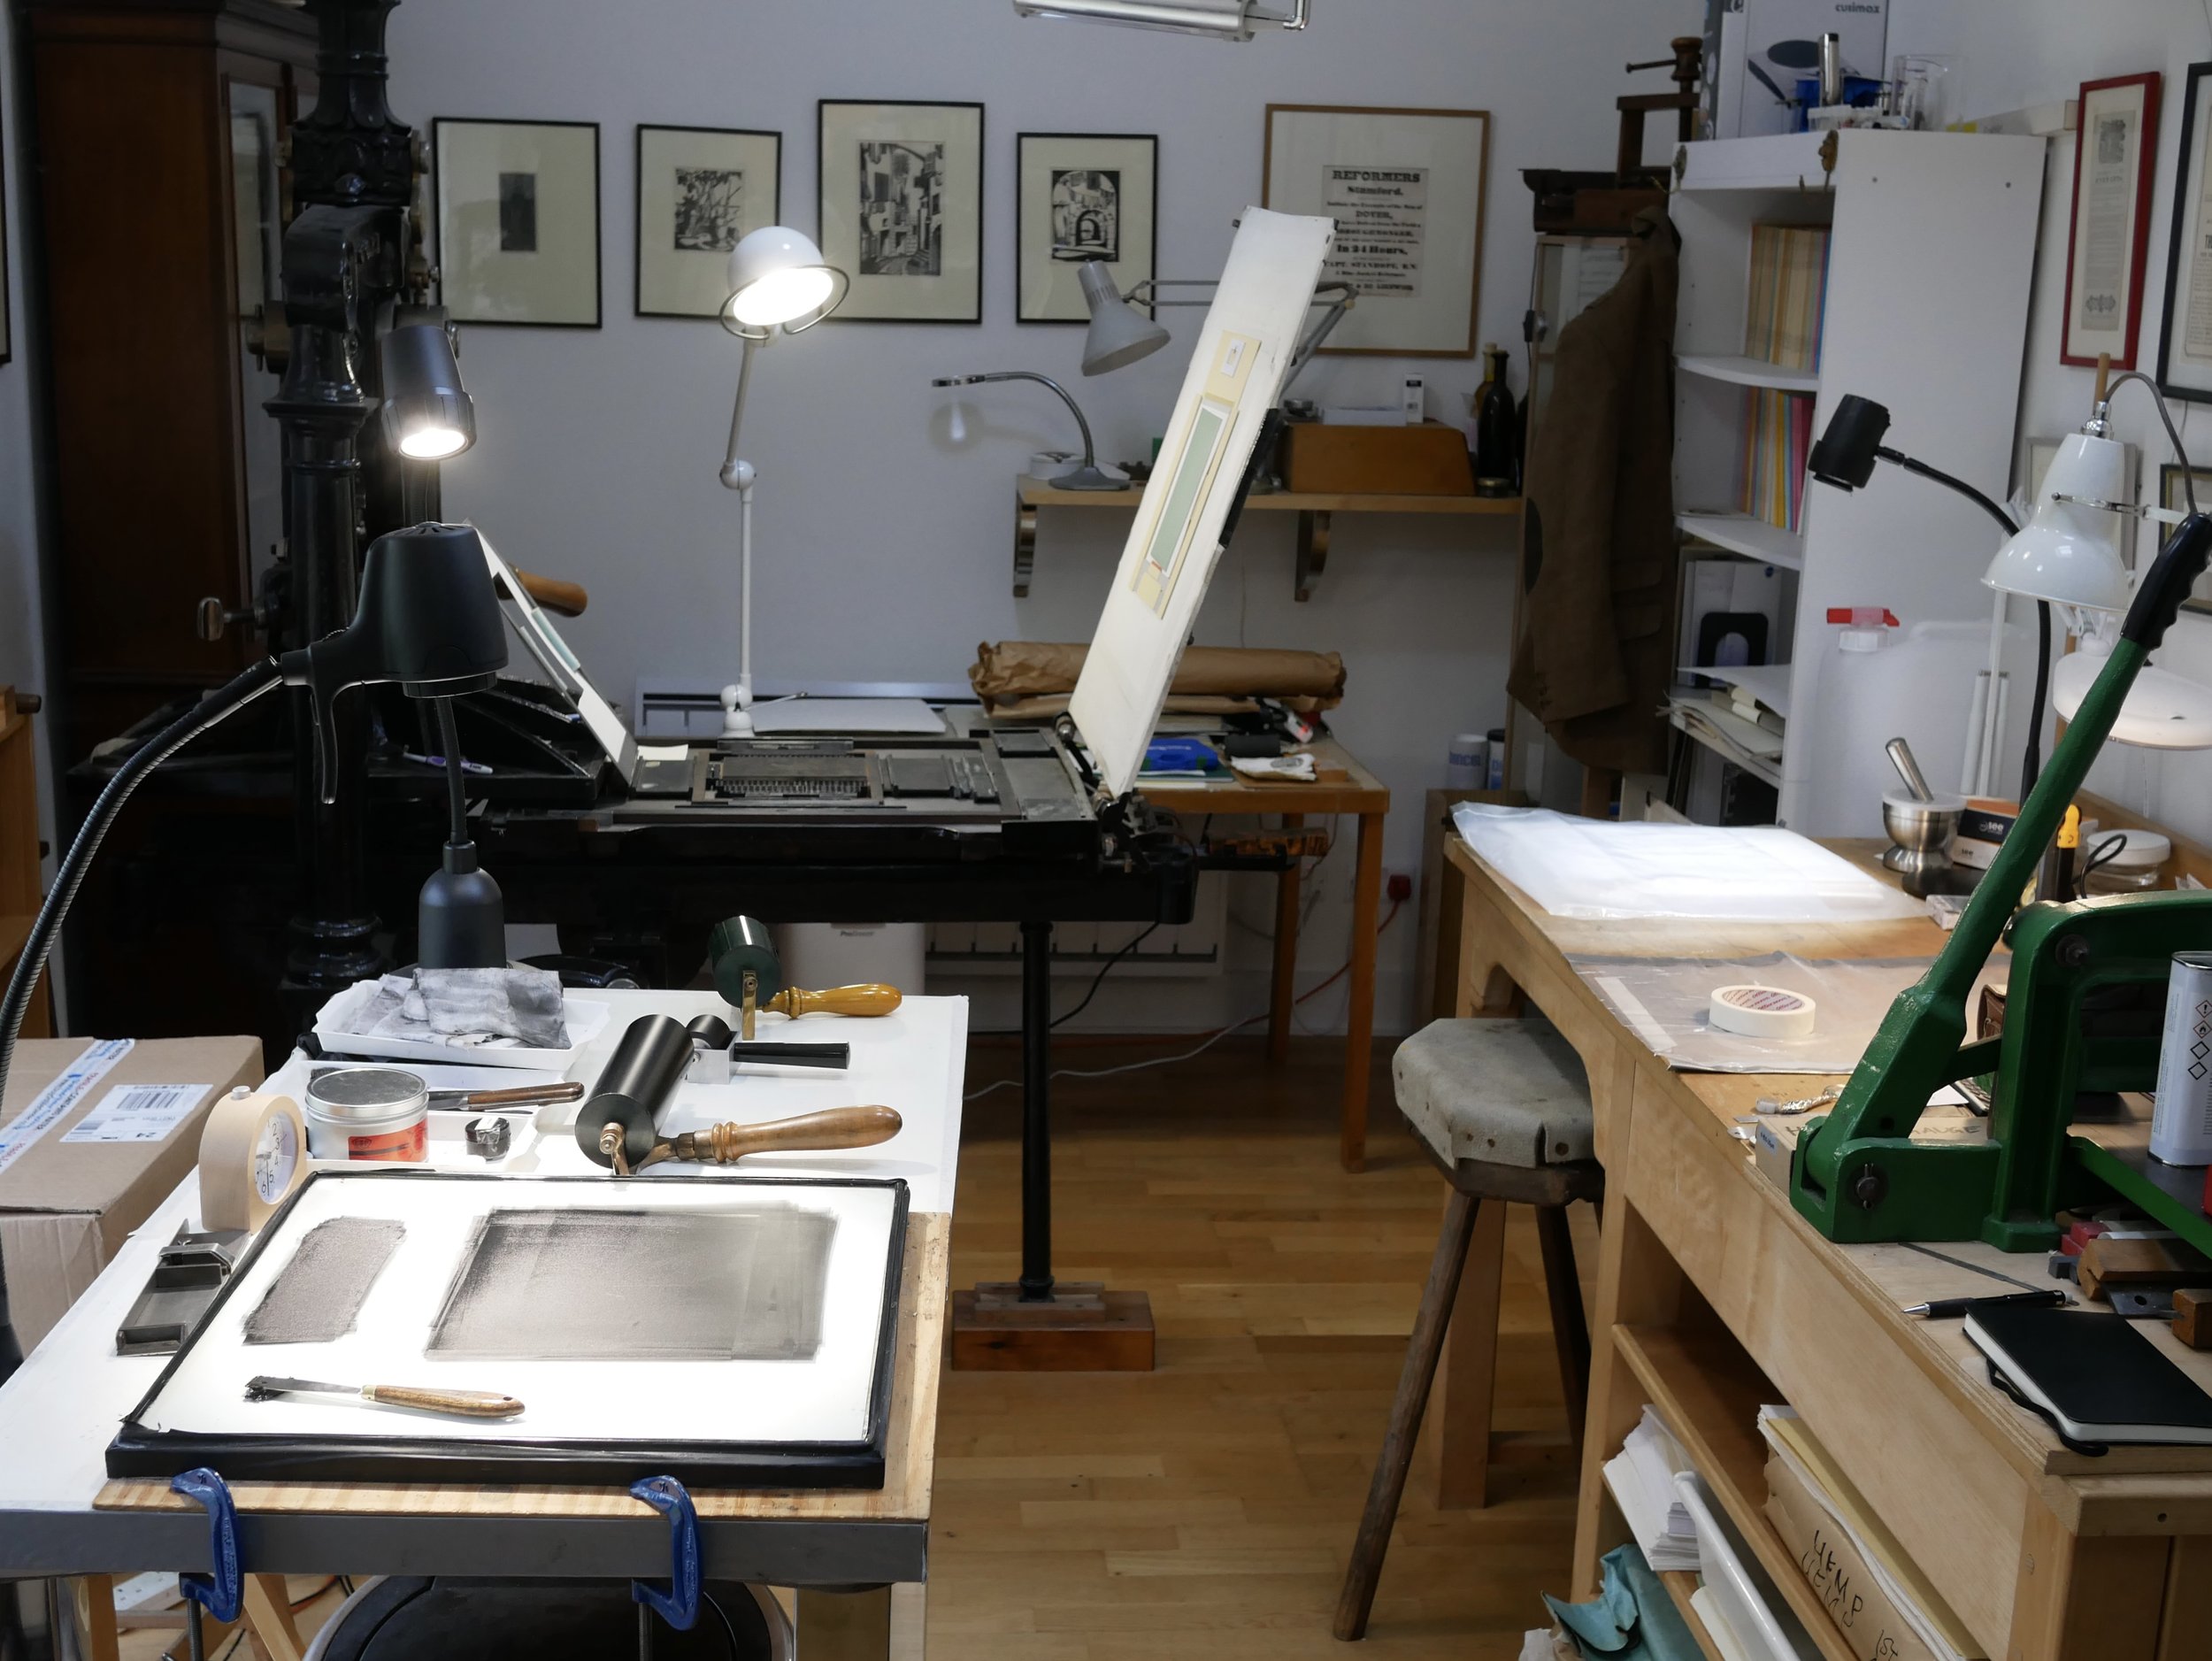
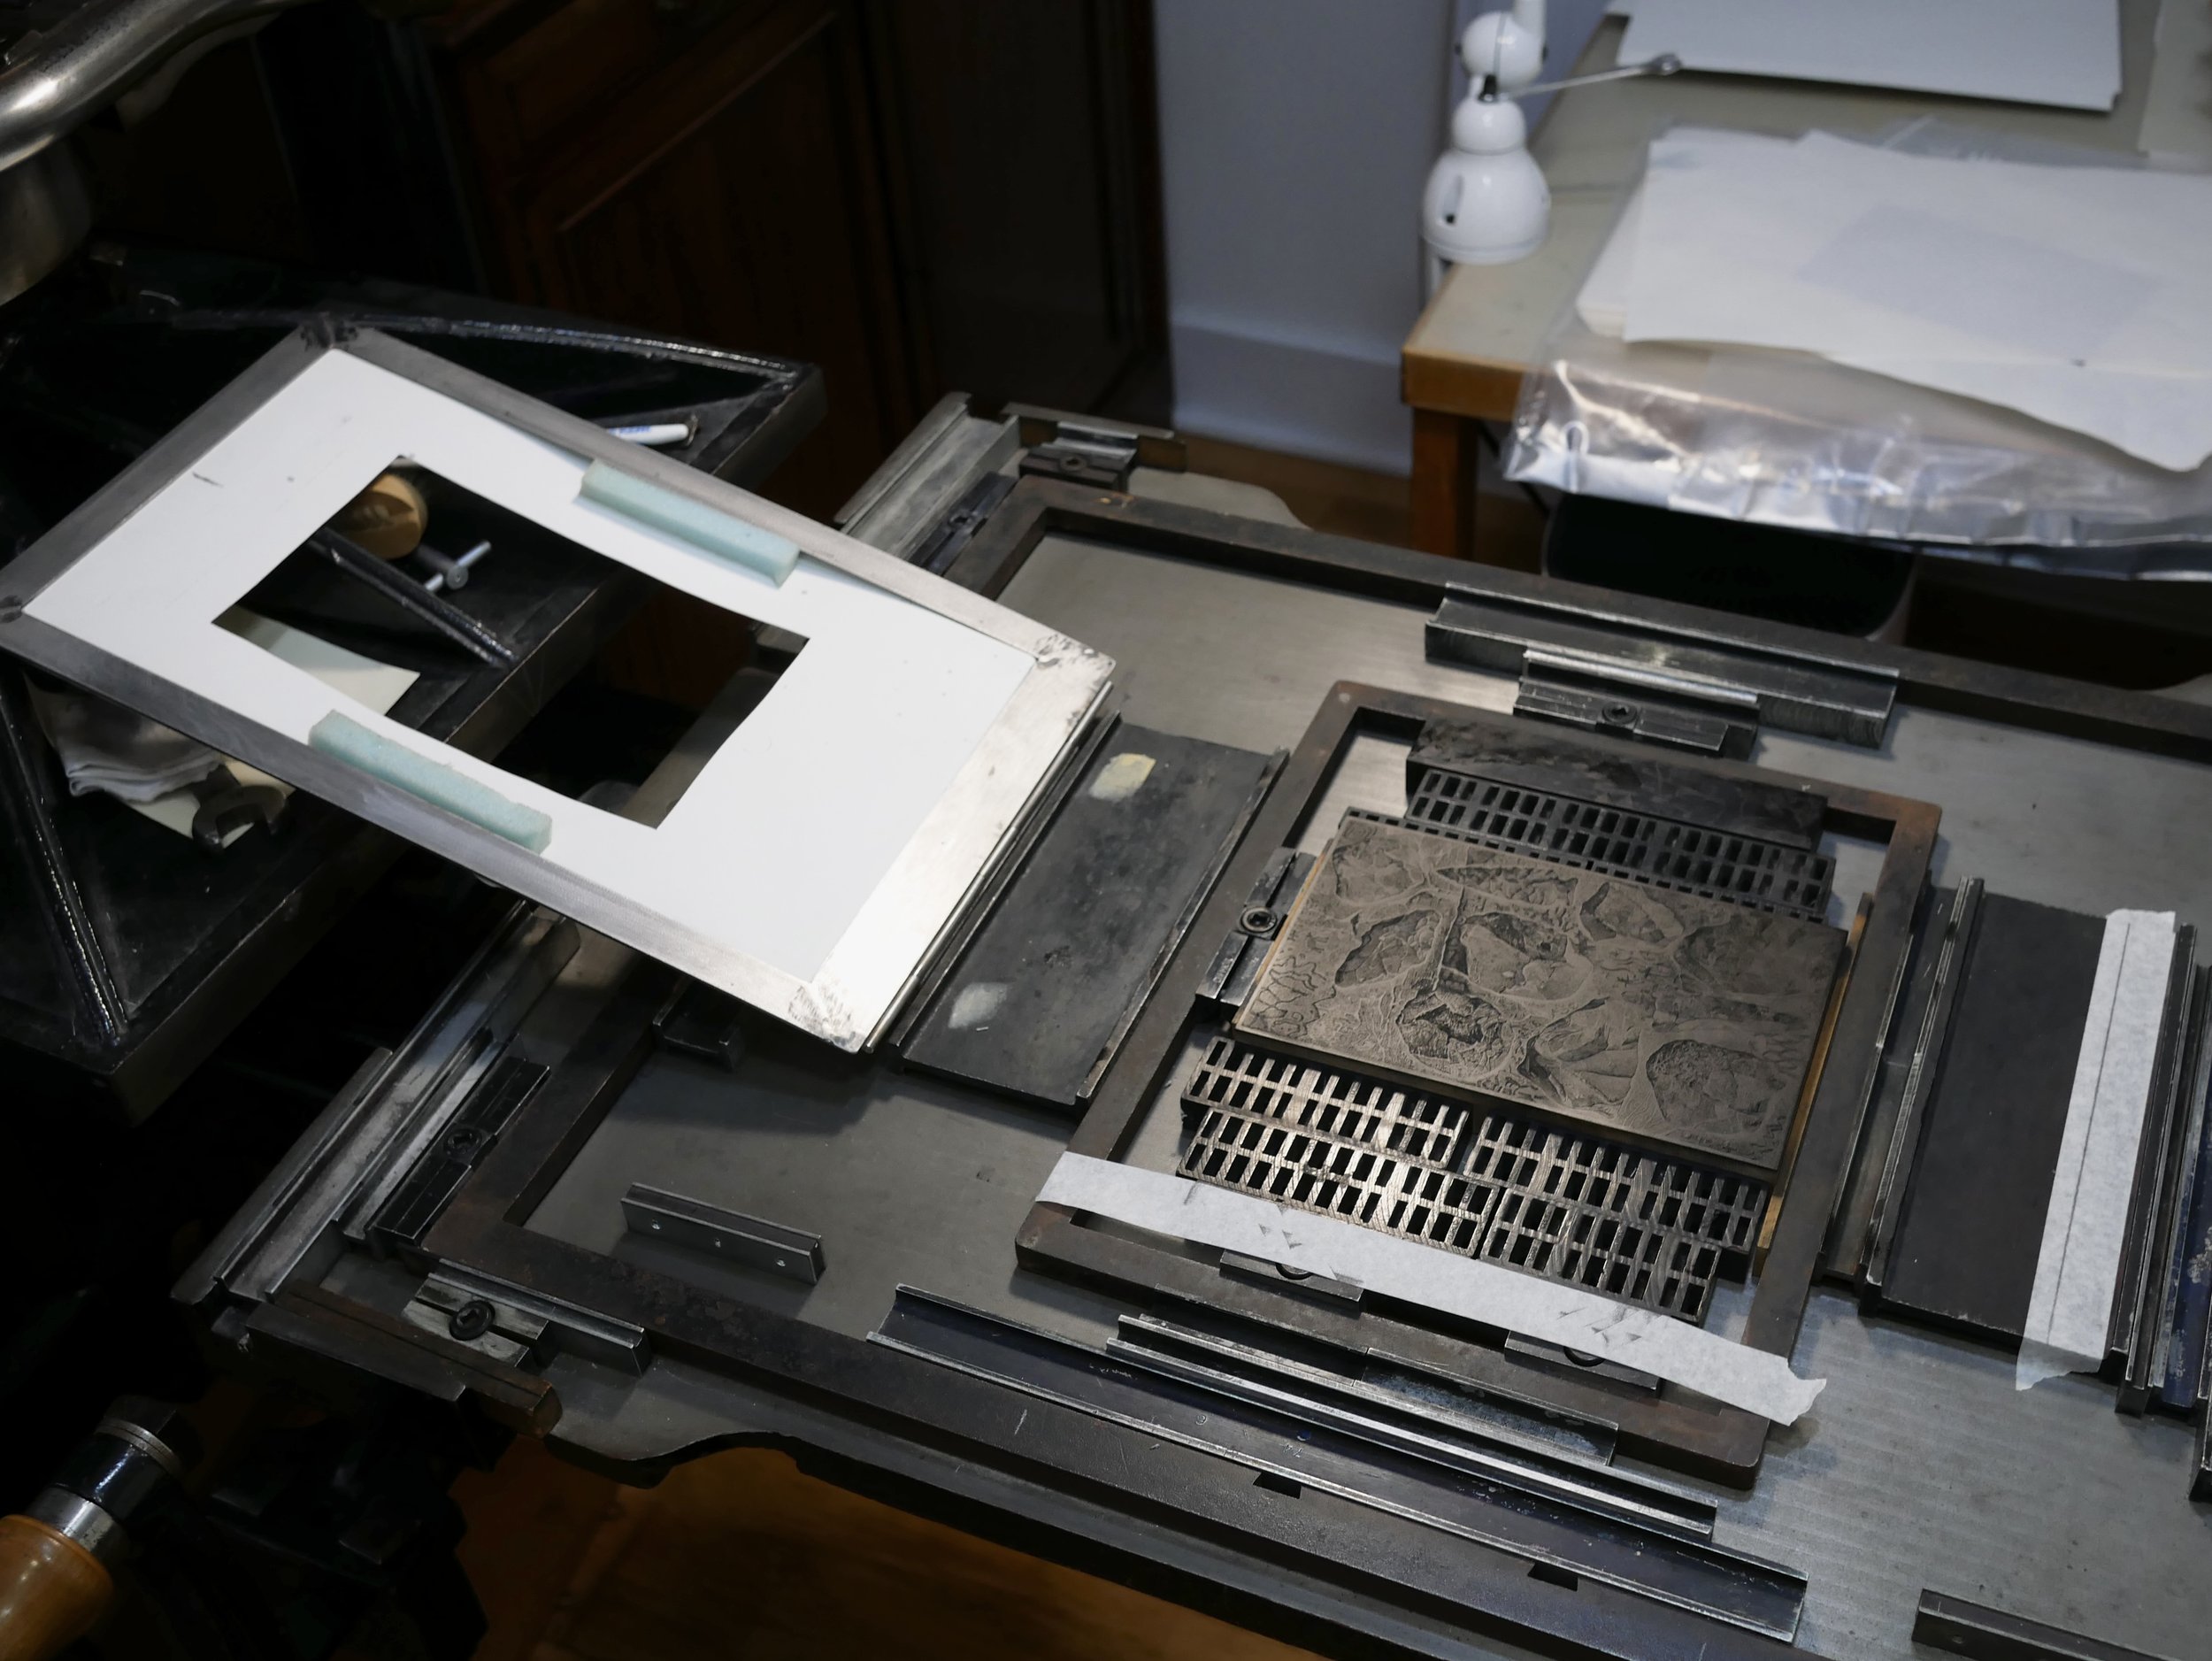
Ink, damp paper, block in Albion press, all set to print at the Florin Press.

Engraved block inked and ready to print.

Printed. My improved inking technique, taught to me by Graham, made a huge difference, as well as printing on dampened paper.

Storied Stone, 1st state, 5”x8”.

"Age" - Society of Wood Engravers 85th Annual Exhibit

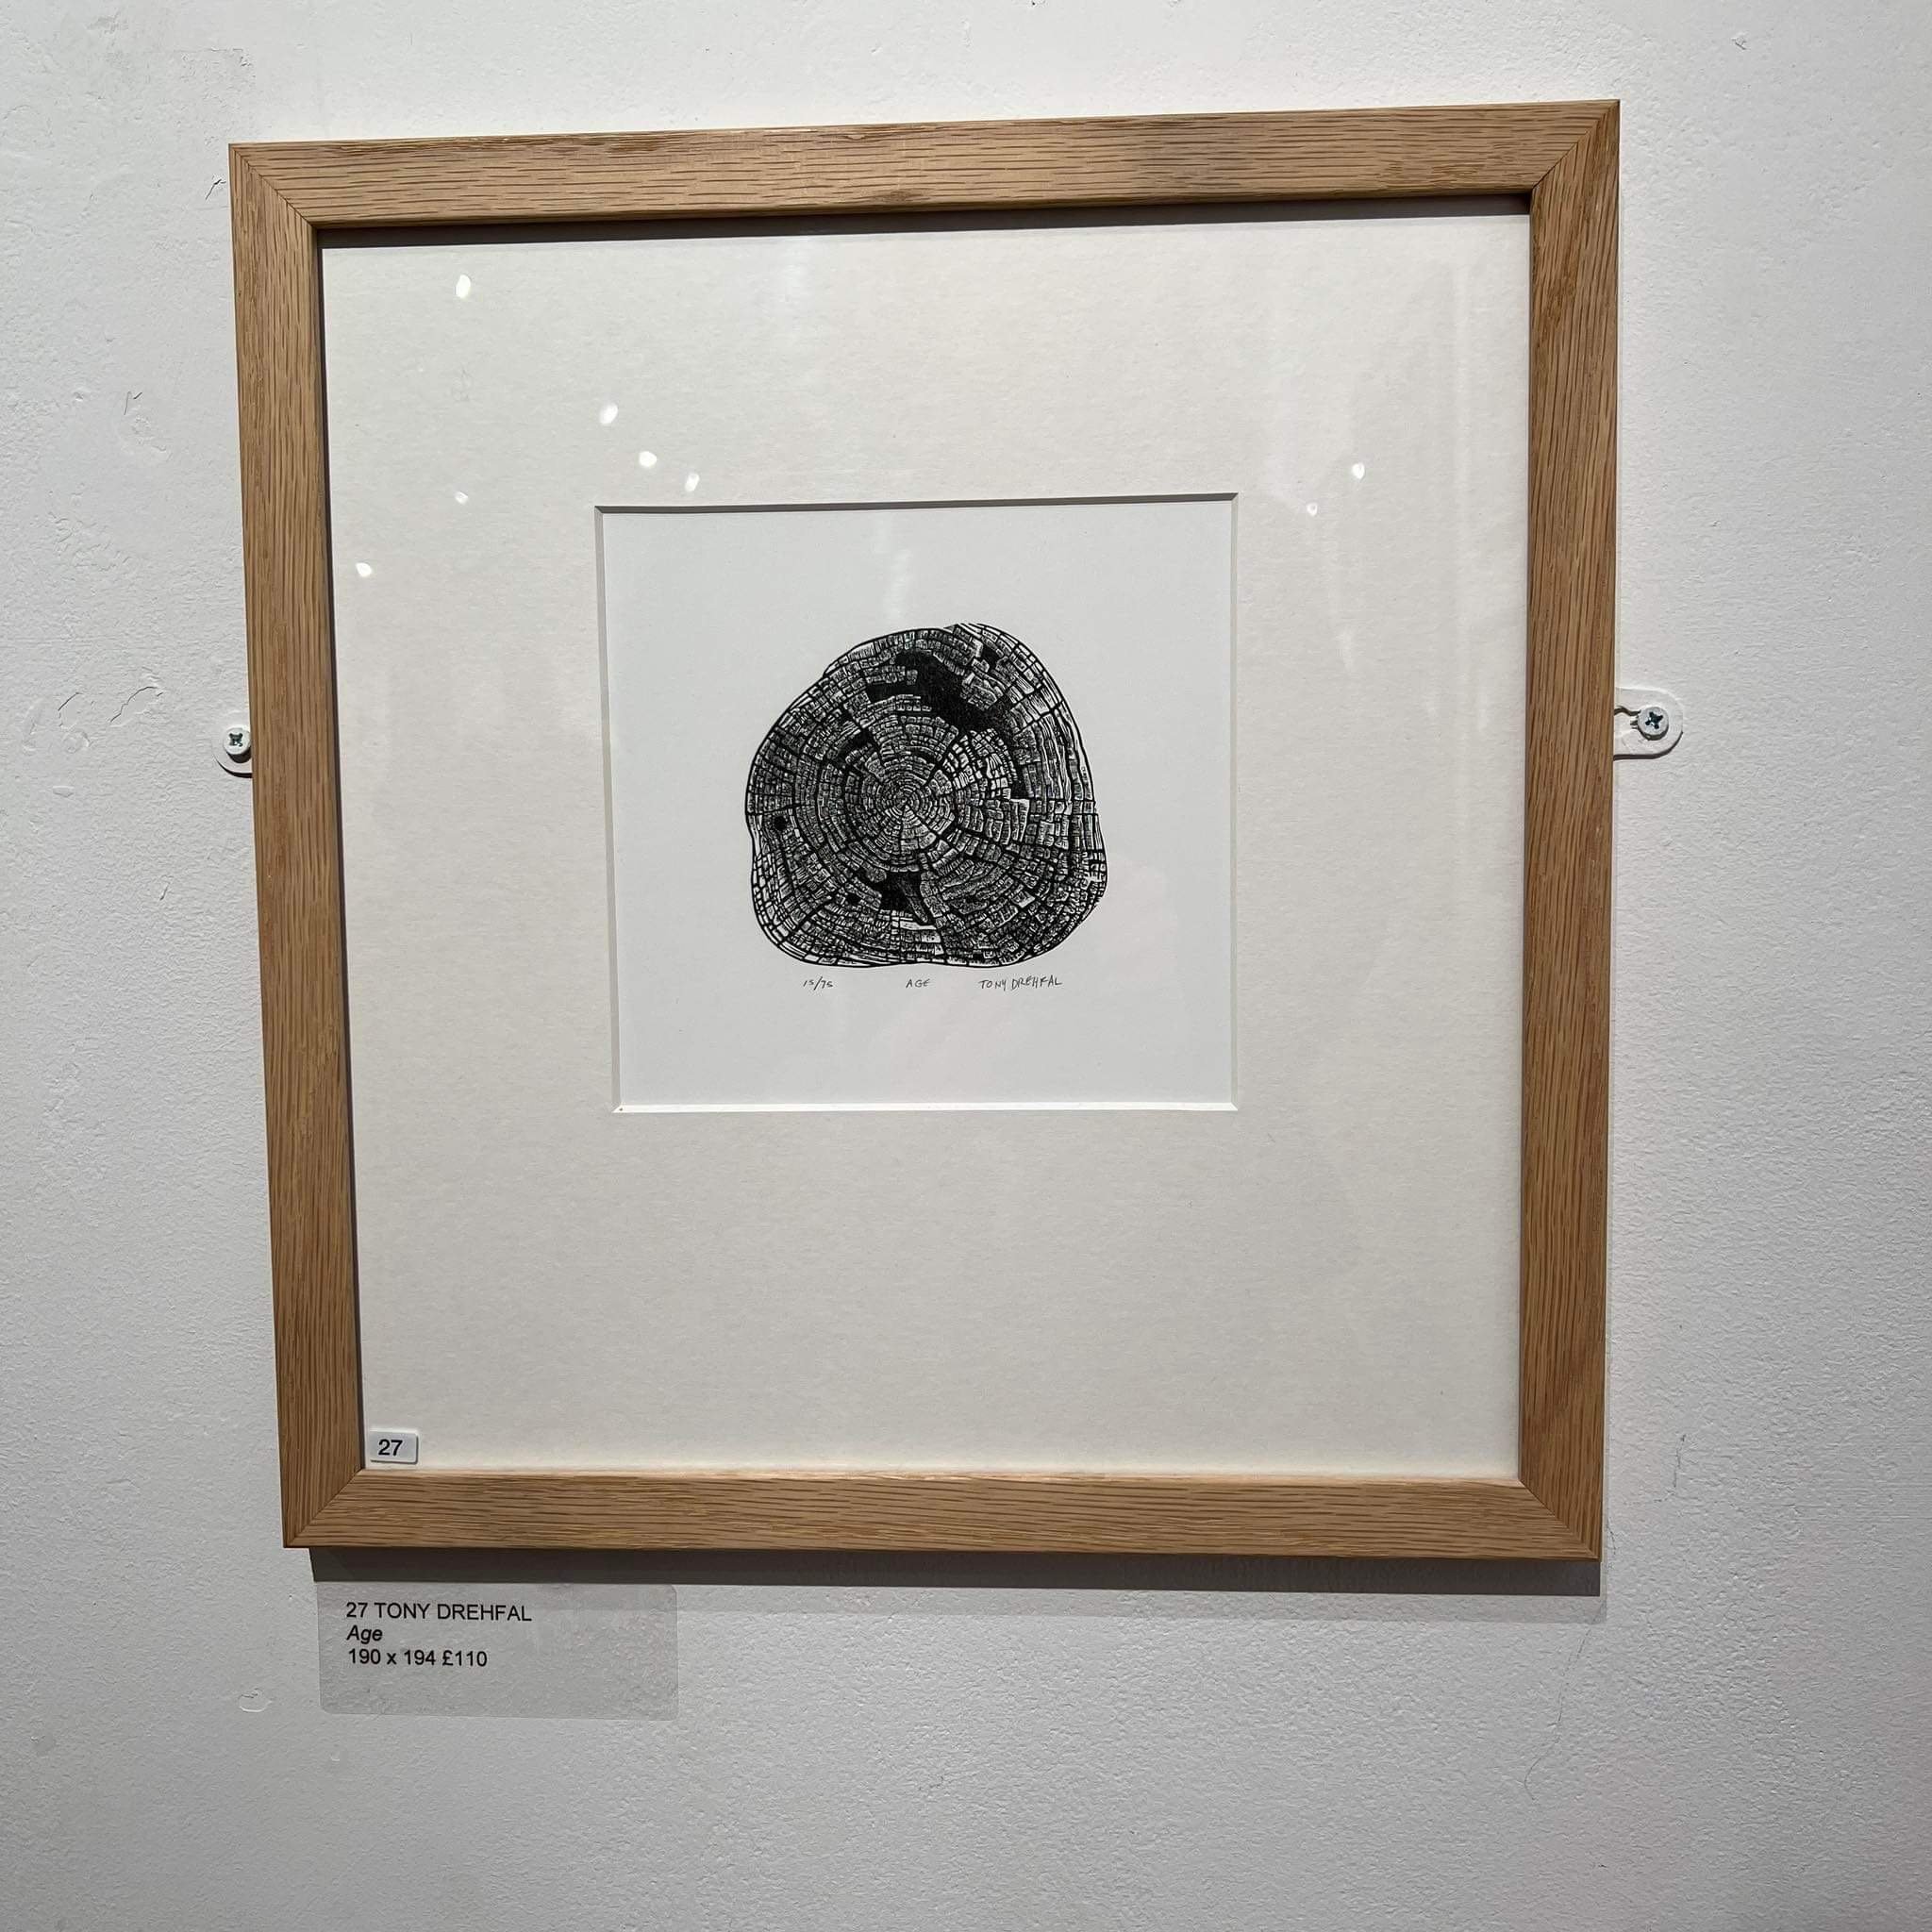
It is always an honor to have a wood engraving selected for the Society of Wood Engravers (SWE) Annual Exhibit. This year my wood engraving “Age” was selected for inclusion in the traveling exhibit.

“Age” on display at the Bankside Gallery in London in February.

I engraved “Age” to be used on a Wood Engravers’ Network (WEN) Calendar project.

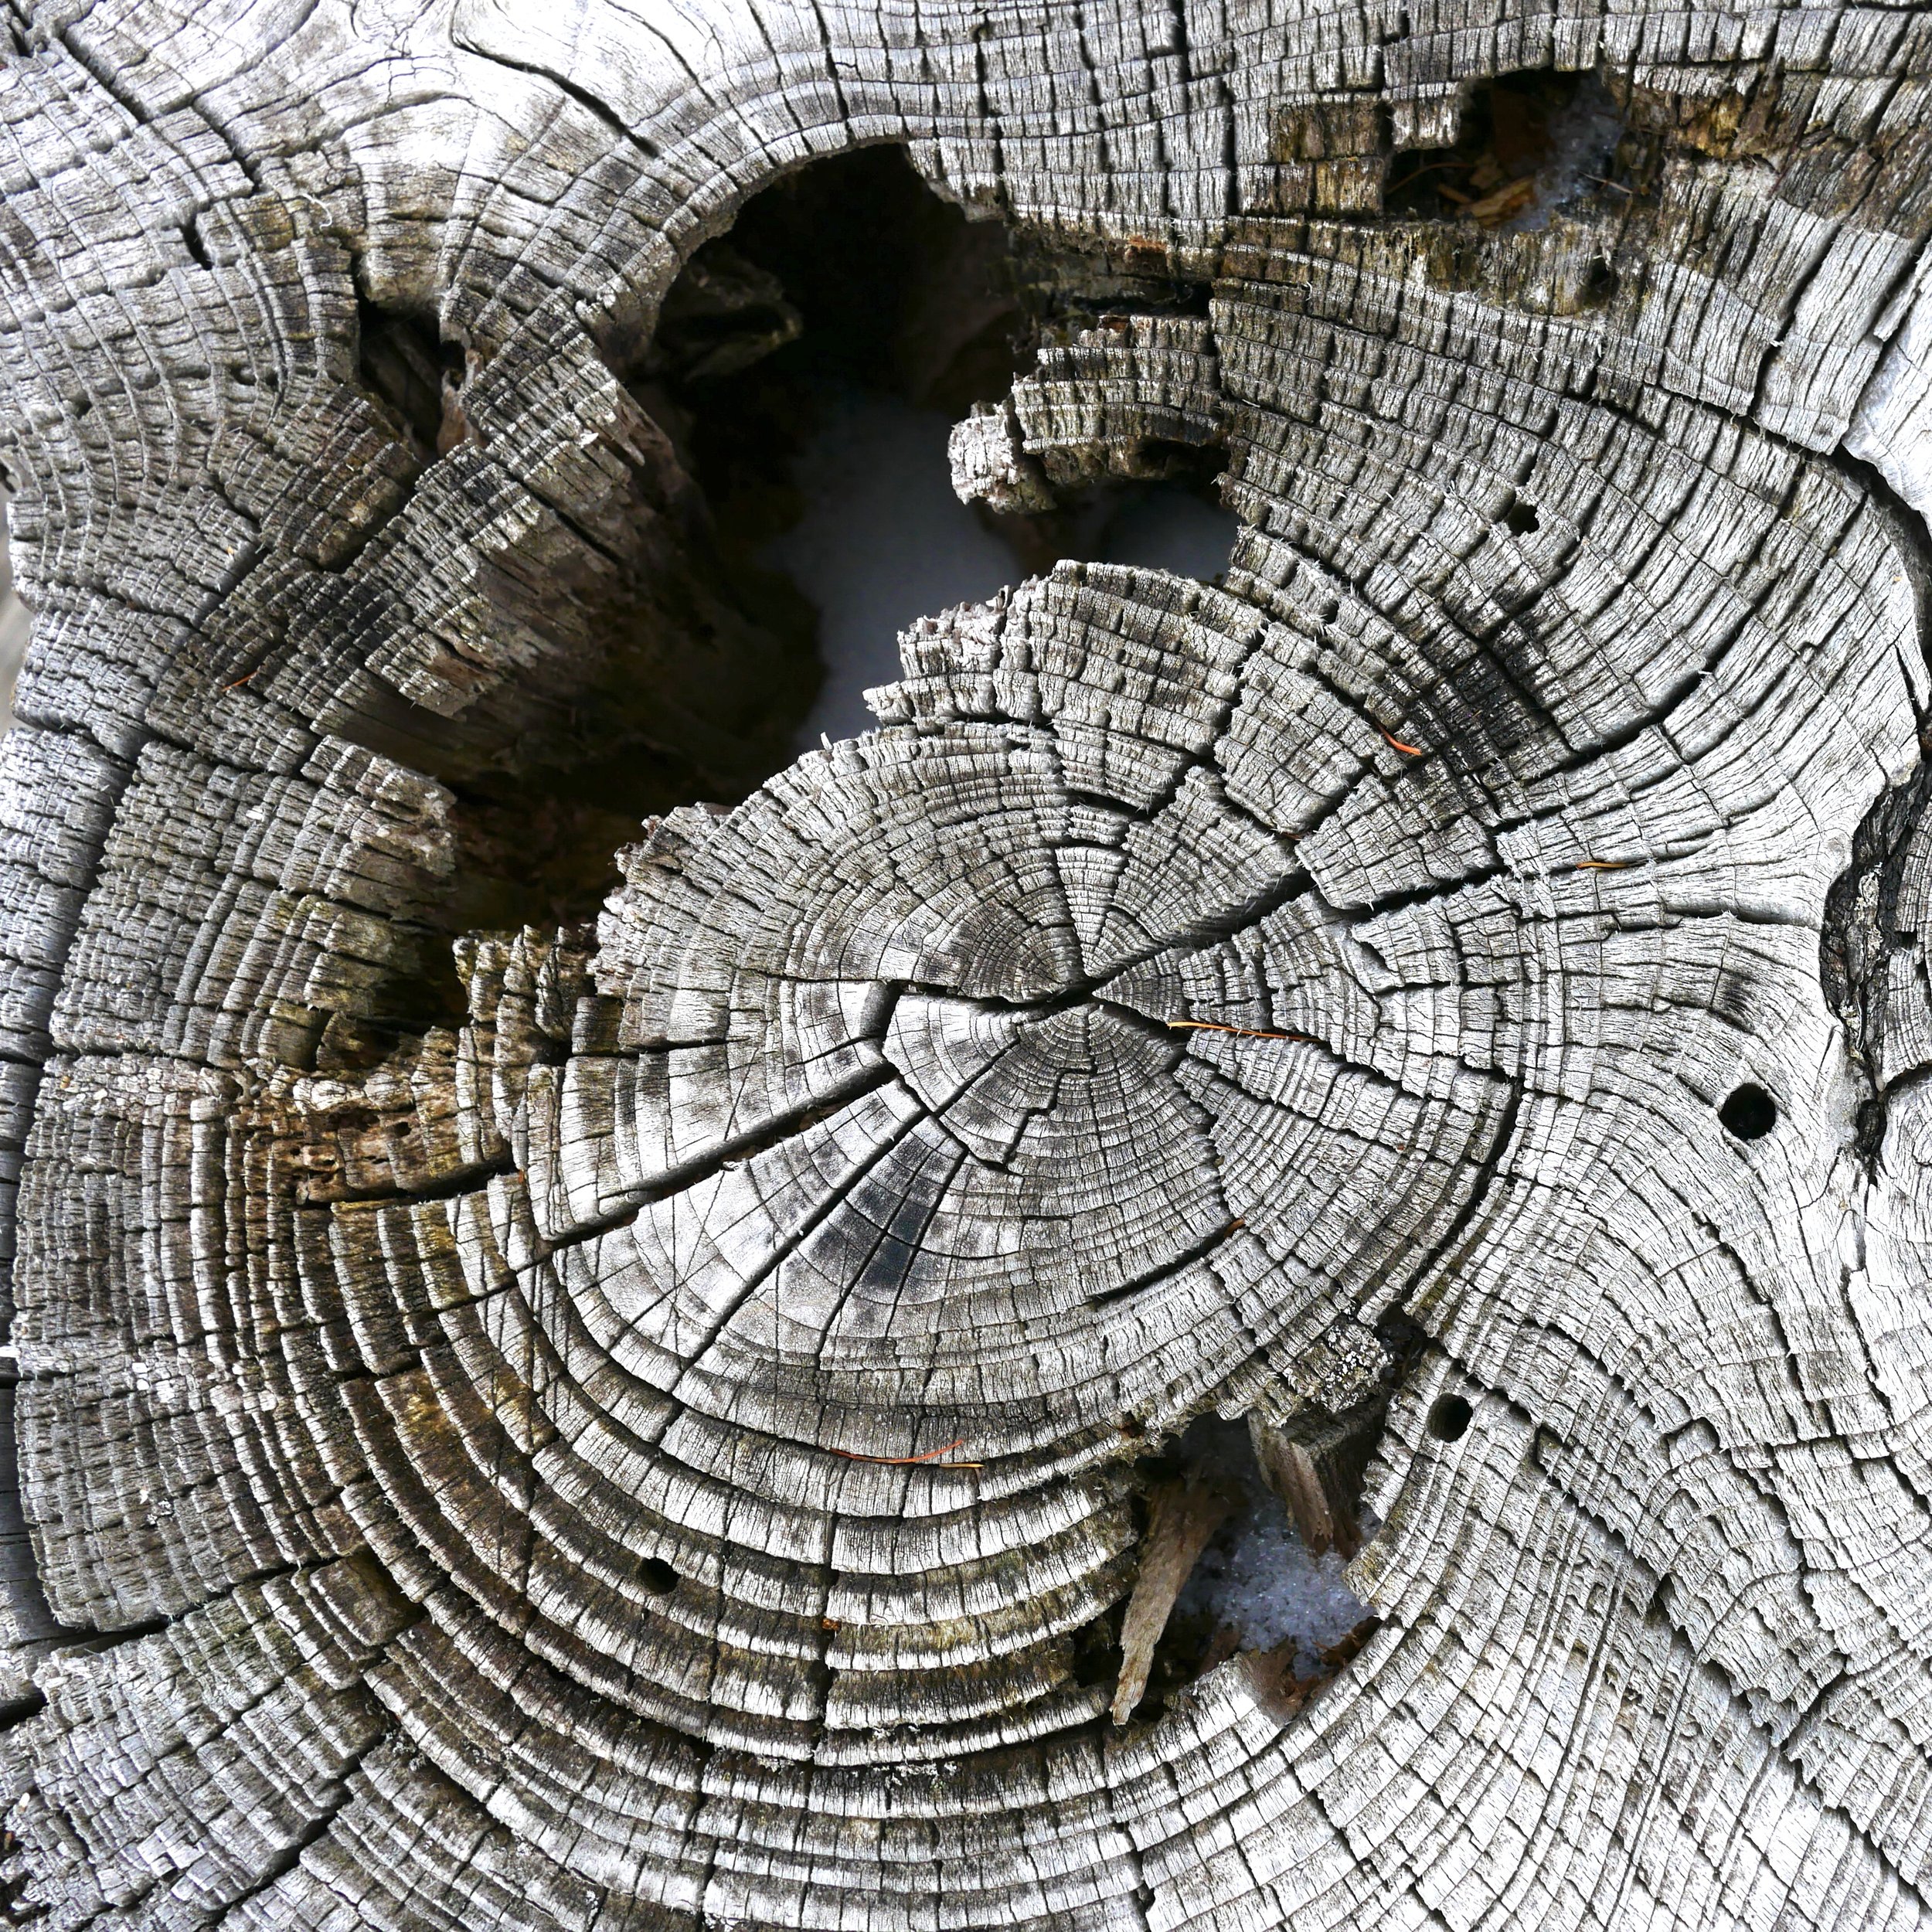
The inspiration was a large aging section of a tree that was made into a chair, it was at the end of a friend’s pier on a lake in northern Wisconsin.

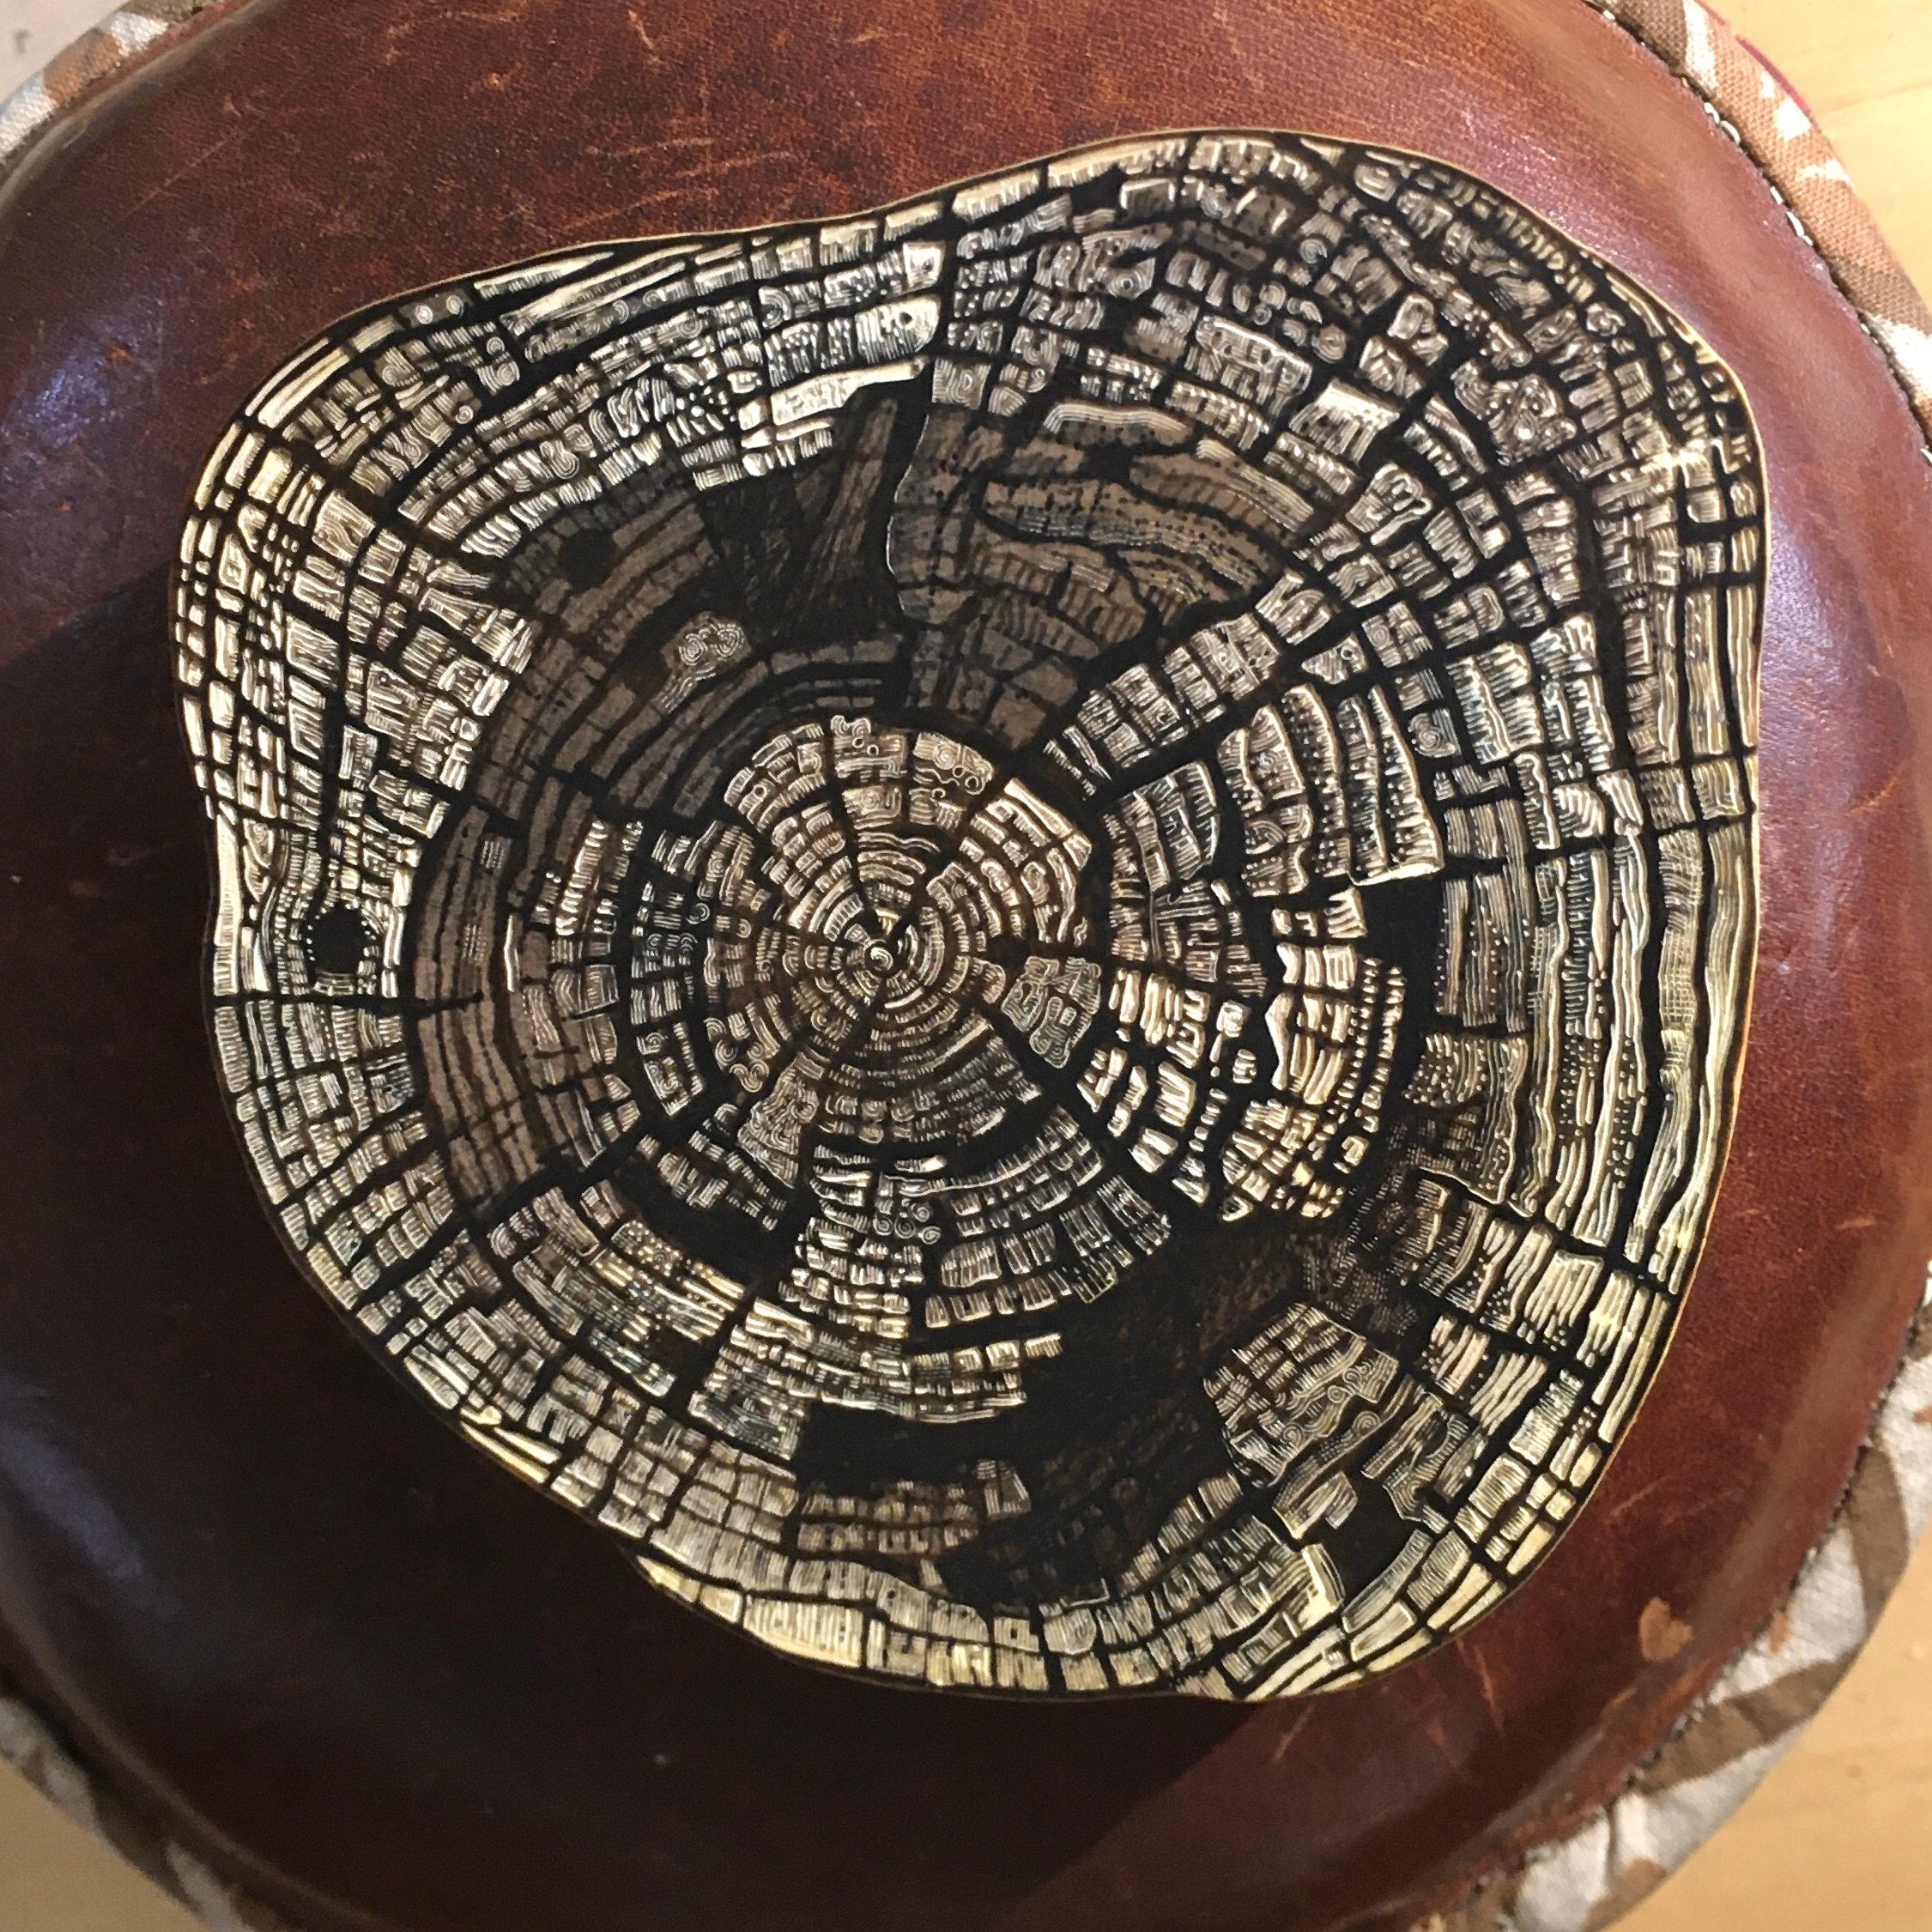
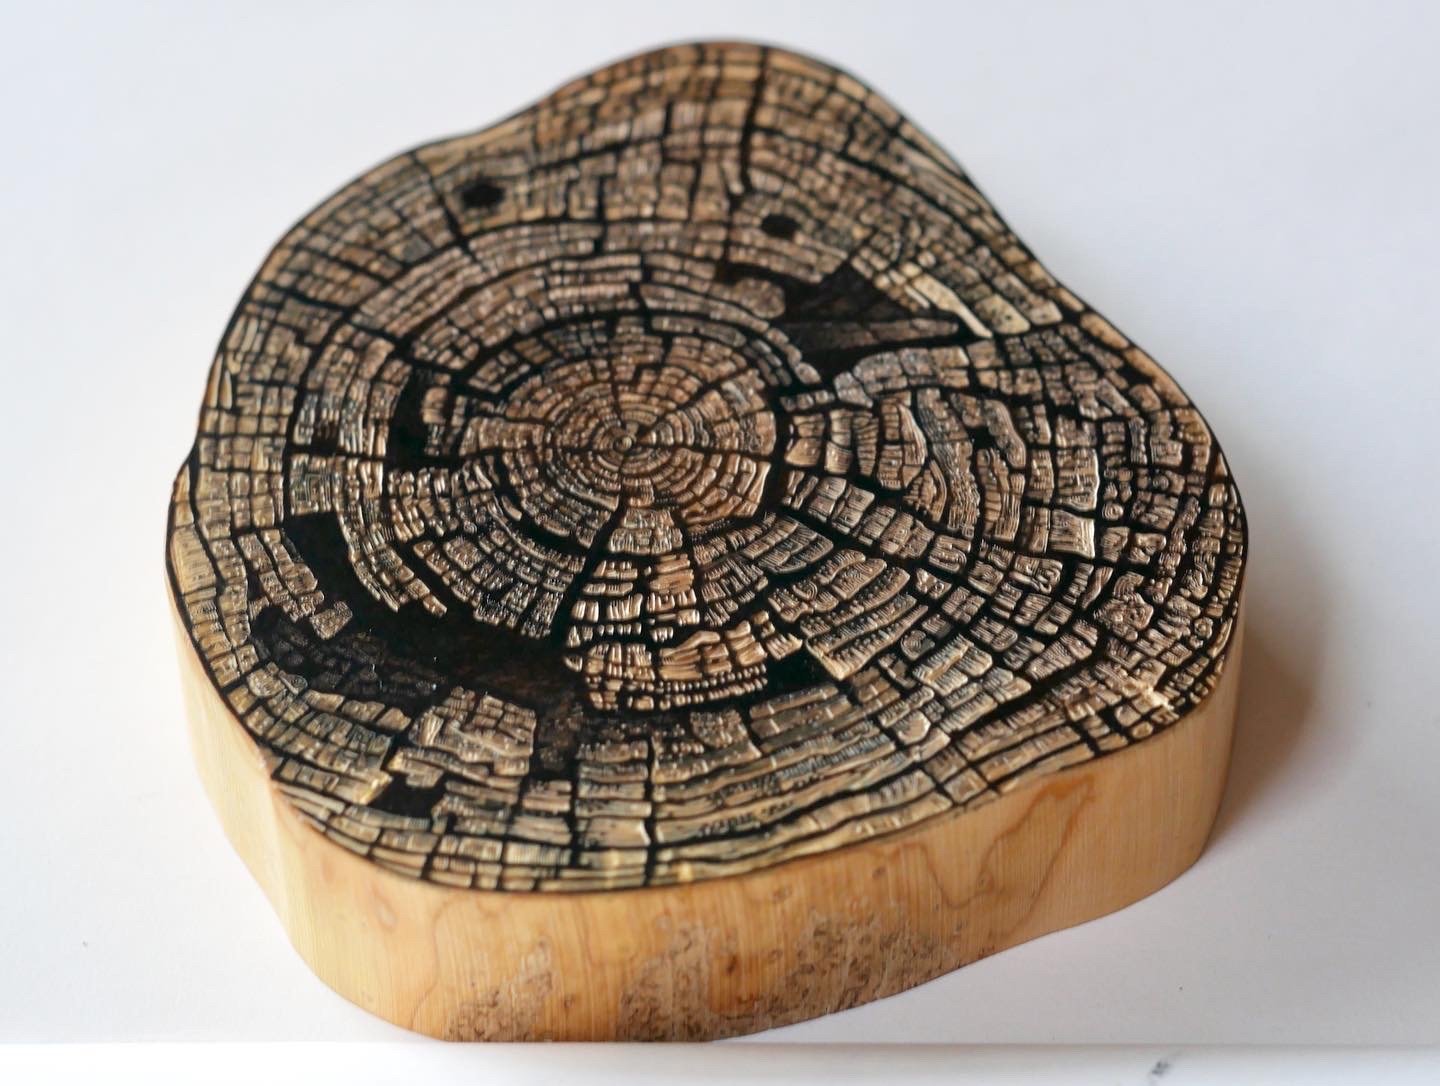
End-grain decay drawn on an end-grain boxwood round, my following the annual rings of the block closely when inking the lines on the toned block.

A Chris Daunt made boxwood round. A joy to engrave.